Networking With Balloons

Starlink has been making tremendous progress towards providing world-wide access to broadband Internet access, but there are a number of downsides to satellite-based internet such as the cluttering of low-Earth orbit, high expense, and moodiness of CEO. There are some alternatives if standard Internet access isn’t available, and one of the more ambitious is providing Internet access by balloon. Project Loon is perhaps the most famous of these (although now defunct), but it’s also possible to skip the middleman and build your own high-altitude balloon capable of connection speeds of 500 Kbps.

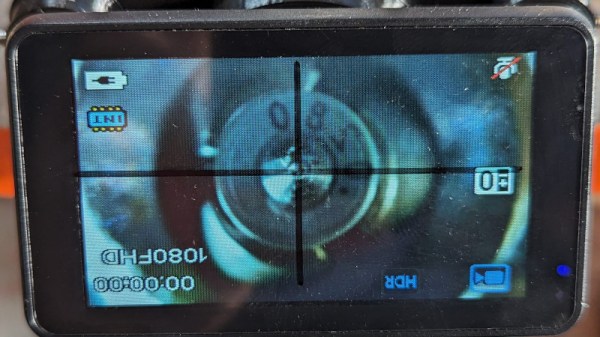
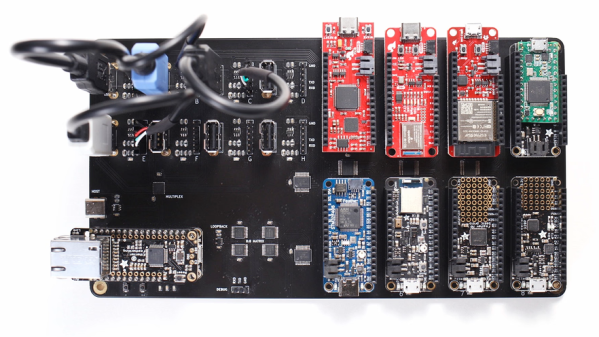
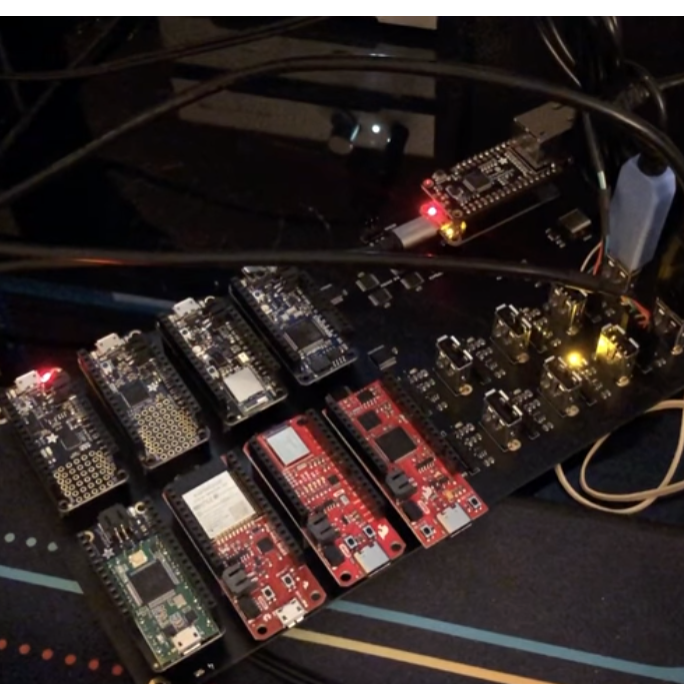
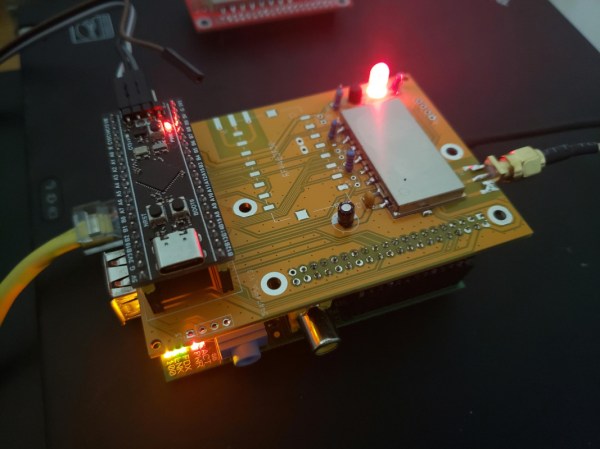
[Stephen] has been working on this project for a few months and while it doesn’t support a full Internet connection, the downlink on the high altitude balloon is fast enough to send high-resolution images in near-real-time. This is thanks to a Raspberry Pi Zero on board the balloon that is paired with an STM32 board which handles the radio communication on a RF4463 transceiver module. The STM32 acts as an intermediary or buffer to ensure reliable information is sent out on the radio, rather than using the Pi directly. [Stephen] also wrote a large chunk of the software responsible for handling all of these interactions, optimized for balloon flight specifically.

The blog post for this project was written a few weeks ago with a reported first launch date for the system already passed, so we will eagerly anticipate the results and the images he was able to gather using this system. Eventually [Stephen] hopes the downlink will be fast enough for video as well.Balloons are an underappreciated tool as well, and this isn’t the only way that they can be used to help send radio signals from place to place.

Meshtastic For The Greater Good

Last week, my city was hit by a tornado. That’s not surprising here in Oklahoma, and thankfully this event was an F0 or possibly even an EF0 — a really weak tornado. Only a couple roofs collapsed, though probably half the houses in town are going to need roof repairs, thanks to the combination of huge hail and high winds. While it wasn’t too bad, power did go down in a few places around town, and this led to an interesting series of events.

Chat messages were coming in like this: “That was a [power] flicker, yeah. Even took down my Internet.” Followed by “Whee, [fiber Internet] got knocked out and now Starlink has too many clouds in the way.” And after ten minutes of silence, we got a bit worried to see “Time to hide under a bed. … Is cell service back?” It is a bit spooky to think about trying to help neighbors and friends after a disaster, in the midst of the communication breakdown that often follows. If he had needed help, and had no working communications, how long would it have taken for us to go check on him?
Continue reading “Meshtastic For The Greater Good”

Never Drill In The Wrong Place, With This Camera!

It’s fair to say that one of the biggest advances for the electronic constructor over the last decade or so has been the advent of inexpensive small-order PCB manufacture. That said, there are still plenty who etch their own boards, and for them perhaps the most fiddly part of the process comes in drilling holes accurately. It’s to aid in this task that [John McNelly] has created a camera with a periscope, to give the drill bit perfect alignment with the hole.

The idea is simple enough, an off-the-shelf all-in-one microscope camera points sideways at a mirror allowing it to look upwards. The viewport is placed under the drill and the crosshairs on the microscope are lined up with the end of the drill. Then the board can be placed on top and the pad lined up with the crosshairs, and a perfectly placed hole can be drilled. It’s a beautiful piece of lateral thinking which we like, as it ends that lottery of slightly off-centre holes. You can see it in glorious portrait-mode action in the video below the break.

Oddly this isn’t the first PCB drilling microscope we’ve shown you. but it may well be the more elegant of the two.

Continue reading “Never Drill In The Wrong Place, With This Camera!”

How Hardware Testing Got Plugged Into A Continuous Integration Framework

The concept of Continuous Integration (CI) is a powerful tool in software development, and it’s not every day we get a look at how someone integrated automated hardware testing into their system. [Michael Orenstein] brought to our attention the Hardware CI Arena, a framework for doing exactly that across a variety of host OSes and microcontroller architectures.

The Hardware CI Arena allows testing software across a variety of hardware boards such as Arduino, RP2040, ESP32, and more.

Here’s the reason it exists: while in theory every OS and piece of hardware implements things like USB communications and device discovery in the same way, in practice that is not always the case. For individual projects, the edge cases (or even occasional bugs) are not much of a problem. But when one is developing a software product that aims to work seamlessly across different hardware options, such things get in the way. To provide a reliable experience, one must find and address edge cases.

The Hardware CI Arena (GitHub repository) was created to allow automated testing to be done across a variety of common OS and hardware configurations. It does this by allowing software-controlled interactions to a bank of actual, physical hardware options. It’s purpose-built for a specific need, but the level of detail and frank discussion of the issues involved is an interesting look at what it took to get this kind of thing up and running.

The value of automatic hardware testing with custom rigs is familiar ground to anyone who develops hardware, but tying that idea into a testing and CI framework for a software product expands the idea in a useful way. When it comes to identifying problems, earlier is always better.