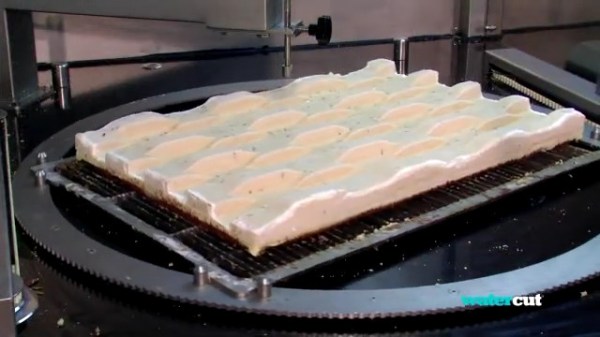
We need more high-end, geometric pastry in our lives. This insight is courtesy of a fairly old video, embedded below, demonstrating an extremely clever 2D CNC mechanism that cuts out shapes on a cake pan, opening up a universe of arbitrary cake topologies.
The coolest thing about this machine for us is the drive mechanism. A huge circular gear is trapped between two toothed belts. When the two belts move together the entire thing translates, but when they move in opposite directions, it turns. It seems to be floating on a plastic platform, and because the design allows the water-jet cutting head to remain entirely fixed, only a small hole underneath is necessary, which doubtless simplifies high-pressure water delivery and collection. Rounding the machine out are cake pans make up of vertical slats, like on a laser- or plasma-cutter table, that slip into registration pins and let the water pass through.
The kinematics of this machine are a dream, or perhaps a nightmare. To cut a straight line, it does a cycloid-shaped dance of translation and turning that you simply have to see in motion. Because of this intricate path, the cake-feed speed varies along the way, so this machine won’t be perfect for all applications and relies on a thin kerf. And we can’t help thinking how dizzy the cake must get in the process.
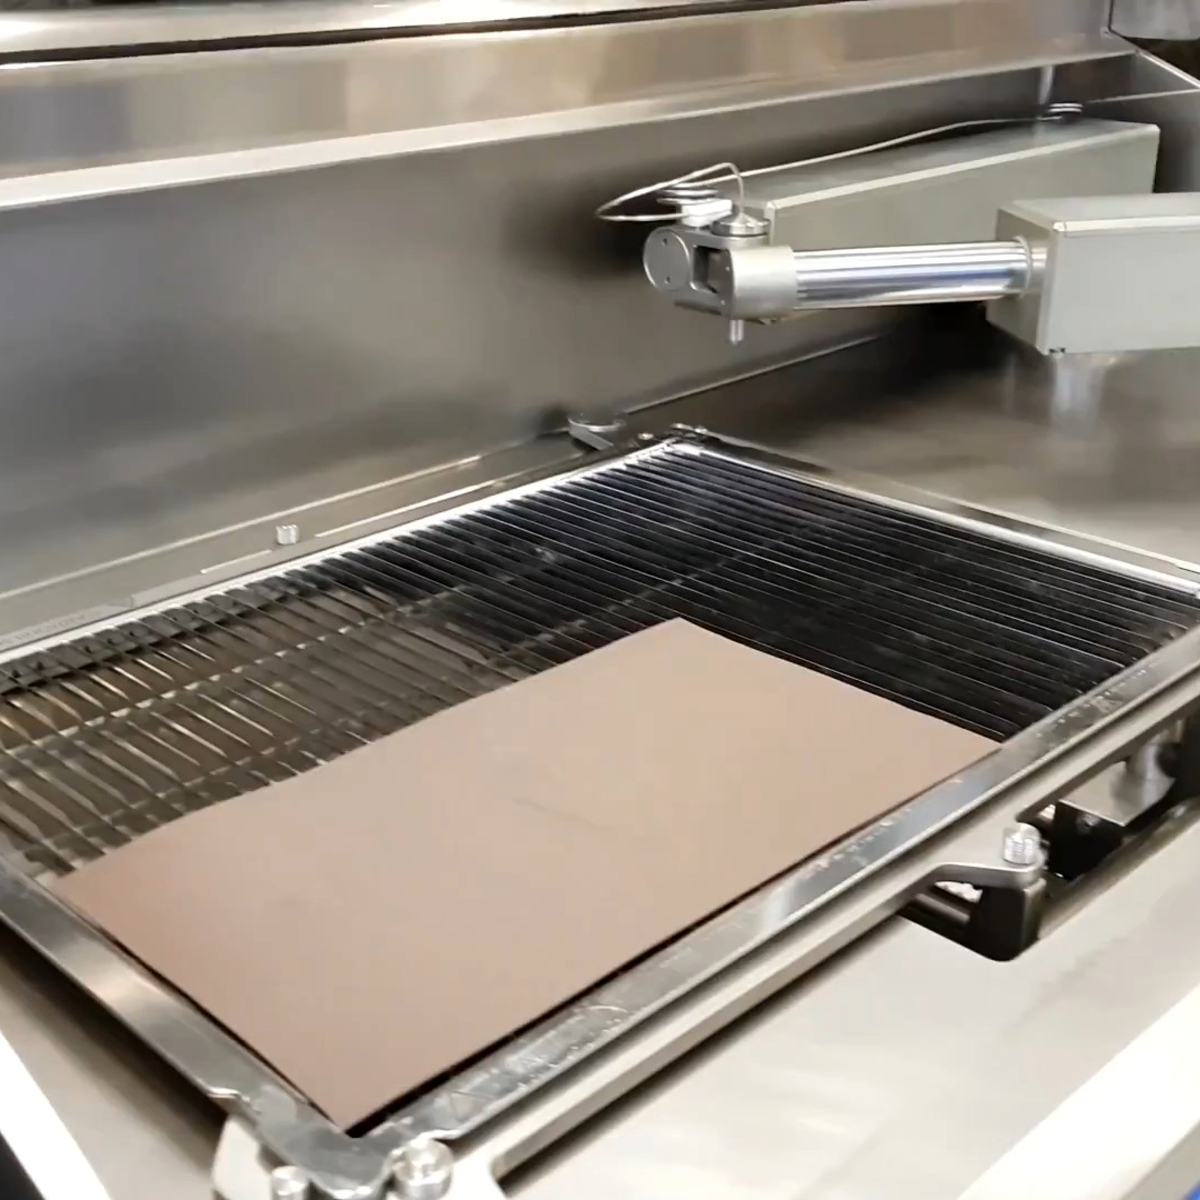 Indeed, the same company put out a relatively pedestrian two-arm motion cutter (another video!) that poses different kinematic problems. It’s essentially a two-arm plotter with a moving table underneath that helps increase the working area. Details are scarce, but it looks like they’re minimizing motion of the moving table, doing the high frequency small stuff with the stiff arms. Presumably someone turned the speed on the previous machine up to 11 and spun a cake off into the room, causing them to rethink the whole move-the-cake-around design.
Of course, watercut pastry isn’t limited to exotic CNC mechanisms. This (third!) video demonstrates that a simple Cartesian XY bot can do the job as well.
If you think about it, using high-pressure pure water to cut foodstuffs is a win on many levels. We’d just miss out on licking the knife. Thanks [Adam G DeMuri] for the awesome comment that lead us to a new world of watercut edibles.