
One doesn’t generally associate cardboard with structural components like hinges, but [Itoshige Studio] assures us that you can absolutely create hinges out of this ubiquitous material. In total the video covers five different designs, ranging from the simple and straightforward to an interlocking tab design that approximates a typical steel hinge with paper rod to keep both sides of the hinge together.
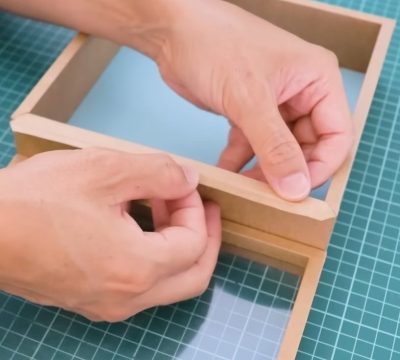
The most simplistic hinge is unsurprisingly just a strip of craft paper, which is also demonstrated as the hinge for a wooden box in lieu of the typical metal hinge. This same principle is then demonstrated for a fancy cardboard box.
From here the designs get increasingly more involved. First a seamless hinge variation, and then a kamichoban hinge design that’s inspired by traditional Japanese room dividers and furniture, using panels that are interconnected with overlapping sections to create a fascinatingly flexible hinge that can fully fold either way.
The flush hinge design is somewhat like the craft paper hinge, but significantly fancier and probably sturdier, while also looking pretty good on something like a cabinet. Finally the interlocking tab hinge is effectively a cardboard version of the hinge design that’s found on every room’s door, with a similar level of flexibility. This is obviously the trickiest one to assemble and get right, but it has its own charm.
Considering that all of these examples use regular corrugated cardboard that we get shipped to our homes by the truckload, the cost to try these examples is your time plus some basic tools and glue. The author also sells a book that contains templates – in addition to digital versions – for these hinges and other designs, if you’d like to enjoy the 100% paper experience.
Continue reading “Five Different Styles Of Cardboard Hinges”


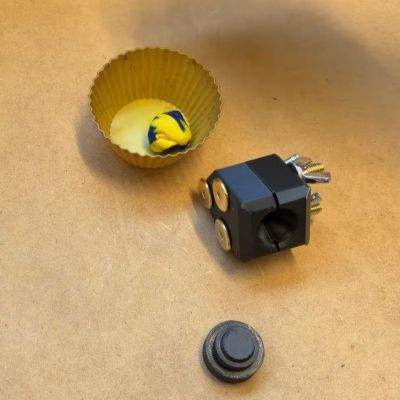 After previously trying out low-tech compression molding with a toaster oven and 3D printed molds, [future things] is back with a video that
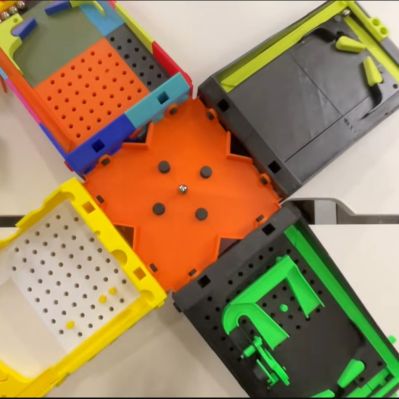 It seems fair to say that pinball machines are among the most universally loved gaming systems known today, yet the full-sized ones are both very expensive and very large, while even the good quality table-sized ones tend to be on the expensive side. That raises the question of whether a fully 3D printed pinball machine could at all be fun and not just feel like a cheapo toy? A recent video by [Steven] from [3D Printer Academy] on YouTube
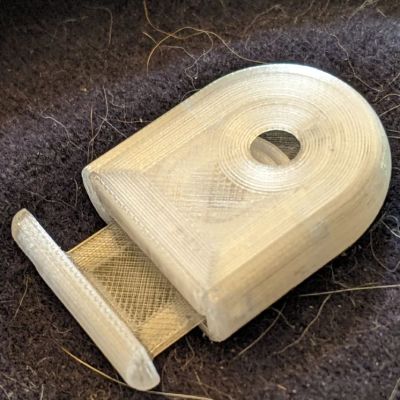 Springs are great, but making them out of plastic tends to come with some downsides, for fairly obvious reasons. Creating a compliant mechanism that can be 3D printed and yet which doesn’t permanently deform or wear out after a few uses is therefore a bit of a struggle. The compliant toggle mechanism that [neotoy] designed


