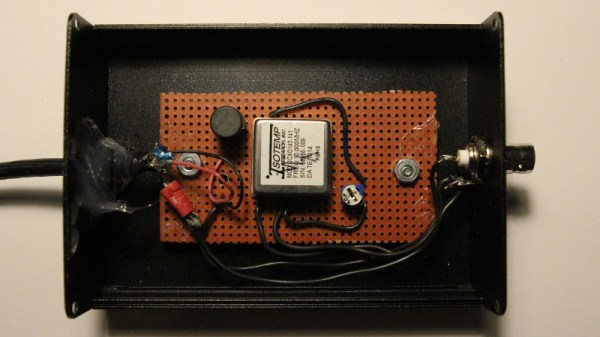
Currently quartz crystal-based oscillators are among the most common type of clock source in electronics, providing a reasonably accurate source in a cheap and small package. Unfortunately for high accuracy applications, atomic clocks aren’t quite compact enough to fit into the typical quartz-based temperature-compensated crystal oscillators (TCXOs) and even quartz-based solutions are rather large. The focus therefore has been on developing doped silicon MEMS solutions that can provide a similar low-drift solution as the best compensated quartz crystal oscillators, with the IEEE Spectrum magazine recently covering one such solution.
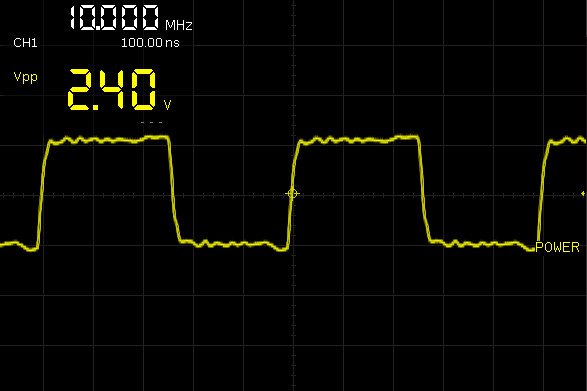
Part of the DARPA H6 program, [Everestus Ezike] et al. developed a solution that was stable to ±25 parts per billion (ppb) over the course of eight hours. This can be contrasted with a commercially available TCXO like the Microchip MX-503, which boasts a frequency stability of ±30 ppb.
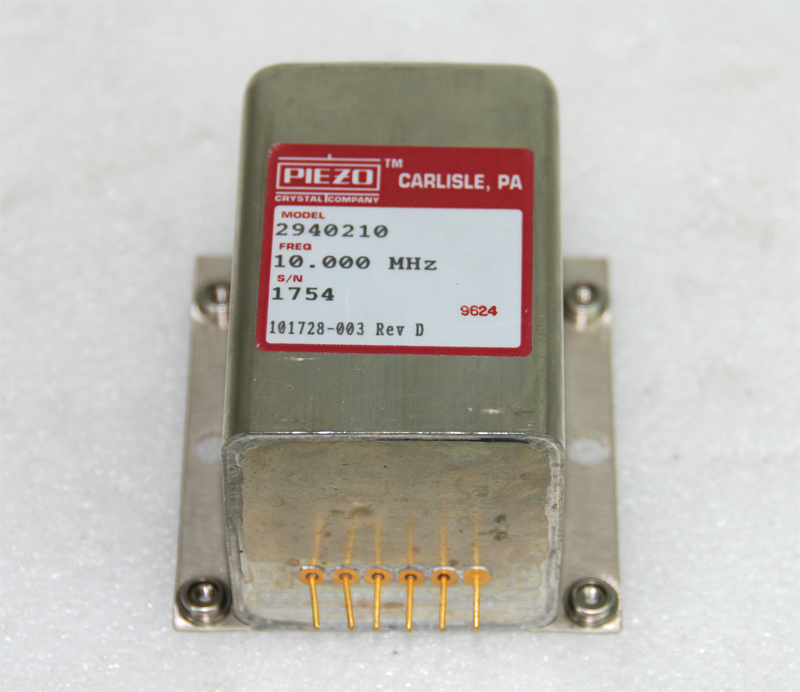
Higher accuracy is achievable by swapping the TCXO for an oven-controlled crystal oscillator (OCXO), with the internal temperature of the oscillator not compensated for, but rather controlled with an active heater. There are many existing OCXOs that offer down to sub-1 ppb stability, albeit in quite a big package, such as the OX-171 with a sizable 28×38 mm footprint.
With a MEMS silicon-based oscillator in OXCO configuration [Yutao Xu] et al. were able to achieve a frequency stability of ±14 ppb, which puts it pretty close to the better quartz-based oscillators, yet within a fraction of the space. As these devices mature, we may see them eventually compete with even the traditional OCXO offerings, though the hyperbolic premise of the IEEE Spectrum article of them competing with atomic clocks should be taken with at least a few kilograms of salt.
Thanks to [anfractuosity] for the tip.