It is a time-honored tradition: buy some cheap piece of gear and rewrite the firmware to make it work better. [Gissio] managed to do just that for a cheap FS2011 Geiger counter. Apparently, the firmware will also work with some similar Chinese models, too.
The new firmware boasts an improved UI and multiple measurement units, including Sievert, Rem, and counts per minute or second. You can hold the measurement or compute a dose or average rate. The new firmware also has a host of customizations and can accommodate different tubes.
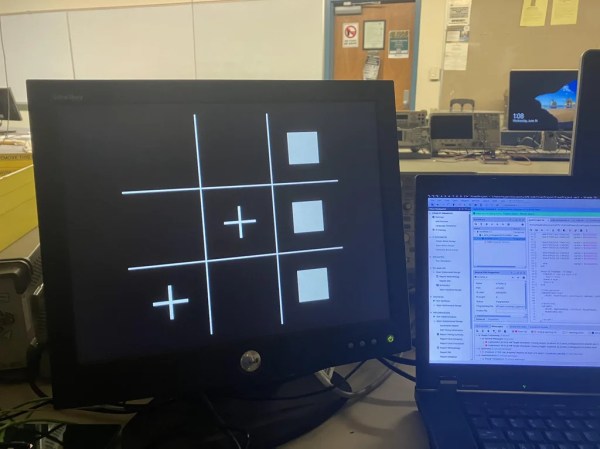
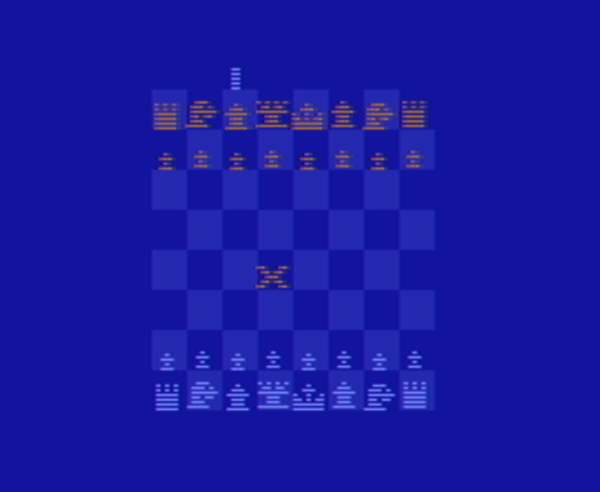
There are, however, two really key features. First, the new firmware offers about 40% more battery life than the stock version. Second, there is now an onboard nuclear chess game! That way, you can enjoy yourself while you are getting irradiated. There are also a few suggested hardware mods that are optional to improve measurements and increase the buzzer volume, among other things.
If you get a Geiger counter, you might be surprised at what things are slightly radioactive. If you don’t need the microcontroller, you can make a workable counter on the cheap.
Continue reading “An Open Source Firmware For Cheap Geiger Counters”