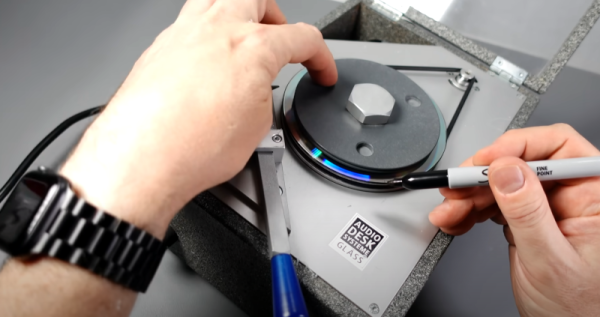
We always enjoy the odd things that people do to try to get better audio reproduction. Exotic cables, special amplifiers, and higher resolution digitization come to mind. Most of this is dubious, at best, but [Techmoan] brings up something we must have missed back in the day: shaving CDs with a gadget that was marketed as the “CD Sound Improver.” The theory is that bad CD reproduction comes from light scatter of the laser. The solution, according to the maker of this vintage equipment, is to cut a 36-degree bevel to act as a light trap. You can see the gadget in the video below.
The device claims it reduced vibration, improved audio, and even helped DVDs playback better video. As you might imagine, this has little hope of actually working. The box is essentially a motor-driven turntable, a razor blade, and a port for a vacuum cleaner to suck up the mess. You were told to color the edge with a marker, too.
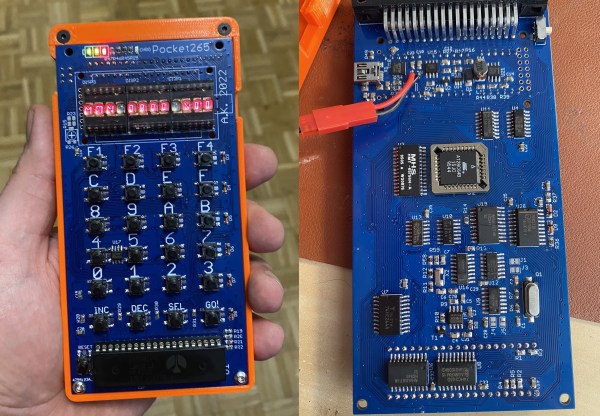
 making uploading firmware a breeze. To that end, a USB port is also provided, hooked up to the uC with the cheap CP2102 USB bridge chip as per most Arduino-like designs. The thing that makes this build a little unusual is the ethernet port. The hardware side of things is taken care of with the