At this point, it’s safe to say the novelty of desktop 3D printing has worn off. The community has largely come to terms with the limitations of extruded plastics, and while we still vehemently believe that it’s a transformative technology, we’ll admit there aren’t too many applications where a $200 USD printer squirting out PLA is truly the best tool for the job.
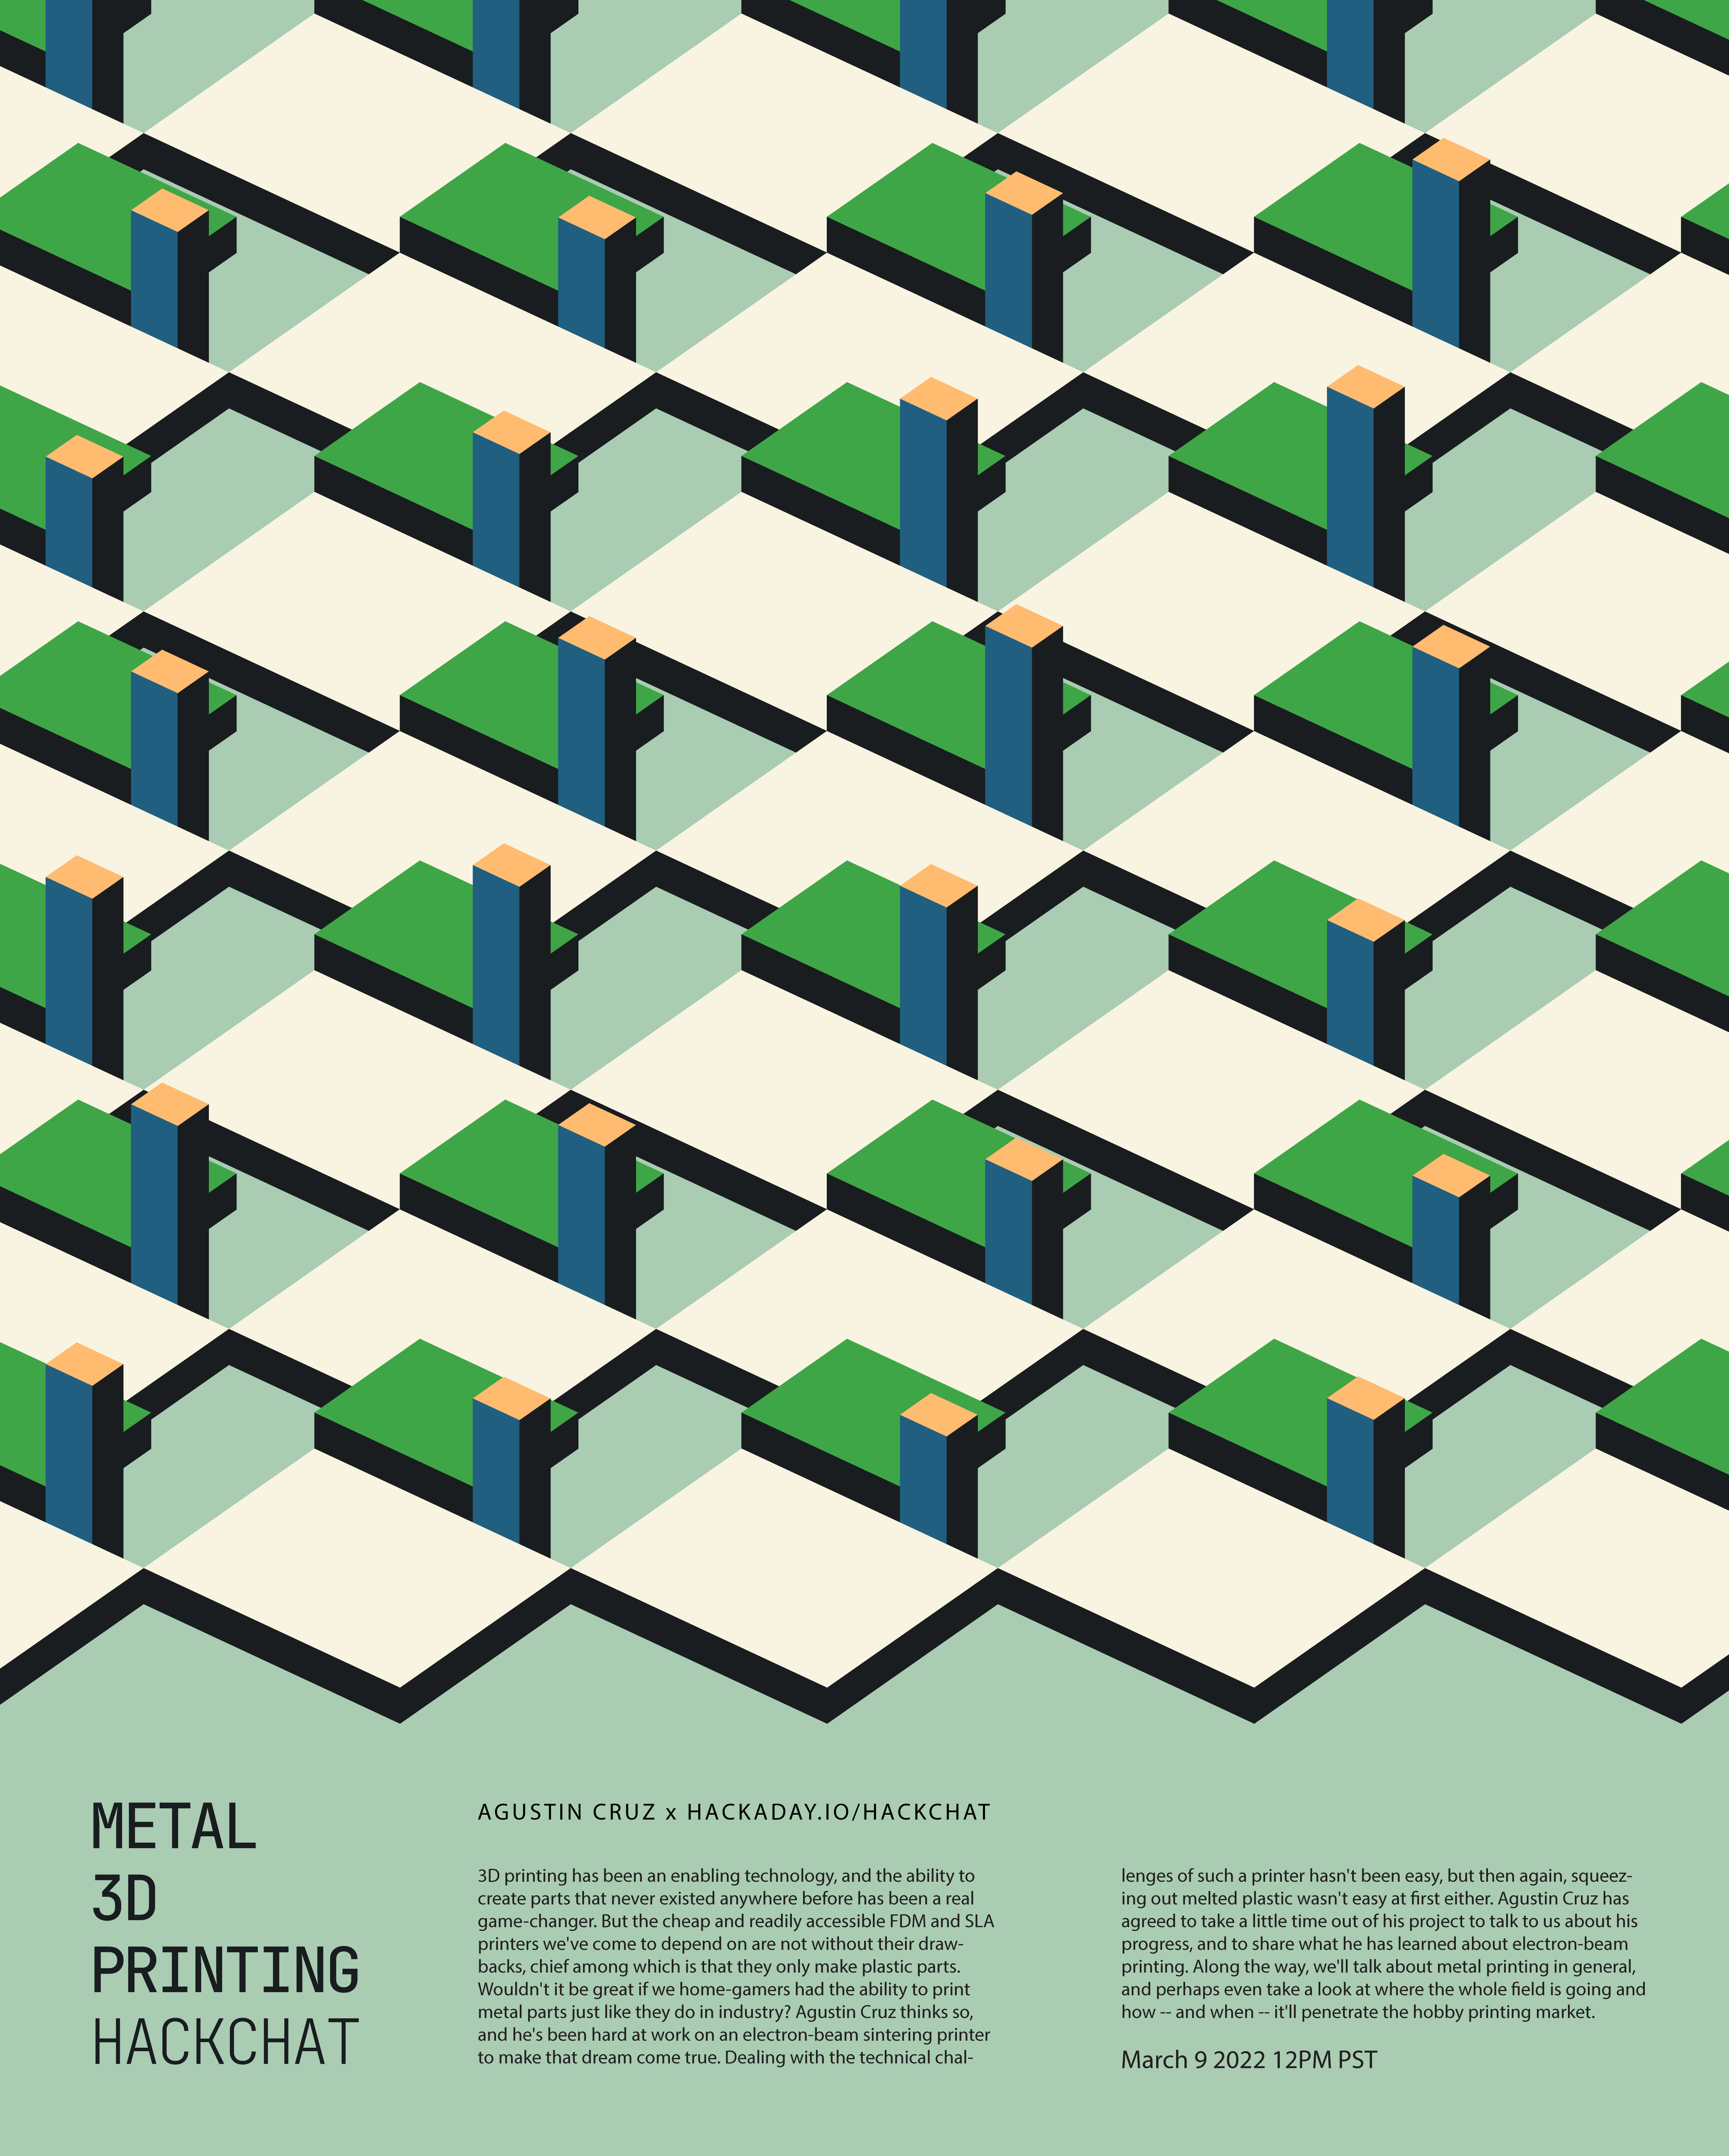
But rather than looking at today’s consumer 3D printer market as the end of the line, what if it’s just the beginning? With the problems of slicing, motion control, and extrusion more or less solved when it comes to machines that print in plastic, is it finally time to turn our attention to the unique problems inherent in building affordable metal printers? Agustin Cruz certainly thinks so, which is why he took to the Hack Chat this week to talk about his personal vision for an open source 3D printer that can turn powdered metals into solid objects by way of a carefully controlled electron beam.
 To be clear, Agustin isn’t suggesting you toss out your Creality anytime soon. Metal 3D printing will always be a niche within a niche, but for applications where even advanced engineering plastics like PEI and PEEK simply won’t do, he argues the community needs to have a cheap and accessible option. Especially for developing and low income countries where traditional manufacturing may be difficult. The machine he’s been working on wouldn’t be outside the capabilities of an individual to build and operate, but at least for right now the primary target is hospitals, colleges, and small companies.
The Chat was full of technical questions about Agustin’s design, and he wasn’t shy about tackling them. Some wondered why he decided to sinter the metal powder with an electron gun when solid-state lasers are cheap, easily available, and relatively straightforward to work with. But while the laser might seem like the easier solution on the surface, Agustin points out that using a magnetically focused electron beam gives his printer some unique capabilities.
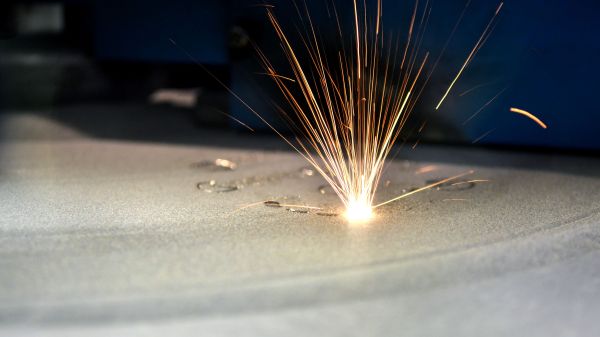
For example, he can easily defocus the beam and pass it over the entire build plate to pre-heat the powder. The steerable beam doesn’t require mirrors either, which not only reduces the weight and complexity of the machine, but in theory should allow for faster print speeds. The beam can be moved in the X/Y dimensions with an accuracy of 0.01 mm, and while the beam diameter is currently a respectable 0.5 mm, Agustin says he’s working on bringing that down to 0.1 mm for high detail work. The temperature at the focal point of the beam is between 1,400 and 1,500 °C, which he notes is not only hot enough to melt the powdered metal, but can also weld stainless steel.
Continue reading “The Metal 3D Printing Hack Chat Brings The Heat” →