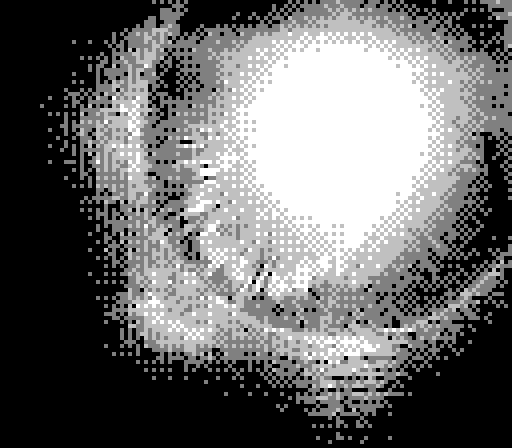
This one shouldn’t surprise us, but there is something particularly enjoyable about seeing the total eclipse of the Sun through a Game Boy camera.
The Game Boy got its camera accessory back in 1998 when CCD-based cameras with poor resolution were just becoming widely available to the public. This camera can capture 128×112 pixel images in the four value grey scale for which the handheld is so loved.
Having taken part in eclipse mania ourselves we can tell you that unless you did some serious research and prep for photographing the thing, this makes as much sense as pulling out your smartphone did. We posit that it certainly produced a more pleasing result.
[jhx] says this is more a weird halo effect of the shot than it is a quality image of totality. At this resolution, the moon-covered Sun should be very few pixels in size, right? But fidelity is for photographers, this is for hackers. Getting the digital image off of the Game Boy camera involved using an Interact Mega Memory cartridge on a Game Boy Pocket to transfer it over, then using a USB 64M cartridge to copy from the Mega Memory and ultimately to a computer.
Glamour shots ain’t easy, yo. But it is possible to read images directly off the Game Boy camera thanks to some reverse engineering work.
[via Kotaku]


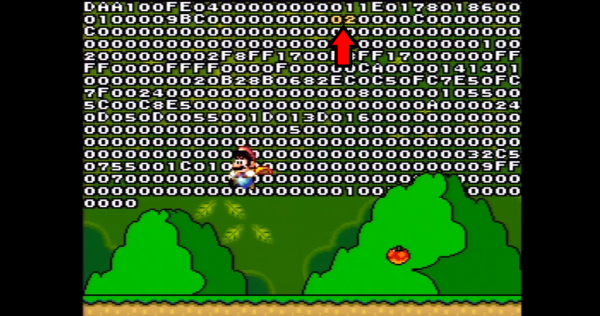
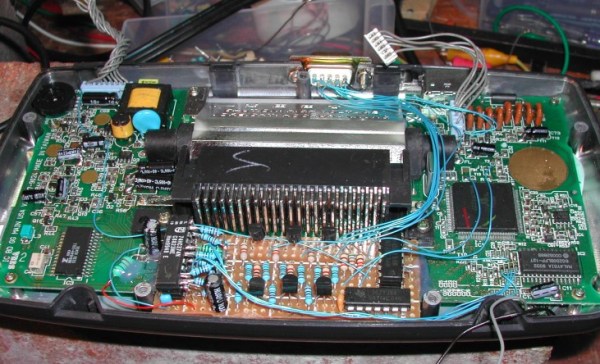
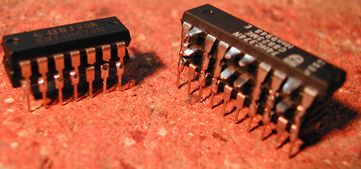 [EvilTim] first designed a circuit using discrete ’74 series logic which would convert the LCD drive signals to SCART RGB. Of note is the construction technique used in this circuit. A tower of three 74HC374 chips allows [EvilTim] to create R, G, and B outputs without the need for a complex circuit board.
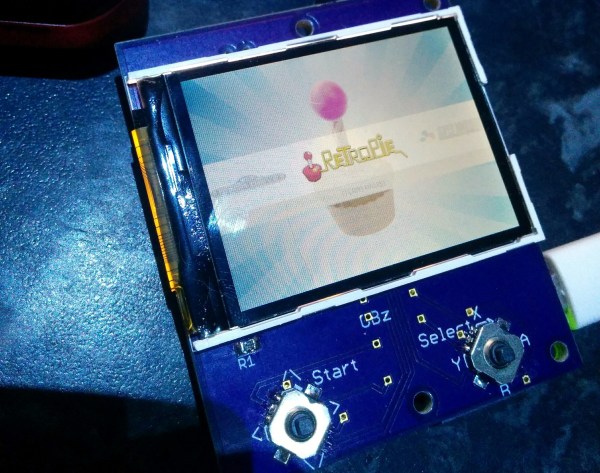
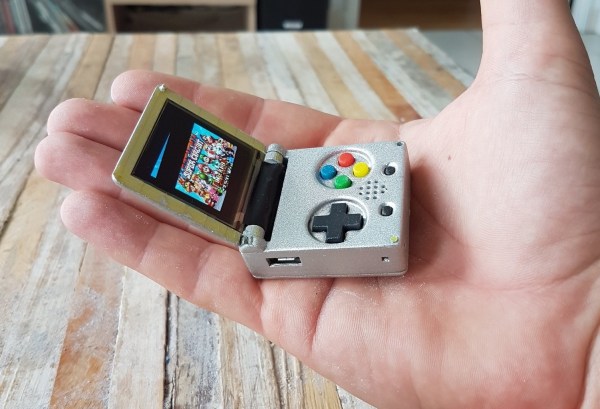
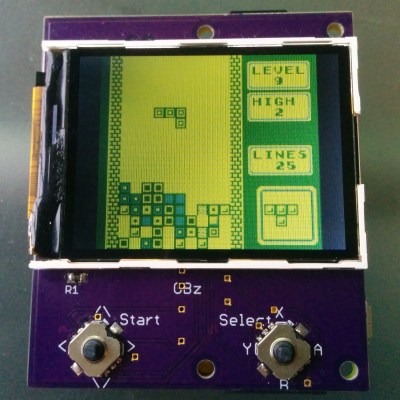 This build is based on the Pi Zero and a 2.2″ (0.56 dm) ili9341 TFT display. This display has a resolution of 240×320 pixels, which is close enough to the resolution of the systems the Pi Zero can emulate. The Pi Zero and display are attached to a beautiful purple breakout board (
![[Roland]'s face captured with the Game Boy Camera (left), and turned into a photorealistic image (right)](https://hackaday.com/wp-content/uploads/2017/02/output.png?w=400)


