The video (embedded below) by [TechAltar] is titled “1 Month without US tech giants“, but it could have been titled “1 Month with Open Source Tools” — because, as it turns out, once you get out of the ecosystem set up by the US tech giants, you’re into the world of open source software (OSS) whether you want to be or not.
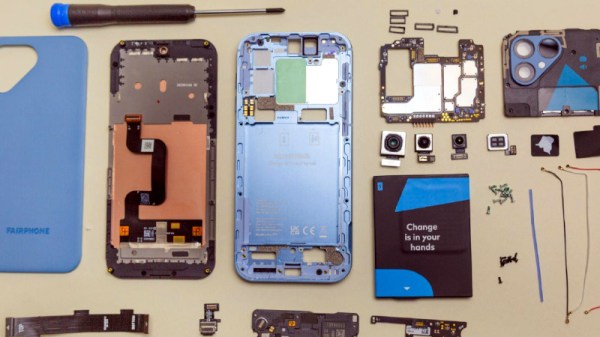
From a (German-made) Tuxedo laptop running their own Linux distro to a Fairphone with e/OS (which is French), an open version of Android, [TechAlter] is very keen to point out whenever Europeans are involved, which is how we learned that KDE has a physical headquarters, and that it’s in Berlin. Who knew?
He also gives his experiences with NextCloud (also German), can be used as an OSS alternative Google Workspaces that we’ve written about before, but then admits that he was the sole user on his instance. To which one must question: if you’re the sole user, why do you need a cloud-based collaborative environment? To try it out before getting collaborators involved, presumably.
Regardless what you think of the politics motivating this video, it’s great to see open source getting greater traction. While [TechAltar] was looking for European alternatives, part of the glory of open source is that it doesn’t matter where you’re from, you can still contribute. (Unless you’re Russian.) Have you found yourself using more open source software (or hardware) of late? Do you think the current political climate could lead to a broadening of its reach? Is this the year of the linux desktop? Let us know what you think in the comments. Continue reading “Escaping US Tech Giants Leads European YouTuber To Open Source”


