Homebrew RISC-V Computer Has Beauty And Brains

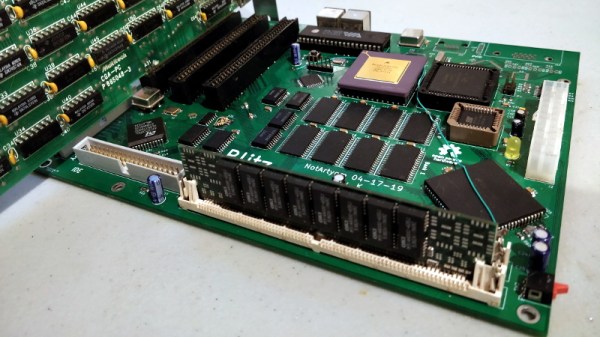
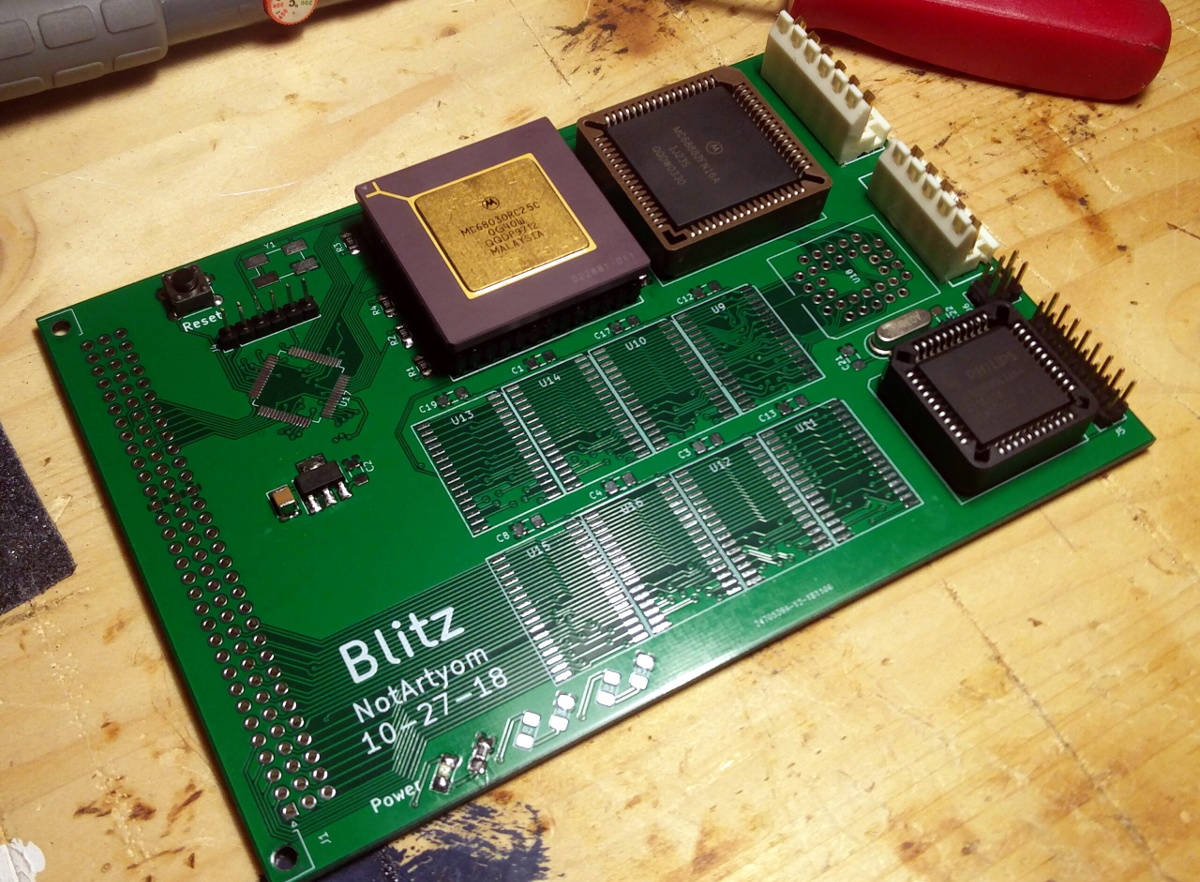
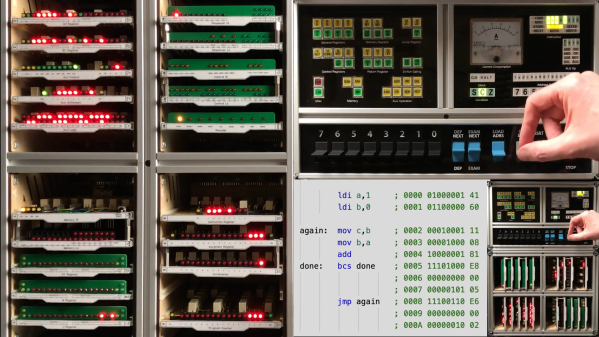
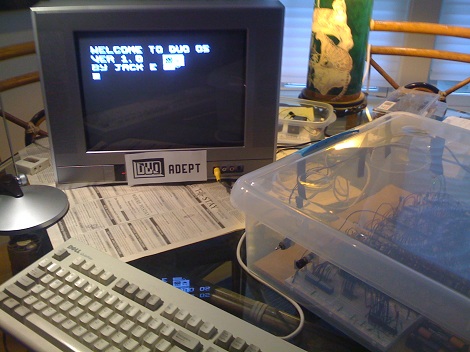
Building your own CPU is arguably the best way to truly wrap your head around how all those ones and zeros get flung around inside of a computer, but as you can probably imagine even a relatively simple processor takes an incredible amount of time and patience to put together. Plus, more often than not you’re then left with a maze of wires and perfboards that takes up half your desk and doesn’t do a whole lot more than blink some LEDs.

An early prototype of the Pineapple ONE.

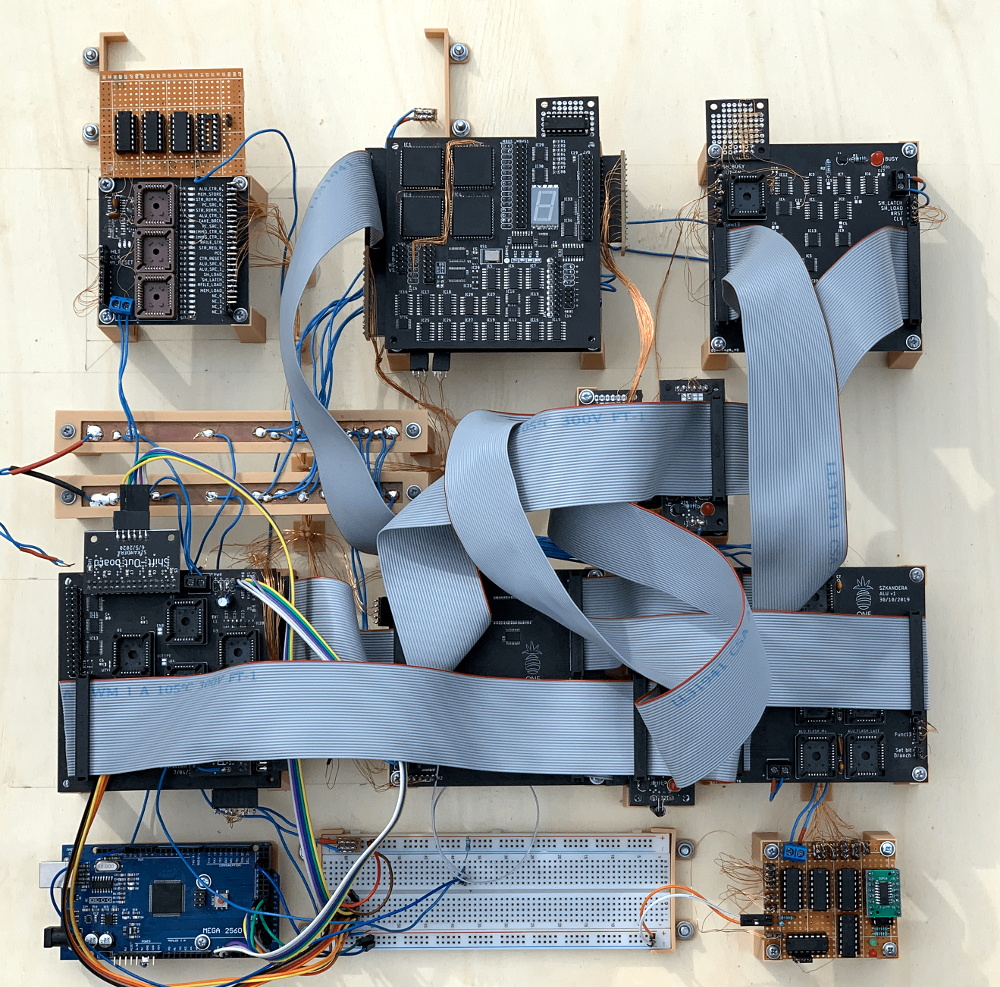
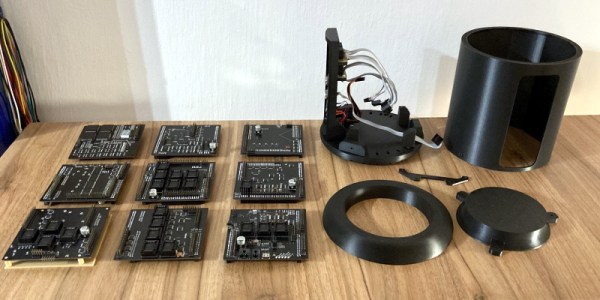
But the Pineapple ONE, built by [Filip Szkandera] isn’t your average homebrew computer. Oh sure, it still took two years for him to design, debug, and assemble, his 32-bit RISC-V CPU and all its associated hardware; but the end result is a gorgeous looking machine that runs C programs and offers a basic interactive shell over VGA. In fact with its slick 3D printed enclosure, vertically stacked construction, and modular peripheral connections, it looks more like some kind of high-tech scientific instrument than a computer; homebrew or otherwise.

[Filip] says he was inspired to build this 500 kHz (yes, kilohertz) beauty using only discrete logic components by [Ben Eater]’s well known 8-bit  breadboard computer and [Robert Baruch]’s LMARV-1 (Learn Me A RISC-V, version 1). He spent six months simulating the machine before he even started creating the schematics, let alone design the individual boards. He tried to keep all of his PCB’s under 100 x 100 mm to take advantage of discounts from the fabricator, which ultimately led to the decision to align the nine boards vertically and connect them together with pin headers.

In the video below you can see [Filip] start up the computer, call up a bit of system information, and even play a rudimentary game of snake before peeking and poking some of the machine’s 512 kB of RAM. It sounds like there’s still some work to be done and bugs to squash, but we’ve already seen enough to say this machine has more than earned entry into the pantheon of master-crafted homebrew computers.

Continue reading “Homebrew RISC-V Computer Has Beauty And Brains”

Homebrew 68K Micro-ATX Computer Runs Its Own OS

We’re no stranger to home built Motorola 68000 computers here at Hackaday, but more often than not, they tend to be an experiment in retro minimalism. The venerable processor is usually joined by only a handful of components, and there’s an excellent chance they’ll have taken up residence on a piece of perfboard. Then [NotArtyom] sent in his Blitz, and launched the bar into the stratosphere.

Make no mistake, the Blitz isn’t just some simple demo of classic chips. The open hardware motherboard has onboard floppy, IDE, and PS/2 interfaces, with a trio of 8-bit ISA expansion slots for good measure. The  Motorola 68030 CPU is humming along at 50 MHz, with 4 MB of RAM and 512 KB of ROM along for the ride. Designed to fit the Micro-ATX motherboard standard, you can even mount the Blitz in a contemporary PC case and run it on a standard ATX power supply.

An earlier prototype of the Blitz motherboard.

As if the hardware wasn’t impressive enough, [NotArtyom] went ahead and created his own open source DOS-like operating system for it to run. Written in portable C, G-DOS can run on various m68k boards as well as ARM and PowerPC machines. It’s an incredible project in its own right. If you’re looking for something to show off your homebrew computer, you could certainly do worse than pulling down a copy of G-DOS. If you do port it to a new board, make sure to let [NotArtyom] know.

It’s taken [NotArtyom] three years to develop Blitz and G-DOS with his only goal being to better understand homebrew computers. He has no interest in monetizing the design or turning it into a kit, but instead hopes it will be a resource and inspiration for others with similar interests. Oh yeah, and he did all of this before he even graduated high school. If you weren’t questioning your life’s accomplishments before, now would be a great time to start.

Interested in building your own Motorola 68000 computer, but haven’t yet attained the wizarding level of [NotArtyom]? You could start with something a bit simpler like the 68k-nano, or if you’re really in a pinch, just dead bug a Dragonball 68328.

Homebrew Relay Computer Looks Like It Could Be A Commercial Product

You may not have noticed, but we here at Hackaday really love our clicky stuff. Clicky mechanical keyboards, unnecessarily noisy flip-dot displays, and pretty much anything made with a lot of relays — they all grab our attention, in more ways than one. So it’s with no small surprise that we appear to have entirely missed perhaps the clickiest build of all: a fully operational 8-bit computer using nothing but relays.

What’s even more amazing about our failure to find and feature [Paul Law]’s excellent work is that he has been at it for the better part of a decade now. The first post on his very detailed and very well-crafted blog describing the build dates from 2013, when he was just testing LEDs in the arithmetic-logic unit (ALU). Since then, [Paul] has made incredible progress, building module after module, each containing a small portion of the computer’s functionality. The modules plug into card cages with backplanes to connect them, and the whole thing lives in an enclosure made from aluminum extrusion and glossy black panels for a truly sleek look. The computer is incredibly compact for something that uses 400+ DPDT relays to do its thinking.

In addition to the blog, [Paul] has a criminally undersubscribed YouTube channel with a quite recent series going over the computer in depth. We included the overall tour below, but you should really check out the rest of the videos to appreciate how much work went into this build. We’ve seen relay computers ranging in size from single-board to just plain ludicrous, but this one really takes the prize for fit and finish as well as functionality.

Continue reading “Homebrew Relay Computer Looks Like It Could Be A Commercial Product”

Homebrew 16-Bit Computer Is A Wire-Wrapped Work Of Art

Breadboard 8-bit computer builds seem all the rage these days, and with good reason: building your own CPU from the board up using discrete logic chips is a great way to really learn how microprocessors work. Not to mention that it’s an incredible flex. But once you’ve conquered the eight-bit, what do you do? Easy: build a 16-bit computer from 74HC logic chips.

Attentive readers will likely remember this computer’s builder, [Paulo Constantino], from his previous work on 8-bit breadboard computers. As gloriously entropic as that tangled mass of wires was, it must have been a nightmare for [Paulo] to maintain. And so when the time came to upgrade, he wisely chose a more integrated construction method. The construction method is wire-wrapping, with multiple cards plugged into backplane and connected by ribbon cables. The whole card cage is far neater than the previous build, and seems to lend itself to rapid modifications. The top card in the cage acts as a control panel for now; eventually, [Paulo] planes to put a real front panel on the cage to support all the switches and blinkenlights such builds demand. Stretch goals include supporting audio and video and getting the machine online so anyone can log in.

The video below is an overview of the current state of the machine; earlier videos in the playlist cover the design and build in more detail. We hope to see schematics soon, and we’d love to know where to get some of those wire-wrap PCBs for projects of our own.

Continue reading “Homebrew 16-Bit Computer Is A Wire-Wrapped Work Of Art”

Your Guide To Building A Homebrew 6502 Computer

If you’ve ever thought about getting down to bare metal and building a homebrew computer from scratch [Garth Wilson] put up a great primer to the 6502, the same CPU found in Apple ][ computers, BBC Micros, Vic-20s, and the venerable Commodore 64 (a 6510 in the C64, but it’s close enough).

In his guide to building a 6502 computer, [Garth] goes over all the basics – what you want the computer to do, how to decode addresses, and other important technical requirements for getting a homebrew project running.

If that’s not enough, [Garth] directs his readers to the fabulous 6502.org forums  where just about every topic is discussed. The guys on the forum have a standardized I2C pinout for the 6502, allowing noobs to easily connect pre-designed keyboards, displays, and storage devices to their projects. There are a ton of tutorials on the 6502.org site, more than enough to get a homebrew project off the ground.

If you’d like to see what you can do with a homebrew 6502, check out the homebrew projects page featuring a 6502 Nixie clock and CLPD-based 65816 single board computer. There’s a treasure trove of information here, just waiting to be pulled from the vine.

Homebrew TTL Logic Computer

Although [Jack] just graduated High School and doesn’t have much experience with electronics, that didn’t stop him from building the DUO Adept, a homebrew computer built entirely out of TTL logic chips.

The DUO Adept has 64k of memory, 6K of which is dedicated to the video ram that outputs a 240×208 black and white image onto a TV. Bootstrapping the computer to it’s current state was quite a challenge, as an entire OS was put into th system one bit at a time though DIP switches. After the OS was written to the computer, [Jack] was able to connect a keyboard and started programming. [Jack] programmed a hex editor and a few games of his own design. If all that wasn’t impressive enough, [Jack] also programmed an assembly compiler and emulator for his homebrew system.

We’ve seen a a few homebrew computersbefore, but not many of them are laid out on 17 breadboards like the DUO Adept. With skills like these, we can’t wait to see what [Jack] comes up with next. Check out the video after the break for a walk-through of the build.

Continue reading “Homebrew TTL Logic Computer”

Homebrew Z80 Computer Inspires Awe

How this one missed us, we’ll never know.

[GG] built himself a retro-styled Z80 nanocomputer over two years using all 1980’s tech. Laid out on one of the largest pieces of perfboard we’ve ever seen on a project, the computer uses a vintage Z80 CPU running at 2.5MHz, 8K ROM, 16K RAM, RS-232 and Parallel ports, an EPROM burner, and an AM95 math coprocessor for 32-bit floating point arithmetic.

We’ve seen a few homebrew computers before, including a Z80 laptop, but this blows them away. For his computer, [GG] created 8BASIC, A Basic interpreter that makes best use of the six 7-segment displays and eight 16-segment displays. The display isn’t really a limitation because [GG] also put together something in Visual Basic so his PC can communicate with his nanocomputer.

[GG] even went so far as to include error detection on the ROM and RAM, as well as an on-board power supply. If you can’t admire the dedication that went into this, at least admire the great wire porn. We’re just sad [GG] never did a proper write-up of his project. He could certainly teach us all something.

Video of [GG]’s work after the jump.

Continue reading “Homebrew Z80 Computer Inspires Awe”