Hacking Rolling Code Keyfobs

Most keyfobs out there that open cars, garage doors, and gates use a rolling code for security. This works by transmitting a different key every time you press the button. If the keys line up, the signal is considered legitimate and the door opens.

[Spencer] took a look into hacking rolling code keyfobs using low cost software-defined radio equipment. There’s two pars of this attack. The first involves jamming the frequency the keyfob transmits on while recording using a RTL-SDR dongle. The jamming signal prevents the receiver from acknowledging the request, but it can be filtered out using GNU Radio to recover the key.

Since the receiver hasn’t seen this key yet, it will still be valid. By replaying the key, the receiver can be tricked. To pull off the replay, GNU Radio was used to demodulate the amplitude shift keying (ASK) signal used by the transmitter. This was played out of a computer sound card into a ASK transmitter module, which sent out a valid key.

Meet ‘Raspberri’, Your Personal Voice Controlled Assistant

raspda

We’ve all seen the old movie scene where the executive calls his assistant on the intercom for some task or other. [Jan] may not be an executive, and he may not have an assistant. He does have Raspberri, his voice controlled personal digital assistant. Raspberri started life as a vintage Televox intercom box. [Jan] found it at a second-hand store, and snapped it up in hopes of using it in a future project. That project eventually happened when [Jan] got a Raspberry Pi and learned how to use it. He decided to build the Televox and Pi together, creating his own electronic assistant.

[Jan] started by adding a cheap USB sound card and WiFi module to his Pi. He also added a small 3 Watt audio amp board. The Televox used a single speaker as both audio input and output. [Jan] didn’t want to make any modifications to the case, so he kept this arrangement. Using a single speaker would mean dead shorting the audio amplifier and the sound card’s microphone input. To avoid this, [Jan] added a DPDT relay controlled by the original push-to-talk button on the Televox. The relay switches between the microphone input and the audio output on the USB sound card. Everything fit nicely inside the Televox case.

With the hardware complete [Jan] turned his attention to software. He went with PiAUISuite for voice input. Voice output is handled by a simple shell script which uses google voice to convert text to speech. For intermediate processing, such as scraping a weather website for data, [Jan] created custom python scripts. The end result is pretty darn good. There is a bit of lag between saying the command and receiving an answer. This may be due to transferring the audio files over WiFi. However,  [Jan] can always get away with saying his assistant was out getting him more coffee!

Continue reading “Meet ‘Raspberri’, Your Personal Voice Controlled Assistant”

Pi-Powered Radio Over IP

Pi

[KP4TR] connected a Raspberry Pi to a small, cheap handheld radio, allowing anyone within a few miles of his house to connect to amateur radio operators all around the world.

For the hardware, [KP4TR] is using a Raspi, a Baofeng BF-888s 400MHz – 470MHz walkie-talkie radio, a USB sound card, and a pair of transformers for the 5V and 3.7V lines. All this is tucked away in a remakably vintage-looking plate and standoff enclosure, complete with acorn nuts and an RGB LED connected to the Raspi’s GPIO to indicate whether the radio is transmitting or receiving.

The software used is SVXLink, a Linux port of the Echolink software. This app allows hams the world over to connect to very distant radios over the Internet.

You can check out the video demos of the system below.

Continue reading “Pi-Powered Radio Over IP”

Classic 80’s Stereo Receiver Enjoys A Second Life As RadioduinoWRT

radio2
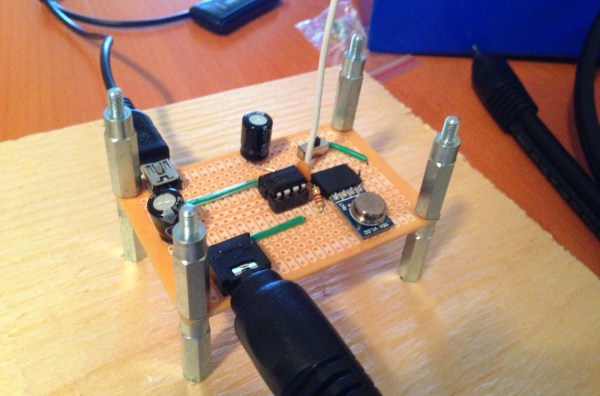
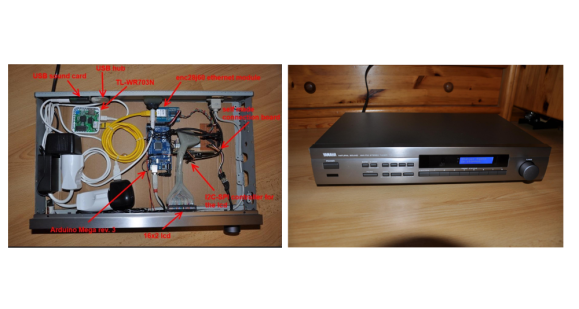
[Raffael] had an old Broken Yamaha natural sound receiver lying around. Rather than throw it out, he built himself a slick web radio. He calls it RadioduinoWRT. [Raffael] started by removing all the internals – though he kept the front panel controls.  He then added an Arduino Mega to handle the front panel controls, including a 16×2 character LCD module. The Arduino also takes commands via IR remote. An enc28j60 Ethernet module allows the Arduino to communicate with a the brains of the operation, a TL-WR703N mini router.

A micro USB hub expands the single USB port on the WR703, allowing both a USB sound card and a 4 gig USB stick to be mounted. We’d like to add that the TL-WR703 is a must in this application – the amazon link [Rafael] provides brings up the TL-WR702 as a top link. Only the TL-WR703 has a USB host connection.

The real magic is in [Raffael’s] software setup. The WR703 is running OpenWRT.  He added modules for the USB sound card, as well as expanding the file system onto the USB stick. Once that was complete [Raffael] added Music Player Daemon (MPD) and MPC, a console app to drive MPD. Lighttpd, a light web server provides an interface for the Arduino as well as a web front end to the entire radio.All this allows [Raffael] to control his radio in several ways. He can log in via any web browser on his network. He can use the front panel controls. He can use an IR remote. Since he is running MPD, any client (there are literally hundreds out there) will also drive the radio.

While a low-end USB sound card in a home stereo application does make our inner audiophile cringe a bit, the quality does seem to be pretty good. [Rafael’s] design would make it simple to swap out a higher quality USB sound card if the need arises.

Continue reading “Classic 80’s Stereo Receiver Enjoys A Second Life As RadioduinoWRT”

A $100 Stereolithography 3D Printer

The Hackaday tip line has been blowing up with a new Kickstarter for a 3D printer. Although this is a pretty common occurrence around here, this printer is actually very interesting: it’s quite possibly the simplest and cheapest laser resin printer ever.

Most of the 3D resin printers we’ve seen, like the Form1 use mechanical means to raise a print up to the next slice. At $100, the Peachy printer doesn’t have the budget for such luxuries as servos or motors, so the layer height is increased by dripping salt water over the liquid resin. The X and Y axes are controlled with mirrors and voice coils, allowing this printer’s electronics to be controlled by a computer’s sound card. It’s really amazing in its simplicity, and from the looks of it the Peachy can produce some fairly good prints.

For a great explanation of how the Peachy printer works, you can check out the video below.

Continue reading “A $100 Stereolithography 3D Printer”

Simple Looking Antique Internet Radio Has A Lot Under The Hood

rpi-internet-radio
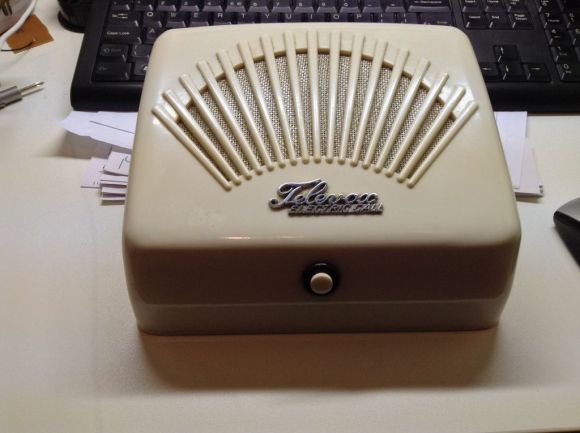
At first glance you might not even notice that this 1934 radio has been altered. But close study of the tuning dial will tip you off that changes have been made. It still scrolls through stations just like the original. But it’s not a wheel with some numbers on it. The rotary motion is an effect produced by an LCD screen.

This is the second time we’ve seen one of [Florian Amrhein’s] Internet radio projects. The first used guts from a Laptop paired with an Arduino to pull everything together. This time he’s chosen to wield a Raspberry Pi board. It feeds a USB sound card for a bit better quality. A small amplifier board us used to power one large speaker behind the original grill of the radio.

Check out the demo video to see that radio dial in action. It’s delightful that he went to the trouble to emulate a rotating disc to keep with the theme of the project.

Continue reading “Simple Looking Antique Internet Radio Has A Lot Under The Hood”

Echolocation Pinpoints Where A Gunshot Came From

echolocating-gunshots

[Kripthor] suspected that hunters were getting too near his house. When thinking of a way to quantify this belief he set out to build a triangulation system based on the sound of gunshots. The theory behind it is acoustic location, which is a specialized type echolocation.

The most common example of echolocation is in Bats, who emit ultrasonic noise and listen for its return (echo) to judge the location of objects. [Kripthor] doesn’t need to generate the sound himself, he just needs to pick it up at different points. The time difference from the three samples can be used to triangulate coordinates as seen in the image above.

He first tried using a PC sound card to collect the samples. The stereo input only provides two channels so he tinkered around with a 555-based multiplexing circuit to sample from three. The circuit noise created was just too great so he transitioned to using an Arduino. The ADC samples from each microphone via an NPN transistor which is used as a simple amplifier.

This brings to mind a homebrew sonar hack from way back.