Chris Gammell wants to know: What’s in your circuit toolbox?
Personally, mine is somewhat understocked. I do know that in one of my journals, probably from back in the 1980s, I scribbled down a schematic of a voltage multiplier I had just built, with the classic diode and capacitor ladder topology. I probably fed it from a small bell transformer, and I might have gotten a hundred volts or so out of it. I was so proud at the time that I wrote it down for posterity with the note, “I made this today!”
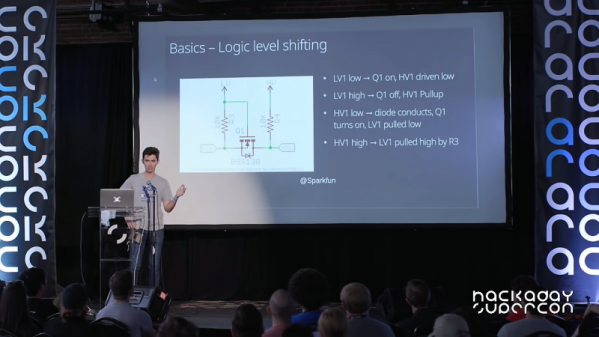
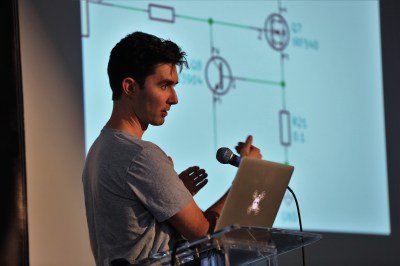
I think the whole point of Chris’ 2018 Hackaday Superconference talk is precisely what I was trying to get at when I made my “discovery” — we all have circuits that just work for us, and the more you have, the better. Most readers will recognize Chris from such venues as The Amp Hour, a weekly podcast he hosts with Dave Jones, and his KiCad tutorial videos. Chris has been in electrical engineering for nearly twenty years now, and he’s picked up a collection of go-to circuits that keep showing up in his designs and making life easier, which he graciously shared with the crowd.
 As Chris points out, it’s the little circuits that can make the difference. Slide after slide of his talk had schematics with no more than a handful of components in them, covering applications from dead-simple LED power indicators and switch debouncing to IO expansion using a 74HC595. And as any sensible engineer might, Chris’ toolbox includes a good selection of power protection circuits, everything from polarity reversal protection with a MOSFET and a zener to a neat little high-side driver shutoff using a differential amp and an optoisolator.
My favorite part of the talk was the “Codeless” section — things you can do with discrete components that make microcontroller circuits better. We see the “You could have used a 555!” comments from readers all the time, and Chris agrees, at least to a point. He aptly notes that microcontrollers can wake up with their IO pins in unknown states, and offered several circuits to keep the potential for mischief at bay, such as Schmitt trigger power-on reset or the simple addition of a pull-down resistor to default a MOSFET to a safe state. There’s a lot that code can accomplish, but adding just a few parts can make a circuit much safer and useful.
Chris acknowledges that in any audience, everyone is always at different places with regard to their hardware learning curve, so what’s old hat to someone might be a fresh revelation to another. Still, everything is new to someone at some point, and that’s often the best time to write it down. That’s what I did all those years ago with that voltage multiplier, and it never left me as a result. It’s good advice, and if you haven’t started building your own circuit toolbox, now’s the time.
Continue reading “Chris Gammell Talks Circuit Toolboxes” →