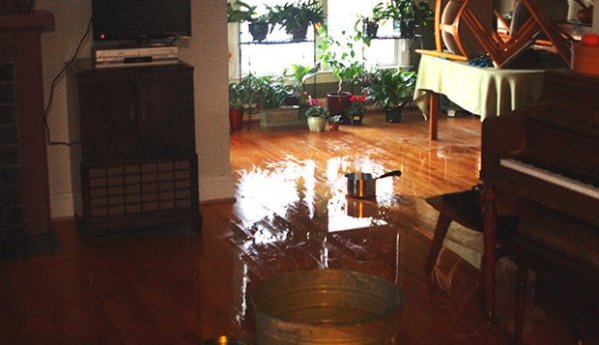
Is it too much to ask for a home to have a little ‘smart’ built-in? If you’ve ever woken up (or come home) to your dwelling being flooded, you’ll know how terrible it feels, how long it can take to recover from, and how stressful it can be. Yeah, it’s happened to us before, so we really feel for [David Schneider]. He woke up one Sunday morning to a whole lot of water in his house. The inlet valve for his washing machine somehow got stuck in the open position after putting a load of laundry in the previous night.
[David] took progressively complex measures to prevent a broken water feed flood from happening in the future. First, he lined the entire floor of his laundry closet with a steel tray. OK, that’s a good start but won’t prevent another disaster unless it is caught very quickly. How about a simple audible water alarm? That’s good and all if you’re home, but what if you’re not?
Next, he installed a valve with a mechanical timer on the water line for the washing machine which closes automatically after 2 hours of being opened. Much better, but what about all the other thirsty appliances around the house? After searching online a little, he found plenty of whole house systems that would work for him, but there were 2 problems with these. First, most were network-based and he didn’t want to IoT-ify his house’s water system. Second, they were overpriced.
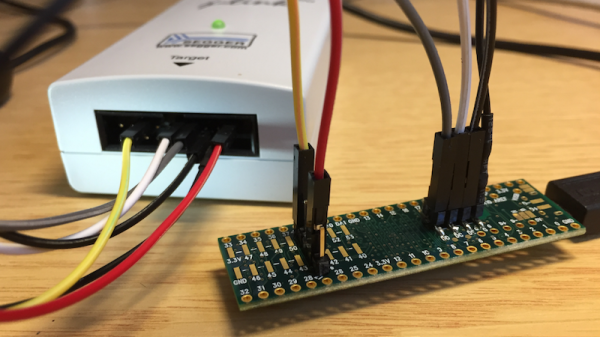
Of course the solution was to put together his own system! First, he purchased a few mostly inexpensive things — a wireless alarm, some water sensors, and a motorized ball valve. Then he collected the last few things he needed from what he had on hand around the house, and got to work connecting the 4 LEDs on the alarm to 4 analog input pins on his Arduino. Next, he added a relay between the Arduino and the motorized ball valve.
If a sensor detects water, it tells the alarm about it (wirelessly), which triggers the Arduino to energize a relay that is connected to the motorized ball valve, causing it to shut off the main water line for the entire house. Disaster averted! Sure, it’s a fairly simple hack, but it works, meets his requirements, and now he sleeps better at night knowing he won’t wake up (or come home) to an indoor swimming pool.
It’s surprising that we haven’t seen more hacks like this given it’s such a common problem. The closest thing we can remember is an overflow sensor for an aquarium. If homes came standard with a water main shutoff system, it would remove a stressful event from our lives and maybe even lower our insurance premium.