
There has always been a need for electronic graph paper – a digital device that records ones and zeros, writes bits, and keeps track of analog voltages. Many moons ago, this sort of device was graph paper, wrapped around a drum, slowly spinning around once per day. With the advent of cheap, powerful microcontrollers and SD cards these devices have become even more capable.
For their entry to the Hackaday Prize, [Kuldeep] and [Sandeep] have built Box0. It’s a lab in a bag, an open source data acquisition unit, and a USB device that toggles pins, all in one simple device.
The hardware for this devices consists of an STM32F0 microcontroller, a USB port, and enough pins to offer up a few SPIs, an I2C bus, eight channels of digital output, two PWM channels, a UART, analog in, and analog out.
Of course, hardware is the easy part. If you want to do something useful with a device like this, you need some software. Here is where the project really shines. They have libraries for Python, Julia, C, Java, and JavaScript. That’s enough to make anyone happy, and makes this Box0 exceptionally capable. For a demonstration, they’ve built a curve tracer for transistors and red, green, and blue LEDs with the Box0. It works, and it looks like this actually is an exceptionally useful device.


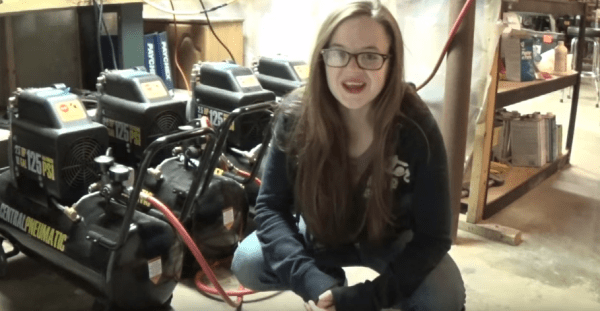
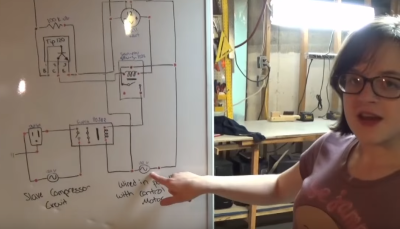 The Arduino’s GPIO pins can’t handle 9 amp AC loads, so [Hannah] wired them to TIP120 transistors. The TIP120s drive low power relays, which in turn drive high current air conditioning relays. The system works quite well, as can be seen in the video below the break.


