Cricket Scoreboard Is A Big Win For Novice Hackers

The game of cricket boggles most Americans in the same way our football perplexes the rest of the world. We won’t even pretend to understand what a “wicket” or an “over” is, but apparently it’s important enough to keep track of that so an English cricket club decided to build their own electronic scoreboard for their – pitch? Field? Help us out here.

This scoreboard build was undertaken by what team member [Ian] refers to as some “middle-aged blokes from Gloucestershire” with no previous electronics experience. That’s tough enough to deal with, but add to it virtually no budget, a huge physical size for the board, exposure to the elements, and a publicly visible project where failure would be embarrassingly obvious, and this was indeed an intimidating project to even consider. Yet despite the handicaps, they came up with a great rig, with a laser-cut acrylic cover for a professional look. A Raspberry Pi runs the LED segments and allows WiFi connections from a laptop or phone in the stands. They’ve even recently upgraded to solar power for the system.

And we’ll toot our own horn here, since this build was inspired at least in part by a Hackaday post. The builders have a long list of other links that inspired or instructed them, and we think that says something powerful about the hacker community that we’ve all been building – a group with no previous experience manages a major build with the guidance of seasoned hackers. That’s something to feel good about.

Five Bucks, Three Parts: WiFi Camera Remote

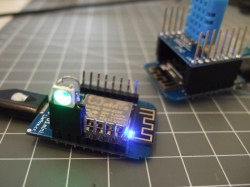
It’s just ridiculous how cheap and easy it is to do some things today that were both costly and difficult just two or three years ago. Case in point: Hackaday.io user [gamaral] built a WiFi remote control for his Canon E3 camera out of just three parts: an ESP8266 module, a voltage regulator, and a stereo plug that the camera uses as its remote trigger.

And the codebase is just about as minimal, although it’s not without its nice touches. Control is easy — just pull down a pin for focus or shutter. The ESP listens to a custom port, and when it gets the message, “presses” or “releases” the pins. It’s a good, simple example of how to work with the ESP IOT SDK.

The timing is all on the client side. [gamaral] knew that he was going to want to play around with how long to hold down the focus button, for instance, so he left that flexible. Using Netcat makes the client-side code completely trivial: echo -n "SHUTTER HOLD" | nc -w 1 -q 1 roosevelt 9021. Bam. And it worked first time. Check the well-done video just below for more details.

And keep your eye on [gamaral]’s Hackaday.io page, because he’s going to make another video when the PCBs arrive in the mail.

Continue reading “Five Bucks, Three Parts: WiFi Camera Remote”

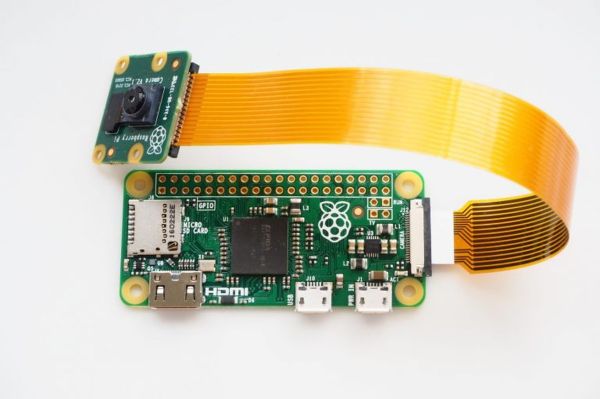
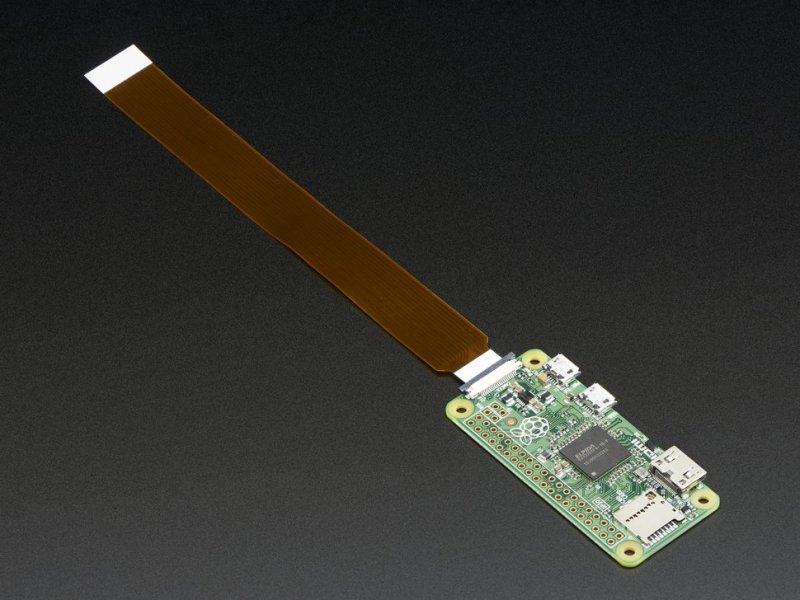
Pi Zero Recipe Kiosk

Why do you want to have a tiny $5 Linux system on a chip? Because you can cram it into a discarded LCD monitor and you’ve got a useful device. [zarderxio] did just that, satisfying the age-old dream of the kitchen computer with junk that was lying around in the basement.

There’s not much to this hack. The Raspberry Pi Zero needs a 5V power supply and the screen has 12V, so a step-down converter takes care of that. [zarderxio] hard-wires the monitor out of the Zero straight up to the monitor’s input jack, and hot-glues a USB hub to the outside of the monitor for a keyboard and mouse. (Because if there’s one thing we know, it’s that the Raspberry Pi Zero needs more USB ports: see exhibit A and exhibit B just for example.)

Now you’re all thinking, “USB keyboard and mouse?!?! I want a touchscreen!” Do you really? In the kitchen, with sticky fingers? Well, the screen in [zarderxio]’s junk box didn’t have a touchscreen, and this makes it more flexible, so we’re on the side of the quick hack done. Who knows, maybe he’ll hack yet another Raspberry Pi Zero into a smudge-proof recipe controller?

[via reddit.]

Finally, An Acceptable Use Of The Apple Watch

For many of us, we remember the days of the Apple Classic Macintosh. For [Erich Styger], his days of development in Pascal and Modula-2 are long over, but he still gets warm and tingly thinking back to the classic white box we knew and loved. So he decided to 3D print a Classic Mac to use as his Apple Watch charging station.

He started with an existing model on Thingiverse and modified it to better suit his needs — sharing CAD makes the design process go ever so much faster. It consists of two parts, an outer shell that looks like a Classic Mac, and an inner structure that holds the stock charger for your Apple Watch.

The result is an adorably small Classic Mac to sit on your desk in miniature form. It’s perhaps the most acceptable use of a $1000 Apple Watch we have ever seen.

Seriously though, the Apple Watch is nicely built — just take a look at the tear-down we covered.

Using RealSense Cameras With OS X And Linux

The original Microsoft Kinect was a revolution in computer vision. For less than one hundred dollars, the Kinect gave everyone a webcam with a depth sensor. If you’re doing anything with robots, 3D scanning, or anything else where a computer needs to know where it is in 3D space, it’s awesome. These depth-mapping cameras have improved over the years, with the latest and most capable hardware being Intel’s RealSense 3D camera.

Despite being a very capable depth camera, support for Linux and OS X doesn’t exist. Researchers, roboticists and IoT developers are slightly miffed about this, and it seems like Intel doesn’t care about people using their hardware on platforms that aren’t Windows.

Now, finally, that’s changed. A few developers have taken it upon themselves to build a cross-platform library for the F200, SR300, and R200 Intel RealSense depth cameras.

The librealsense library features proper RealSense camera support for Linux, OS X, and Windows and provides all the functionality of the official Intel SDK. This functionality includes native depth, color, and infrared streams, synthetic streams for rectified images, calibration information, and the most interesting feature: multi-camera capture.

The hardware required to use the RealSense camera is somewhat lightweight – any recent laptop should be able to capture depth images with a RealSense camera. The camera itself requires USB 3, though, so you won’t be building a 3D scanner with a RealSense camera and a Raspberry Pi quite yet. Still, it’s the latest advancement for giving robots 3D vision and building cheap, portable 3D scanners.

Hacklet 92 – Workbenches And Toolboxes

Everyone needs a place to work. While some of us have well equipped labs with soldering stations, oscilloscopes, and a myriad of other tools, others perform their hacks on the kitchen table. Still, some hackers have to be on the go – taking their tools and work space along with them on the road. This week’s Hacklet is all about the best toolbox and workbench projects on Hackaday.io!

worktableWe start at the top – in this case, a bench top. [KickSucker] created Mondrian Inspired Work Table as a multi-use tabletop for all kinds of projects. Rather than slap down a piece of plywood, [KickSucker] took a more artistic route. Piet Mondrian was a dutch artist known for painting irregular grids of black and white lines. He’d fill a few of the rectangles up with primary colors, but leave most of them white. Between different off-cuts of wood, and colorful bits of skateboard deck [KickSucker] had the makings of an awesome work surface. The frame of the bench is an IKEA expedite shelf unit. The frame is made from MDF, with the offcuts laid on top of it. The fun part was arranging all the pieces to make lines and colors. The result is a great custom work table, and a heck of a lot less wood scraps lying around the shop. That’s a double win in our book!

toolboxNext up is [M.Hehr] with Portable Workbench & mini Lab. [M.Hehr] has wanted a portable electronic workstation for years. We’re betting he’s seen a few of them here on the blog. While cleaning up the lab before Christmas, [M.Hehr] found a couple of wooden IKEA boxes. Each box held some drawers. An idea formed in [M.Hehr’s] head. It was time to put the plan in motion! The boxes were attached and hinged. Custom brackets were cut on a Shapeoko 2 router. Everything – even the screws were recycled. [M.Hehr] created a perfect space for each tool, ensuring that things won’t end up in a tangled mess when the box is carried around. We really love the retractable power point and custom-made power supply!

roadcaseNext we’ve got [Tim Trzepacz] with Musician’s Road Box with 9 space rack. [Tim’s] sister [Tina] was playing a lot of music on the road, and needed a way to organize her gear. There are plenty of commercial solutions for this, but [Tim] decided to roll the perfect solution. He designed a plywood box with a 9U rack. [Tina’s] mixer and backing sound sources were located on the top, while effects and other modules were located in the rack. [Tim] spent a good amount of time designing the box. He was able to get the cut list down to a single piece of plywood, with room to spare. This is perfect for a 4′ x 8′ router like the ShopBot. When it comes time to hit the road, the case seals up to a rugged package. Standard roadcase corners and twist-latches finish this awesome piece.

boxtopFinally we have [Géllo] with protoBox. [Géllo] is into induction heating, which requires a Zero Voltage Switching (ZVS) flyback driver. ProtoBox started life as a place for [Géllo] to store his ZVS. It has evolved to become a small portable electronics lab. [Géllo] powers the box with a set of lithium-ion batteries sourced from old laptops. This particular ZVS design is plenty powerful enough to heat metal red hot, or create some nice arcs. [Géllo] added an Arduino Mega, a Bluetooth radio, and a 2×16 character LCD. The system is controlled with relays. A bluetooth enabled smartphone can be used to enable or disable any feature. [Géllo’s] assembly techniques are a bit scary, especially considering the fact that this is a high power design. However, this is a great proof of concept!

If you want to see more workbench and toolbox projects, check out our new workbench and toolbox list! If I missed your project, don’t be shy! Just drop me a message on Hackaday.io. That’s it for this week’s Hacklet. As always, see you next week. Same hack time, same hack channel, bringing you the best of Hackaday.io!

Tie-Fighter Quadcopters Anyone Can Build

These are things of beauty, and when in flight, the Tie Fighter Quadcopters look even better because the spinning blades become nearly transparent. Most of the Star Wars-themed quadcopter hacks we’ve seen are complicated builds that we know you’re not even going to try. But [Cuddle Burrito’s] creations are for every hacker in so many different ways.

tie-fighter-drone-partsFirst off, he’s starting with very small commodity quadcopters that are cheap (and legal) for anyone to own and fly. Both are variations of the Hubsan X4; the H107C and the H107L. The stock arms of these quadcopters extend from the center of the chassis, but that needs to change for TFFF (Tie Fighter Form Factor). The solution is of course 3D Printing. The designs have been published for both models and should be rather simple to print.

ABS is used as the print medium, which makes assembly easy using a slurry of acetone and ABS to weld the seams together. Motor wires need to be extended and routed through the printed arms, but otherwise you don’t need anything else. Even the original screws are reused in this design. Check out test flights in the video after the break As for the more custom builds we mentioned, there’s the Drone-enium Falcon.

Continue reading “Tie-Fighter Quadcopters Anyone Can Build”