As technology advances, finding the culprit in a malfunctioning device has become somewhat more difficult. As an example, troubleshooting an AM radio is pretty straightforward. There are two basic strategies. First, you can inject a signal in until you can hear it. Then you work backwards to find the stage that is bad. The other way is to trace a signal using a signal tracer or an oscilloscope. When the signal is gone, you’ve found the bad stage. Of course, you still need to figure out what’s wrong with the stage, but that’s usually one or two transistors (or tubes) and a handful of components.
A common signal injector was often a square wave generator that would generate audio frequencies and radio frequency harmonics. It was common to inject at the volume control (easy to find) to determine if the problem was in the RF or audio sections first. If you heard a buzz, you worked backwards into the RF stages. No buzz indicated an audio section problem.
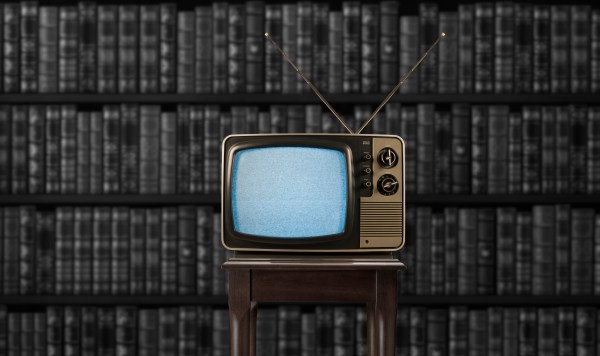
A signal tracer was nothing more than an audio amplifier with a diode demodulator. Starting at the volume control was still a good idea. If you heard radio stations through the signal tracer, the RF section was fine. Television knocked radio off of its pedestal as the primary form of information and entertainment in most households, and thus the TV repair industry was created.