The Pizza Button

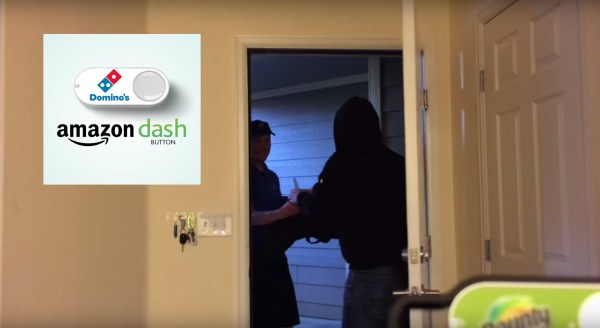
How often have you ever wanted a pizza but reaaaaaaally didn’t want to get off the couch to go order, or god forbid, actually go to a pizzeria to pick one up?  Well [Brody Berson] has the solution for you!  He re-purposed an Amazon Dash button to order himself Domino’s Pizza with the press of a button.

He was originally inspired by our recent post about hacking the Amazon Dash button to do whatever you want — and whatever he wanted was a pizza button. He admits he was inspired by the bachelor years gone by where this would have been really, really handy — apparently he even ordered McDonalds through Postmates once!

It’s pretty simple too — all he needed to do was a bit of coding. Someone had already made a specific Domino’s Pizza API, and thanks to the interest in the Dash button, he was able to find everything he needed to mash together a one-push-button-pizza-delivery-device. Continue reading “The Pizza Button”

Amazon Dash: Hack It To Run Your Own Code

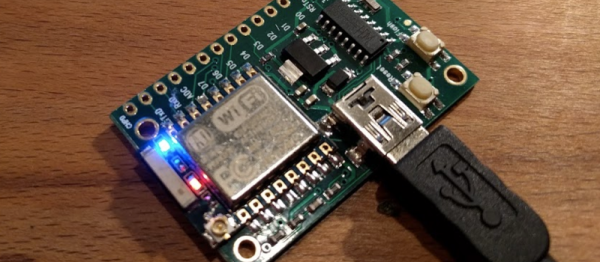
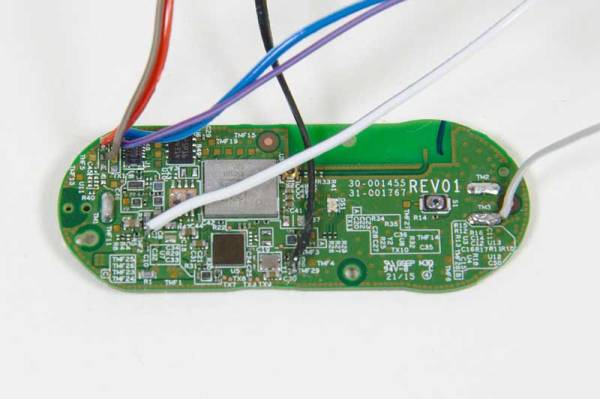
The Amazon Dash is a $5 push-to-buy-cat-litter button which has excellent potential for repurposing, but you need to know what is going on inside first. [Tony Dicola] has the details in this excellent bare metal guide to the Dash. In this, he covers how to get inside the Dash and reprogram it to do something more interesting than buying cat litter.

He first cracks the device open, connecting a programmer, then building a toolchain to compile programs to run on. This isn’t for the faint-hearted because you are programming directly for a device that wasn’t really built for it, but [Tony] has posted examples and there are few tools to hold your hand on the way. There is a safety net, [Tony] provided details on how to reset the Amazon Dash Button if you manage to brick it.

We have seen some interesting hacks that repurpose the Dash to capture your child’s bowel movements by intercepting the device connecting to WiFi, but this guide takes it a step further. It allows you to run your own code, which turns this into a really low-cost and well-engineered all-in-one WiFi device. The missing piece is proof-of-concept code to run the WiFi module inside. If you’re working on that we’d love to hear about it!

Continue reading “Amazon Dash: Hack It To Run Your Own Code”

Garage Door Opener

Capacitive Garage Door Opener Hides Behind Your Dash

[Pyrow] wanted to upgrade his garage door opener remote. It worked just fine, but changing those tiny batteries out can be an inconvenience. Plus, the remote control was taking up valuable storage space and would always rattle around while driving. [Pyrow] decided to make use of an Omron E2K-F10MC2 capacitive touch sensor to fix these issues.

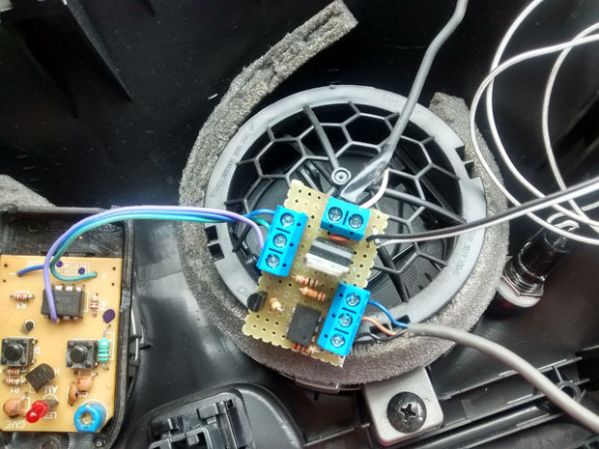
[Pyrow’s] circuit still makes use of the original remote control. He just added some of his own components to get it to do what he wanted. The circuit is powered by the car’s battery, so it never needs a battery replacement. The circuit is protected with a fuse and the power is regulated to prevent electrical spikes from burning up the original remote control. The actual circuit is pretty simple and uses mostly discrete components. It’s all soldered onto proto board to keep it together. He only had to solder to three places on the original remote control in order to provide power and simulate a button press.

Next, [Pyrow] took his dash apart. He used double-sided tape to attach the touch sensor to the back of the dash.  After securing the electronics in place with tape, he now has a working hidden garage door opener. Full schematics are available in the writeup linked above. Also, be sure to watch the demonstration video below.

Continue reading “Capacitive Garage Door Opener Hides Behind Your Dash”

DIY Steering Wheel Control Adapter

Arduino Translates Signals Between Steering Wheel Buttons And Aftermarket Head Unit

There is no question that steering wheel mounted controls are super convenient. Reaching all the way over to the dashboard to change a radio station is so 1990’s. An ever-increasing percentage of new cars are coming equipped with steering wheel controls for the stereo, however, you’ll lose the button control if you change out the stock head unit to something a little higher in quality. Sure, there may be an adapter readily available for your car/stereo combination, but there also may not be. [Ronnied] took the DIY road and made his own adapter.

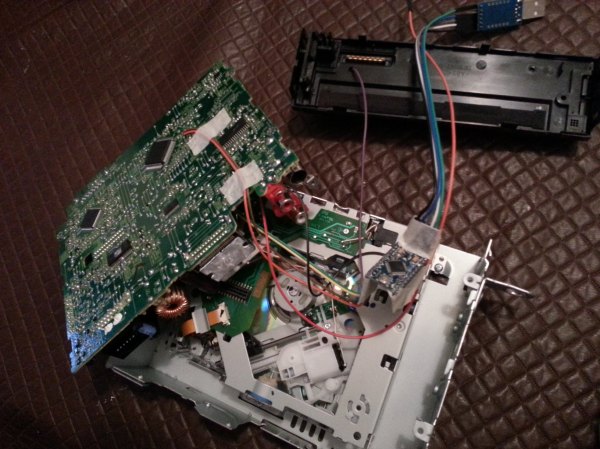
The first obstacle for [Ronnied] was to figure out the wiring on the steering wheel controls. After some poking around he found that there were only two wires used for all of the control buttons, each button only changing the resistance between the two wires. The button states could easily be read by using an Arduino’s analog input. A Pro Mini model was chosen for its small size as it could be housed in the radio compartment of the dash.

The next step was getting the Arduino to control the aftermarket head unit. [Ronnied] did some research regarding JVC’s Stalk digital control interface but came to the conclusion that it would be easier to direct wiring the Arduino outputs to the appropriate spot on the head unit’s circuit board. To do this the button for each function that would also be represented on the steering wheel was traced out to find a common point on the circuit board. Jumper wires soldered to the circuit board simply allow the Arduino to emulate button pushes. To ensure that the head unit buttons still work in conjunction with the steering wheel buttons, the Arduino would have to keep the pins as inputs until a steering wheel button was pushed, the pin changed to an output, the signal sent and the pin changed back to an input. This feature was easily created in the Arduino sketch.

Video below.

Continue reading “Arduino Translates Signals Between Steering Wheel Buttons And Aftermarket Head Unit”

Garage Clicker Dashboard Integration

garagedoor-opener-in-dash

Vehicles with the highest level of trim package sometimes come with the ability to learn garage door opener codes. Less costly offerings lack that feature as well as others bells and whistles, leaving blank plates where fancy buttons would have been. [JiggMcFigg] makes the best of this situation by gutting his garage remote and hiding it behind a button blank.

One thing that raised an eyebrow is the coin cell battery holder you can make out on the size-check image shown to the left. But really, these remotes must drain their batteries at a rate nearly the same as an unused battery so why complicate the hack? A holder was soldered onto the board, and jumper wires were soldered to the push button added to the blank plate. This type of utilitarian button is much more satisfying to use than those fancy-pants silk-screen molded-plastic types anyway!

Of course you could go the other way with this hack. [JiggMcFigg] started out with the problem of losing the remotes in the mess of the car. You could retrofit it with a huge button to make it harder to misplace.

Jeep Dashboard Display Turned Into A Desk Clock

jeep-dash-display-clock

This display is easily recognizable by the buttons and the outline of a vehicle to the left. It’s a Vehicle Information Center (VIC) from a Jeep Grand Cherokee. [Florlayamp] discovered a row of the vehicles in a junkyard, all with the displays still intact. He grabbed one and turned the VIC into a desk clock. What would you pay for such a fine piece of used electronic hardware? How about six bucks? Yeah!

Getting it running couldn’t be simpler. It’s all set up to be programmed and run on it’s own. A bit of searching around turned up a schematic to figure out which wires are for power. It took some time to figure it out, but the thing draws about 2A so finding a worthy wall wart was a must.

Now that he was sure it would work [Florlayamp] started on the case build. It’s poplar with quarter round to frame the display. On the back you’ll find a single rocker switch.

Usually we see the opposite of this, adding displays to the dashboard instead of salvaging them.


A Very Dash-ing IPad Mini

iPad-mini-dash-install

The work which [Mark] did to mount this iPad mini in the dashboard of his Ford truck is commendable. It looks like it came from the factory this way, and the functionality matches that illusion.

He actually started the project before he had the iPad mini on hand. A PDF that mapped out the exact dimensions was used as a template for the layout and alteration. He took the stereo controls out of the original faceplate. That opening was made to fit the screen by cutting, adding putty, then sanding and finishing.

Since the bezel won’t let [Mark] get at any of the buttons on the iPad itself he picked up an external home button on eBay and mounted it just to the left of the screen. Inside the dashboard a docking connector is responsible for powering the tablet and connecting it to the sound system. There’s even a WiFi connection thanks to the MiFi system he mounted in the overhead console.