It’s long been a staple of future-gazing, the idea that we will reach a moment at which all of life’s comforts can be summoned at the press of a button. Through the magic of technology, that is, without the army of human servants with which wealthy Victorians surrounded themselves to achieve the same aim.
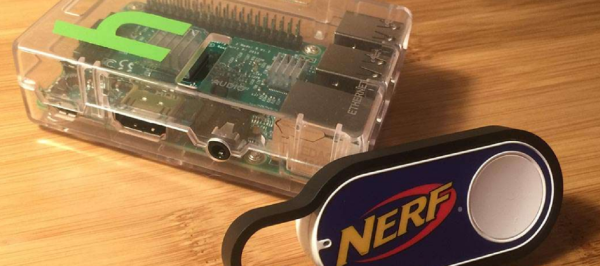
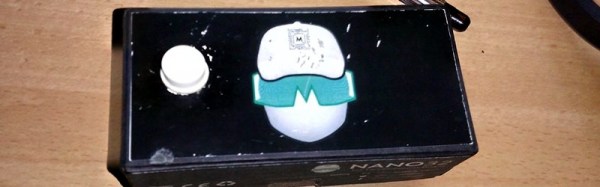
Of course, to reach this button-pressing Nirvana, someone has to make the buttons. There are plenty of contenders for the prize of One Button To Rule Them All, the one we’ll probably have seen the most of is Amazon’s Dash. Today though we’re bringing you another possibility. [Hendra Kusumah]’s A.I.B. (Another IoT Button) is as its name suggests, a button connected to the Internet. More specifically it’s a button that connects to IFTTT and allows you to trigger your action from there.
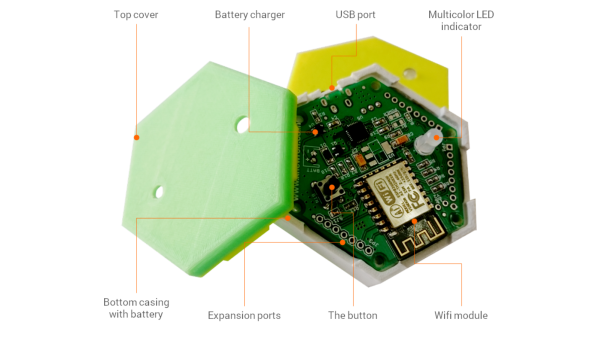
Hardware wise, it couldn’t be simpler. A button, a Particle Photon, some wires, and a resistor. Then install the code on the board, and away you go. With a small code change, it also works with an ESP8266. That’s it, it couldn’t be simpler. You might ask where the fun in that lies, but you’d be missing the point. It’s the event that you trigger using the button that matters, so why make creating the button a chore?
We’ve shown you many IoT buttons, just a couple of posts are this ESP8266 button and a look at the second-generation Amazon Dash.