If you’re familiar with VersaPak tools you’ll note that while the battery pack in this image looks somewhat familiar, it’s not supposed to have a removable cell. This is [Martin Melchior’s] hack to use laptop 18650 Lithium cells with VersaPak tools.
The original NiCad packs used three cells for a total of 3.6V, so it is possible to substitute a Lithium cell in the same voltage neighorhood. The tools are pretty hard on the battery packs, drawing a lot of current in certain situations. But these cells are being harvested from dead laptop battery packs so it’s not a huge concern if their life is a bit shortened.
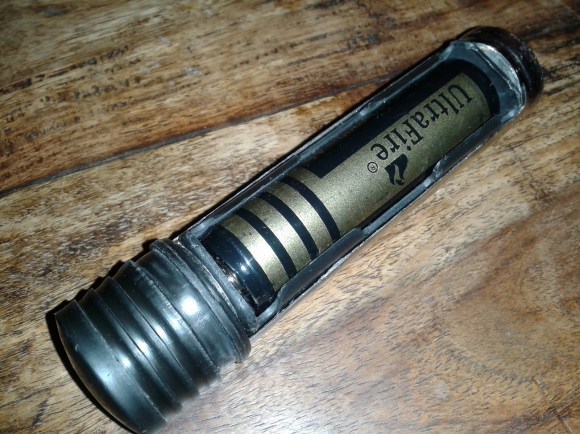
The hack places an 18650 battery receptacle inside of the VersaPak battery housing. There’s a bit of careful disassembly to get to this point, but it’s well illustrated in [Martin’s] project log. And of course you’ll need to use a proper Lithium battery charger from here on out.
This form factor has been popping up in a lot of hacks lately. Here’s another one that modifies the Goal Zero Bolt flashlight to use them.