DIY Bimetallic Strip Dings For Teatime

Do you like your cup of tea to be cooled down to exactly 54 C, have a love for machining, and possess more than a little bit of a mad inventor bent? If so, then you have a lot in common with [Chronova Engineering]. In this video, we see him making a fully mechanical chime-ringing tea-temperature indicator – something we’d be tempted to do in silicon, but that’s admittedly pedestrian in comparison.

The (long) video starts off with making a DIY bimetallic strip out of titanium and brass, which it pretty fun. After some math, it is tested in a cup of hot water to ballpark the deflection. Fast-forward through twenty minutes of machining, and you get to the reveal: a tippy cup that drops a bearing onto a bell when the deflection backs off enough to indicate that the set temperature has been reached. Rube Goldberg would have been proud.

OK, so this is bonkers enough. But would you believe a bimetallic strip can be used as a voltage regulator? How many other wacky uses for this niche tech do you know?

Thanks [Itay] for the tip!

Boneblocker Is A Big LED Wall That Rocks

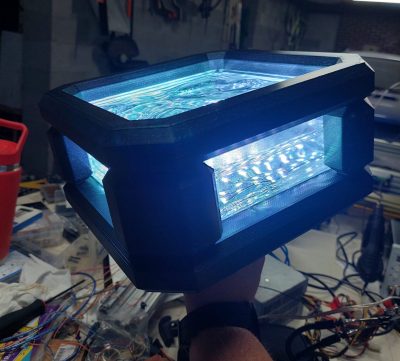
[Nick Lombardy] took on a job almost every maker imagines themselves doing at some point. He built a giant LED wall and he did a damn fine job of it, too. Introducing BoneBlocker.

BoneBlocker is an 8 x 14 wall of glass blocks that lives at a bar called The Boneyard. Each block was given a length of WS2812B LED strip. 30 LED/meter strips were chosen, as initial maths on the 60 LED/meter strips indicated the whole wall would end up drawing 1.5 kW. Discretion, and all that.

The glowing game controller.

The whole display is run from a WT32-ETH01 board, which is a fast ESP32-based module that has onboard Ethernet to boot. [Nick] used the WLED library as he’d seen others doing great things with it, performance-wise. He ended up using one board per column to keep things fast, but he reckons this was also probably a little bit of overkill.

His article steps through the construction of the wall, the electronics, and the software required to get some games working on the display. The final result is quite something. Perhaps the best bit is his explanation of the custom controller he built for the game. Dig into it, you won’t be disappointed.

In particular, we love how the glass blocks elevate this display to a higher aesthetic level. We’ve seen other great projects tread this same route, too. Video after the break.

Continue reading “Boneblocker Is A Big LED Wall That Rocks”

An RGB LED clock that resembles a color blindness test.

RGB LED HexaClock Doesn’t Actually Light Up The Night

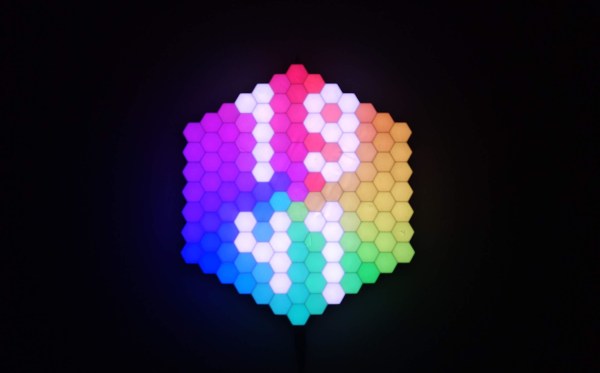
Who says a clock can’t be both useful and beautiful? That seems to be the big idea behind the lovely little HexaClock from [Bulduper]. And boy, is it both.

Probably the most important part of this well-illuminated clock is the light sensor, which allows it to adjust the brightness automatically. If you’re not into that, well, there’s a really nice web app that’ll let you program the dickens out of it.

The brains of this thing is an ESP8266 on a custom PCB which controls the 127 individually addressable RGB LEDs. The clock may look large, but the big printed parts just fit on the bed of a Prusa i3. [Bulduper] used ABS because the LED strip and the PCB might get a little warm; they didn’t want to risk using PLA and having it turn into a Salvador Dali clock (although that could be cool).

Speaking of heat, make sure to use 18 AWG or thicker wires as [Bulduper] advises. LEDs may be efficient, but this clock uses lots of them! If you want to build one of these to bathe your wall in useful light, everything you need is available on GitHub. Watch HexaClock do its thing in the brief demo and walk-through video after the break.

If this is a little too bright for your tastes, check out this synesthesia clock.

Continue reading “RGB LED HexaClock Doesn’t Actually Light Up The Night”

LED Choker Is A Diamond In The Junk Pile

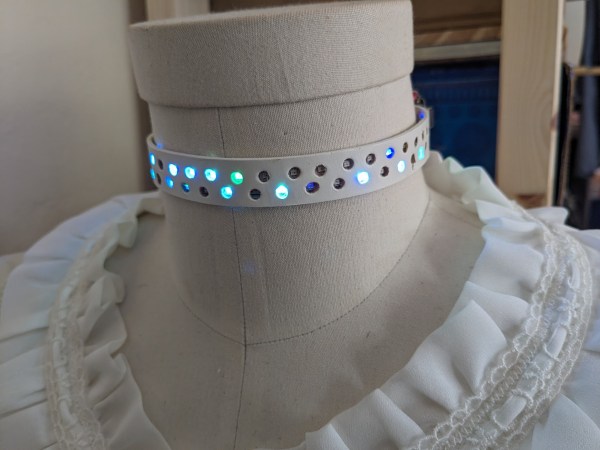
Isn’t it great when you find a use for something that didn’t work out for the project it was supposed to? That’s the story behind the LED strips in this lovely blinkenlights choker by [Ted].

The choker itself is a 15 mm wide leather strap with holes punched in it. According to [Ted], the hole punching sounds like the absolute worst and hardest part to do, because the spacing of the holes must be greater than that of the LEDs to account for flex in the strap. [Ted] tested several distances and found that there is little margin for error.

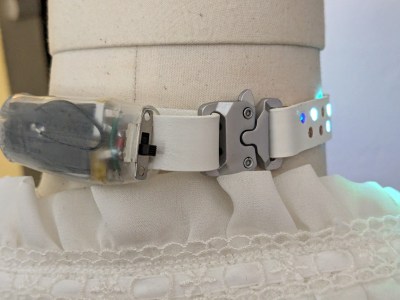
Controlling those blinkenlights is a Seeed Xiao S3, which fits nicely behind the neck in what looks like a heat shrink tube cocoon. [Ted] chose this because there was one lying around, and it happens to be a good fit with its LiPo charge controller.

The choker runs on four 300 mAh LiPo batteries, which makes for more bulk than [Ted] would like, but again, sometimes it’s about what you have lying around. Even so, the batteries last around two hours.

Sometimes it’s about more than just blinkenlights. Here’s an LED necklace that reports on local air quality.

RGB LED Disco Ball Reacts To Sound And Color

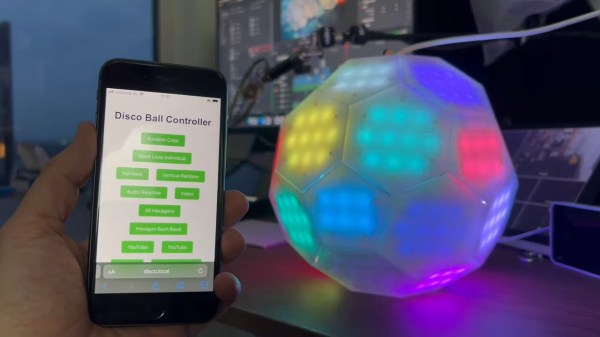
Although disco music and dancing may be long dead, the disco ball lives on as a staple of dance parties everywhere. [Tim van de Vathorst] spent a considerable amount of time reinventing the disco ball into something covered with RGB LEDs that reacts to sound and uses a color sensor to change hue based on whatever it’s presented with.

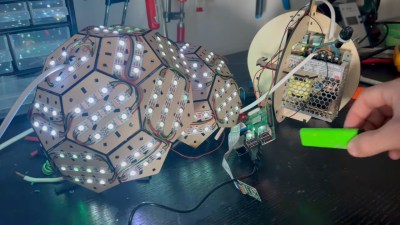
[Tim] started by modeling the disco ball after a soccer ball with a mixture of pentagons and hexagons. Then it was off to the laser cutter to cut it out of 3mm plywood sheets. Once assembled, [Tim] added LED strips across all the faces and wired them up. Then it was time to figure out how to hold the guts together inside of the ball. Back to the drawing board and laser cutter [Tim] went to design a simple two-piece skeleton to hold the Raspberry Pi and the power supply.

In order to do some of the really interesting effects, [Tim] had to make sure that the faces were divvied up correctly in code. That was difficult and involved a really big array, but the result looks worth the trouble. Finally, [Tim] covered the ball in white acrylic to diffuse the LEDs. As you will see in the build/demo video after the break, the ball turned out really well. The only real problem is that the camera doesn’t work very well without light, which is something good parties are usually short on. [Tim] might add a spotlight or something in the future.

Do you prefer the mirrored look of the standard disco ball? Peep the tiny one in this Disco Containment Unit.

Continue reading “RGB LED Disco Ball Reacts To Sound And Color”

A Look At 3D Printed Professional LED Signage

Customer perception is everything when you’re running a business, particularly in retail. High-quality signage can go a long way into creating a good impression in this respect. [king process] decided to show us how professional-grade LED signage is made in a Korean shop that specializes in the work.

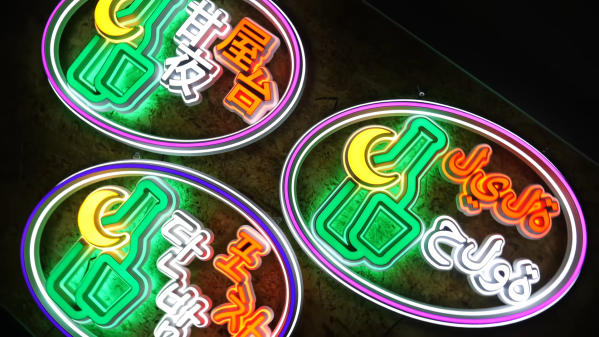
The signs we’re shown are custom builds that are matched to the shape of a company’s logo. No rectangular printed lightboxes here, this is fully custom stuff. To that end, a 3D printer is the perfect tool for the job, as it lets the shop produce signs in any shape desired with no need for custom tooling.

The 3D printers that build up the signs have seriously large build volumes, though more so in the X and Y dimensions rather than the Z. We see a whole fleet of printers working away to allow multiple signs to be produced quickly. The first step is to produce the outline of a sign, which serves as a base for the build. Cavities in the sign are then filled with a translucent silicone solution to act as diffuser material. Once cured, these various sections are colored by hand as required. LED strips are then installed on a backing plate to illuminate the sections of the sign.

The final result is a sign with clean, bright glowing lines. It’s vaguely reminiscent of a neon sign, but without any of the limitations of the glass tubes influencing how it looks. It’s also neat to see the techniques a professional shop uses to make things right the first time, without dinging or marring any of the parts along the way.

Indeed, it seems the classical neon sign is, these days, bested by a variety of alternative technologies.

Continue reading “A Look At 3D Printed Professional LED Signage”

An Animated LED Fireplace Powered By The CH32V003

Once you’ve mastered the near-magical ability of turning your ideas into a piece of hardware you can hold in your hand, it’s only natural that you’ll want to spread the joy. The holidays are a perfect time to produce a custom piece of electronics for friends and family, but there’s a catch: going from making one or two of something to making dozens of them can introduce some interesting challenges. Not only will you want to cost optimize your design, but to save yourself some aggravation, you’ll likely want to simplify the assembly process.

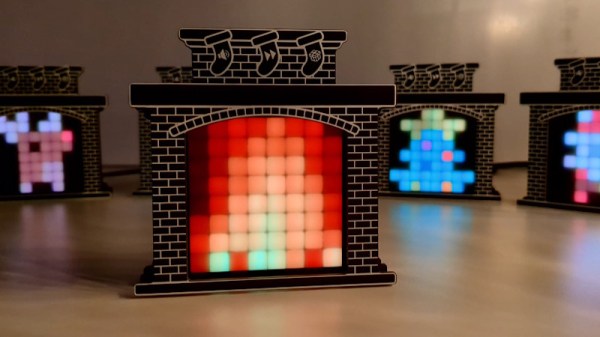
The fifty electronic fireplaces designed by built by [Adam Anderson], [Daniel Quach], and [Johan Wheeler] are a perfect example of both concepts, and while we’re coming across it a bit late for this year’s gift exchange, we wouldn’t be surprised if these MIT-licensed beauties end up under a few more trees in 2024.

Continue reading “An Animated LED Fireplace Powered By The CH32V003”