Last year, [Deep Tronix] wished to teach colors to his nephew. Thus, he built a toy to help educate a child about colors by pairing them with sounds, and Color Player was born.
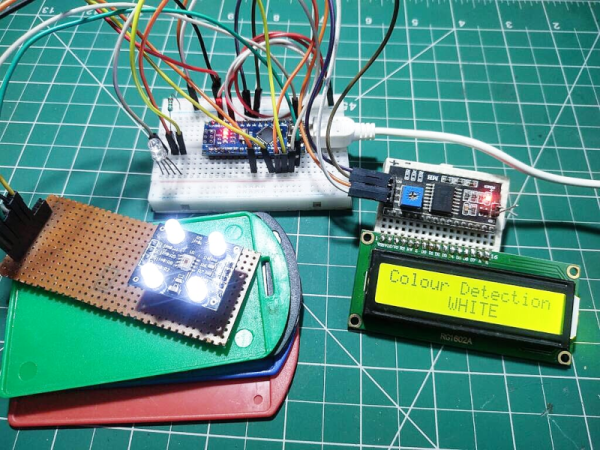
The build is based around the TCS34725, an off-the-shelf color sensor. It’s paired with an ESP32, which senses colors and then plays sounds in turn. [Deep Tronix] made this part harder by insisting on creating their own WAV playback system, using the microcontroller, an SD card, and its on-board digital-to-analog hardware.
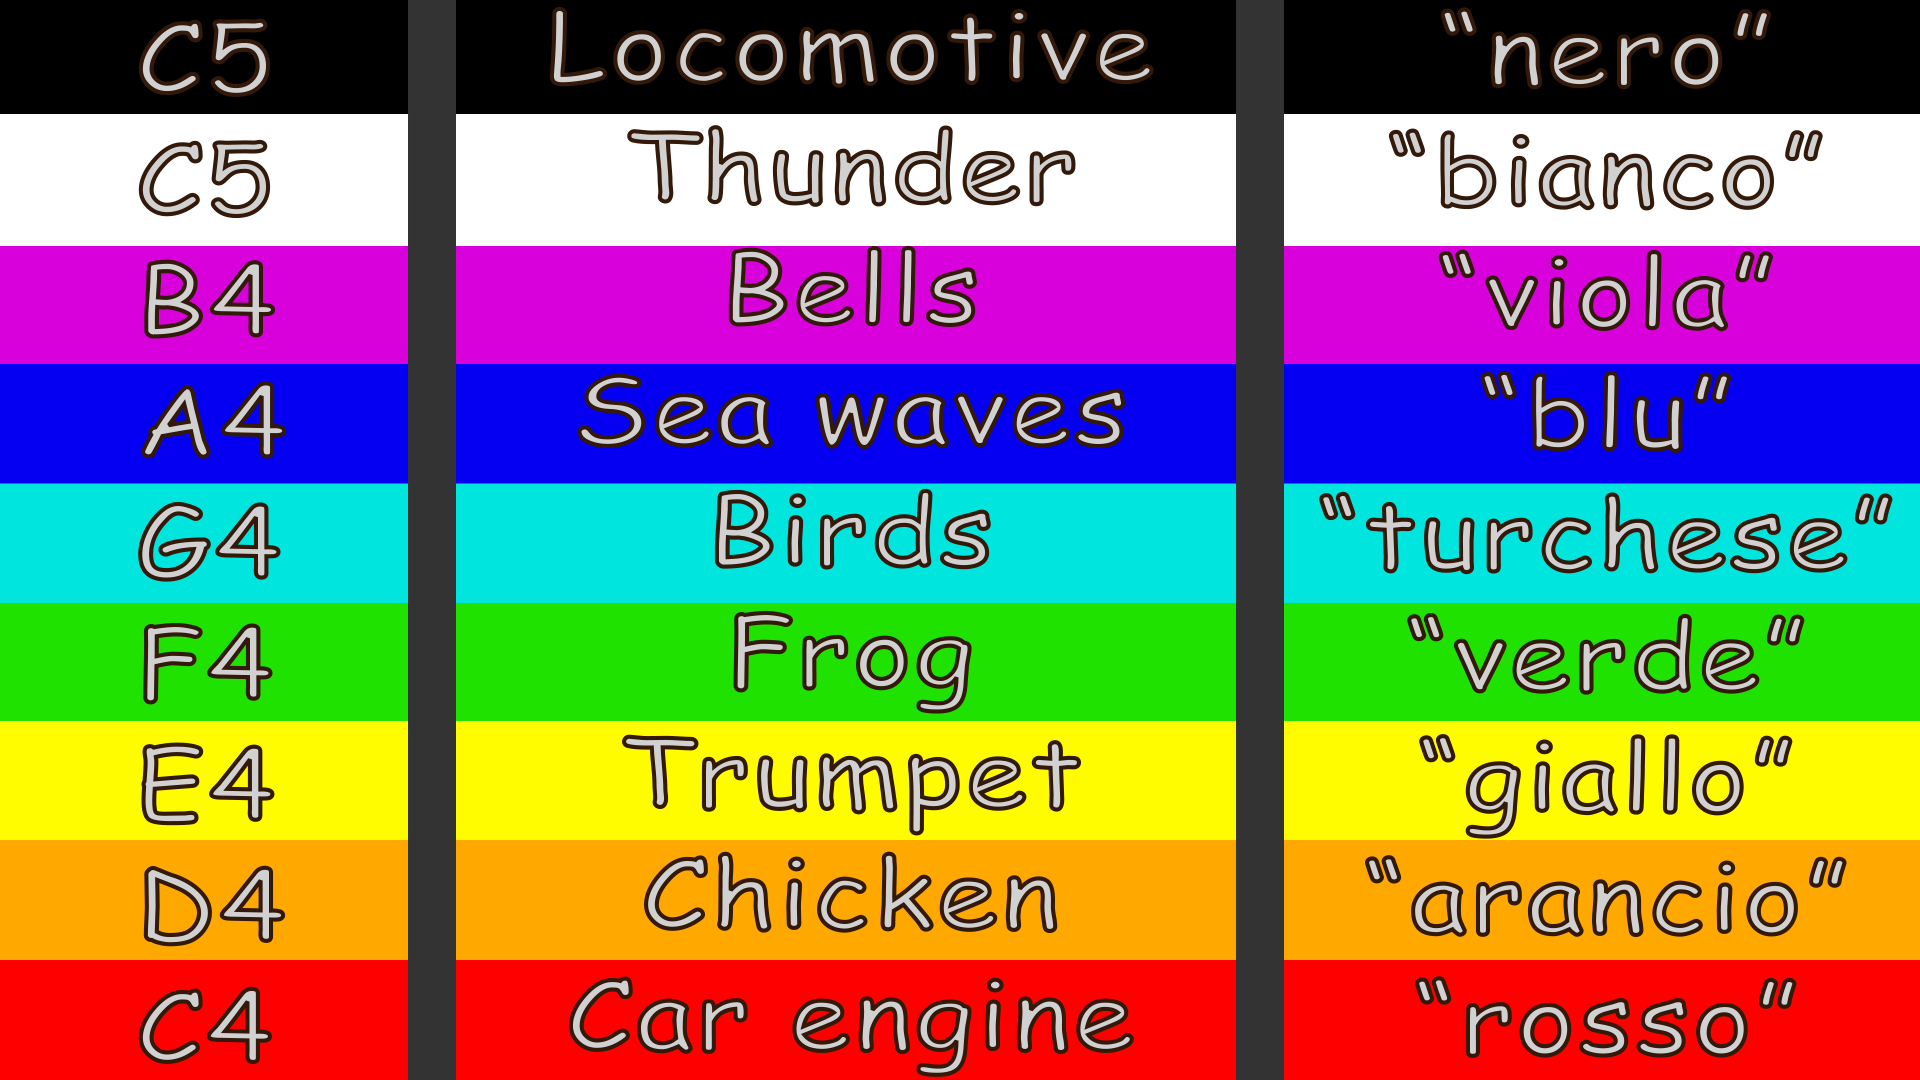
The toy operates in three primary modes. Color-to-tone, color-to-sound, color-to-voice. Basically, a color is scanned, and then the Color Player creates a tone, plays back a pre-recorded audio sample, or spells out the name of the color that was just scanned.
[Deep Tronix] also included jolly mode, which just color cycles a few RGB LEDs. However, there’s a game inside jolly mode as well, created for an older nephew to play with. Enter the right button combination, and you unlock it. Then, the device suggests a color and you have to run around, find it, and scan it to score.
We love a good color game; somehow this build seems even more compelling than Milton Bradley’s classic Simon toy.