Sometimes we build to innovate, and sometimes we build just to have the satisfaction of saying we made it ourselves. Yet there is another reason to construct something ourselves: To learn, just as [Fraens] has done with this 3D-printed generator. (Video, embedded below.)
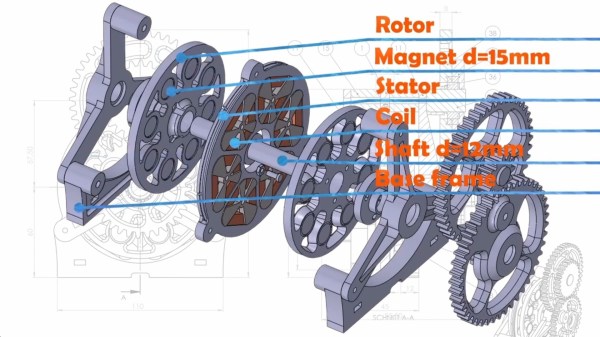
[Fraens] starts off with a jig for winding the individual coils, but then the jig itself snaps into a the stator ring. The stator ring is sandwiched by two rotors which rotate on a brass shaft suspended by needle bearings. With the exception of the hardware, all the structural parts are 3d printed.
What really separates the generator build isn’t how it’s built, but rather how [Fraens] has put it to use as tool for learning and experimentation. By plotting input torque vs electrical output, [Fraens] is able to calculate efficiencies in multiple configurations, and has some interesting conclusions to share toward the end of the video. We appreciate how the documentation and analysis help iterate the design towards higher efficiency and will inform the next build.
With some more work, we can see this going straight into a Vertical Axis Wind Turbine or attached to a Pelton Wheel for an off-grid hydro-power setup. Thanks to [Shabab] for the great Tip!
Continue reading “3D Printed Generator Build Highlights The Scientific Method”

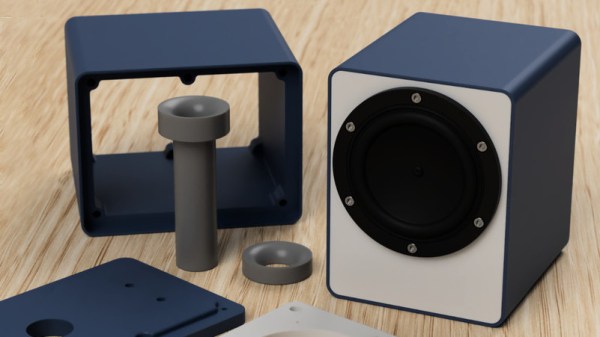
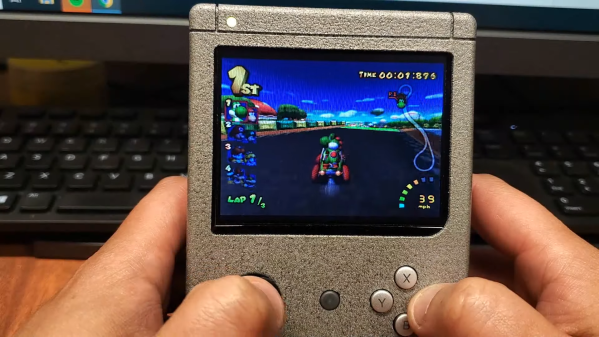
 The parts can be 3D-printed, but the design ensures that the front and back panels are flat, so one can use wood or some other material for those depending on preference and appearance. The assembly is screwed together using six M3 bolts per side with optional