Flex Filament Stuck To Your Build Platform? Reach For The Isopropanol

3D printing has been around long enough that everyone’s heard at least one weird trick regarding 3D prints. [Angus] of [Maker’s Muse] puts a few to the test, and came away with one solid tip for releasing TPU from a build platform to which it has unfortunately welded itself.

Flexible filaments tend to stick too well to build plates, which is why an interface layer like a thin layer of glue stick is called for. But what if one forgets to apply it before starting a print job? That can result in a print that is well and truly stuck. Peeling flex filament off a textured PEI bed is a bad time, because the print can tear and tends to leave little bits behind.

[Angus] heard that applying isopropyl alcohol helps release things in that case, so he gives it a try. Lo and behold, it seems to work! See for yourself at 18:10 in the video and keep it in mind if you end up in a similar situation. The print doesn’t exactly fall off on its own, but it does remain in one piece which is more than one can expect otherwise.

Watching isopropyl alcohol help release a stuck print is reminiscent of the way it also removes hot glue from just about any surface. The trick is getting the alcohol to wick in underneath for best results, and the same seems to be true with releasing TPU from a build plate.

One thing to keep in mind when evaluating tips and tricks from over the years is that the landscape changes. Something that maybe seemed to have potential years ago might not make much sense today. A good example is sugar as a bed adhesive, which [Angus] tries out. What started as an experiment in getting PLA to play better with glass build plates years ago doesn’t really carry over to now, with PEI-coated magnetic build platforms pretty much a solved problem. The more likely result nowadays is just a mess.

Continue reading “Flex Filament Stuck To Your Build Platform? Reach For The Isopropanol”

Cut And Fold Your 3D Printer’s Next Cover

[cmh]’s ultra-simple top cover for the Snapmaker U1 3D printer has a 3D model, but don’t let that fool you. There’s no 3D printing at all involved in this project. Rather, the model is a reference shape for making an effective top cover out of cardboard or corrugated plastic sheet (also known as Coroplast) which is what [cmh] used.

The pattern can be cut from a single sheet, or from multiple pieces taped together.

Corrugated plastic is a versatile option for things like printer enclosures. It’s cheap, a good insulator, easy to cut, and available from just about any plastics supplier. We’ve made the case that they’re a good alternative to acrylic sheets for printer enclosures, but [cmh] goes even further with a design that requires no additional hardware whatsoever. Assembly doesn’t even require more than tape, really.

He provides a cutout diagram for pieces that, when assembled, make a sort of hat that is just right to cover the top of the Snapmaker U1 without obstructing the extruders. One can even lift the front panel to access the inside without removing the cover, which is a nice touch. Should one wish to add a viewing window anywhere, just cut out a square and tape a sheet of clear plastic over the hole.

For a 3D printer, an enclosure and top cover helps retain heat, block drafts, and keep dust (or curious fingers) away from the printer’s build area. The cover doesn’t need to be completely sealed to deliver those benefits, but if you do prefer your covers completely enclosed, a carefully-chosen IKEA storage box makes a conveniently great cover for the U1.

A clay vase sits in the center of a circular table, with an extruder in contact with the top surface. The extruder has a tube containing clay on the right side, with a motor mounted above an auger over the main nozzle.

Clay Extruder Enables Printable Pottery

Ceramic 3D printers, despite using the same fundamental mechanism as standard FDM printers, are much harder to find. Part of this comes down to the material properties of fired ceramics versus thermoplastics, but they’re also significantly harder to build; for example, in his ceramic printer build, [Joshua Bird] had to deal with severe material shrinkage, collapsing bridges, and the surprisingly abrasive effects of clay.

The centerpiece of the printer is the clay extruder: an air compressor pushes clay along a tube into the extruder, which uses an auger to squeeze the clay through the nozzle, while a gap at the top lets trapped air escape. The extruder has enough control for successful retractions, but rheology remained a challenge: the clay needed to be soft enough to flow through the nozzle, but stiff enough to form bridges without collapsing. [Joshua] thus pressurized the clay as much as possible, making it possible to use stiffer clay mixtures. The extruder’s greatest challenge was longevity: [Joshua] tried many 3D-printed plastic augers, but the clay abraded them all much too quickly, often in under an hour of use; a 3D-printed stainless steel extruder solved this.

Printing in ceramic isn’t a simple process: for each part, [Joshua] had to mix the clay, load it into the tube, clean the extruder, actually print the object, let it dry, fire it, apply glaze, and fire it again. The clay’s shrinkage during drying and firing destroyed many prints, but [Joshua] was nevertheless able to print a double-walled cup, a decorative climbing-themed cup, and even a chain-mail mesh.

The 3D printer’s motion system is a polar design, an adaptation of his earlier non-planar 3D printer, which might eventually make it easier to print overhangs. We’ve previously seen a similar auger-based clay extruder, an approach reminiscent of direct-granule FDM printing.

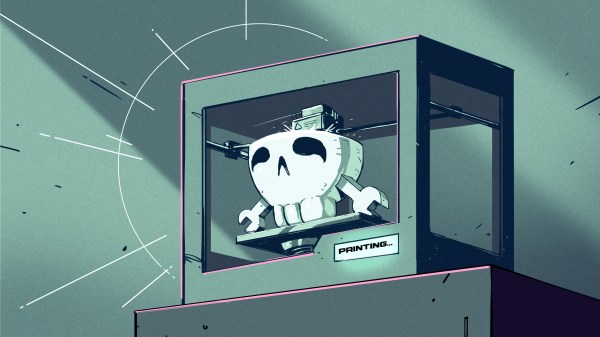
Art of 3D printer in the middle of printing a Hackaday Jolly Wrencher logo

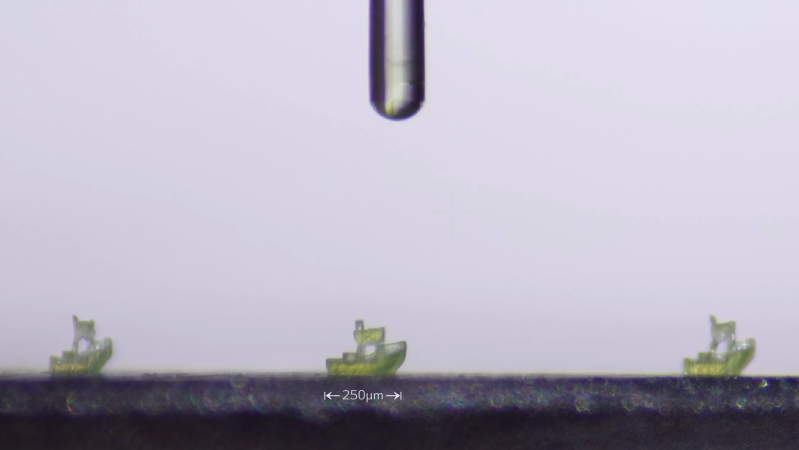
Is Now The Time For Volumetric 3D Printing?

Of all innovations adopted by the maker community within the past couple of decades, one stands among the rest on top for anything regarding manufacturing. It goes without saying here at Hackaday how many projects have been reliant on using the technology to turn their ideas into reality. 3D printing has been a maker community invention and, in return, has expanded this hacky community into something that anyone with an imagination can get into. It also goes without saying that the layer-based tech imposes limits on what we can actually create: think overhangs and layer adhesion. However, there’s a possibility that a recent offshoot of this scrappy community has the power to eliminate some of these faults.

Volumetric additive manufacturing (VAM) is a young technology that has a similar start to many new tech toys, including the original SLA of the first 3D printers. That is expensive and completely stuck in the laboratory… Fortunately, that’s not where 3D printing as a whole stayed, as the RepRap project managed to bring the obscure technology to the hobbyists’ main stage. An entire group of people formed and spent countless hours until the useless pieces of poorly extruded plastic could form parts impossible to make with anything else. A cool quirk of history is that it likes to repeat: examples spur recreation, and this appears to be happening with the technology found within VAM printing.

Continue reading “Is Now The Time For Volumetric 3D Printing?”

The Teenage Angst Of 3D Printing: Solidoodle, Printrbot, And Bridges

Bridges are a part of our constructed landscape that we take for granted. And bridges by themselves aren’t especially important. What is important is that bridges let you get from one place to another. Technology is often the same. We get from point A to point B through some bridge technology that, probably, most normal people never even notice.

Years ago, point A was commercial 3D printing. Industry had stereolithography, selective laser sintering, fused deposition modeling, and other rapid-prototyping technologies. These were not toys. They were expensive industrial systems used by companies that needed prototypes badly enough to pay serious money for them.

Fast Forward to Today

Today, you can go to a big box store and buy a 3D printer for well under $1,000, and often far less. Modern machines are almost plug-and-play and tend to do all the hard parts for you. That’s point B. How we got between points is a story of hackers who had a dream, and many Hackaday readers lived through it and even played a part in that bridging.

For a long time, RepRap was synonymous with hobby-level 3D printing. The project, started by [Adrian Bowyer] at the University of Bath in 2005, was built around a powerful idea: a machine that could print many of its own parts, thereby helping make more machines. RepRap Darwin reached its early self-replicating milestones in 2008, and the movement produced a thicket of descendants, variants, and arguments about rods, belts, bearings, extruders, firmware, and what “self-replicating” really meant. Of course, the machine could only print some of the parts you needed, but it was still impressive how much of a printer you could make with one printer.

Without RepRap, the desktop 3D printer boom would have looked very different. It created a common pool of ideas: Cartesian frames, printed brackets, hobbed bolts, heated beds, RAMPS boards, Marlin firmware, and a whole common vocabulary. It also created the expectation that a 3D printer was something you could understand, modify, repair, and improve. That expectation would not survive everywhere, but it defined the early culture.

Continue reading “The Teenage Angst Of 3D Printing: Solidoodle, Printrbot, And Bridges”

Status Display Keeps Eye On Your Prusa Fleet

Whether you’ve been dragging an old MK2 or MK3 kicking and screaming into the present through the available upgrade paths, or recently picked up a CORE One, pretty much any of the 3D printers still being actively supported by Prusa are able to connect to the network for the purposes of remote monitoring and control. Although their printers can work entirely offline, Prusa offers a smartphone application as well as web interface that makes it easy to keep tabs on all the hot plastic action.

If you’ve got a few Prusa printers on the net and would like a dedicated interface for controlling them, check out this custom firmware for the BigTreeTech K-Touch and Panda Touch devices. These touch screen gadgets were originally intended for controlling printers running Klipper, but thanks to [Nomads Galaxy], they can now talk to Prusa printers either directly over the local network or through the Prusa Connect cloud API with a user interface that mimics the aesthetics of the official offerings.

Continue reading “Status Display Keeps Eye On Your Prusa Fleet”

Investigating Annealing As Fix For Poor CF Adhesion In 3D Prints

After recently publishing a few videos covering research into the poor adhesion between chopped carbon fiber (CCF) and the thermoplastic filaments as used with FDM 3D printing, some of the feedback received by [I built a thing] included the idea that the missing step to make CCF additives work was post-print annealing. Naturally this claim had to be investigated, both through the resulting physical characteristics as well as on a microscopic level in the same scanning electron microscope (SEM) as before.

Post-annealing SEM scan, showing clear voids. (Credit: I built a thing, Youtube)

Theories as to why annealing the parts would help here seem to focus on increased bonding and filling of voids in the printed CCF-infused material, while there are the typical worries with annealing such as parts warping and shrinking to also take into account as potential downsides of this treatment.

For the sample materials PETG and PETG-CF, as well as PLA and PLA-CF filaments are used, with each filament type featuring an annealed and not annealed version. These were then tested for tensile strength, stiffness and failure type, as well as dimensional accuracy and warping, before being examined under the SEM. A total of 160 samples were used, with 20 samples per material and annealing state.

Perhaps the biggest surprise here was how much PETG benefits from annealing, making it much more resilient to breaking, whereas neither PLA nor PLA-CF seemed to see much benefit. Shocking was how much worse PETG-CF performs than PETG, with the former being worse than both PLA and PLA-CF here.

In terms of dimensional accuracy, annealing caused a Z direction expansion while shrinking the samples in the  other directions. The CCF addition here actually prevented much of the shrinking and expansion, showing the first clear benefit of this additive. Yet despite annealing at right above the glass transition temperature as is proper, this would seem to be the limit of this approach in terms of practical benefits.

Compared to the previous research that focused on PLA-CF, PETG-CF would seem to make the case even more strongly that there’s no real purpose to CCF additives, especially since you can already account for parts shrinkage during annealing before printing. That there’s no improvement to the CCF and thermoplastic interface adhesion is also no mystery, considering the science behind how e.g. thermoset materials create bonds with CF.

Continue reading “Investigating Annealing As Fix For Poor CF Adhesion In 3D Prints”