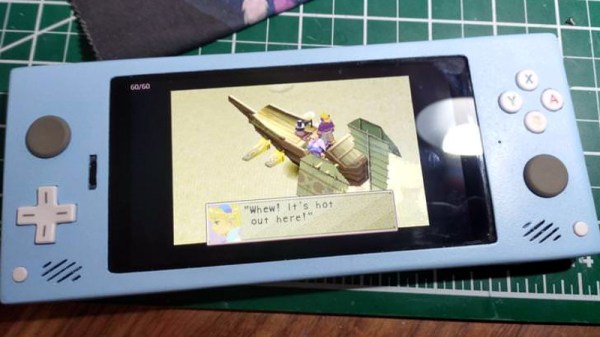
As a gamer, [Lexie Dostal] dreamed of a smartphone that was a viable gaming platform: something with enough power to run the games and emulators he was interested in, with the controls to make playing them feel natural. So when he got his hands on an early version of Kite, the modular open hardware platform designed to be hacked and customized, that’s exactly what he decided to build. The Kite kit would provide the touch screen and Android-equipped motherboard, he just needed to design a case and integrate controls to make it a real gaming device.
The case design [Lexie] came up with is inspired by the bottom half of the Nintendo 3DS, and ended up only a few centimeters wider than the stock case from the Kite kit. Unfortunately, his delta 3D printer wasn’t large enough to fit the device’s case, so he ended up having to break it into five separate pieces and glue them together. With the case in one piece he worked his way from 220 to 400 grit sand paper, filling any voids in the print with glue as he went. A few coats of primer, more sanding, and a final matte texture spray give the final case a very professional-looking finish.
Not only was the Nintendo 3DS an inspiration for the device, it was also a donor for some of the parts. The directional pad, analog “nub”, and buttons are replacement 3DS hardware, which is interfaced to the KiteBoard with an Arduino Nano. When he couldn’t find springs small enough to use for the shoulder buttons, he bought some thin music wire and wound them himself. Talk about attention to detail.
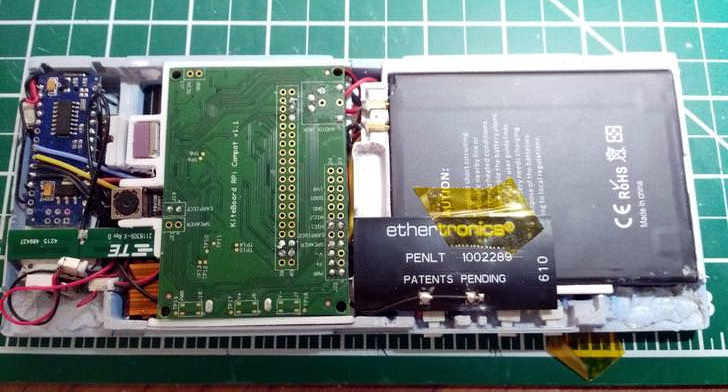
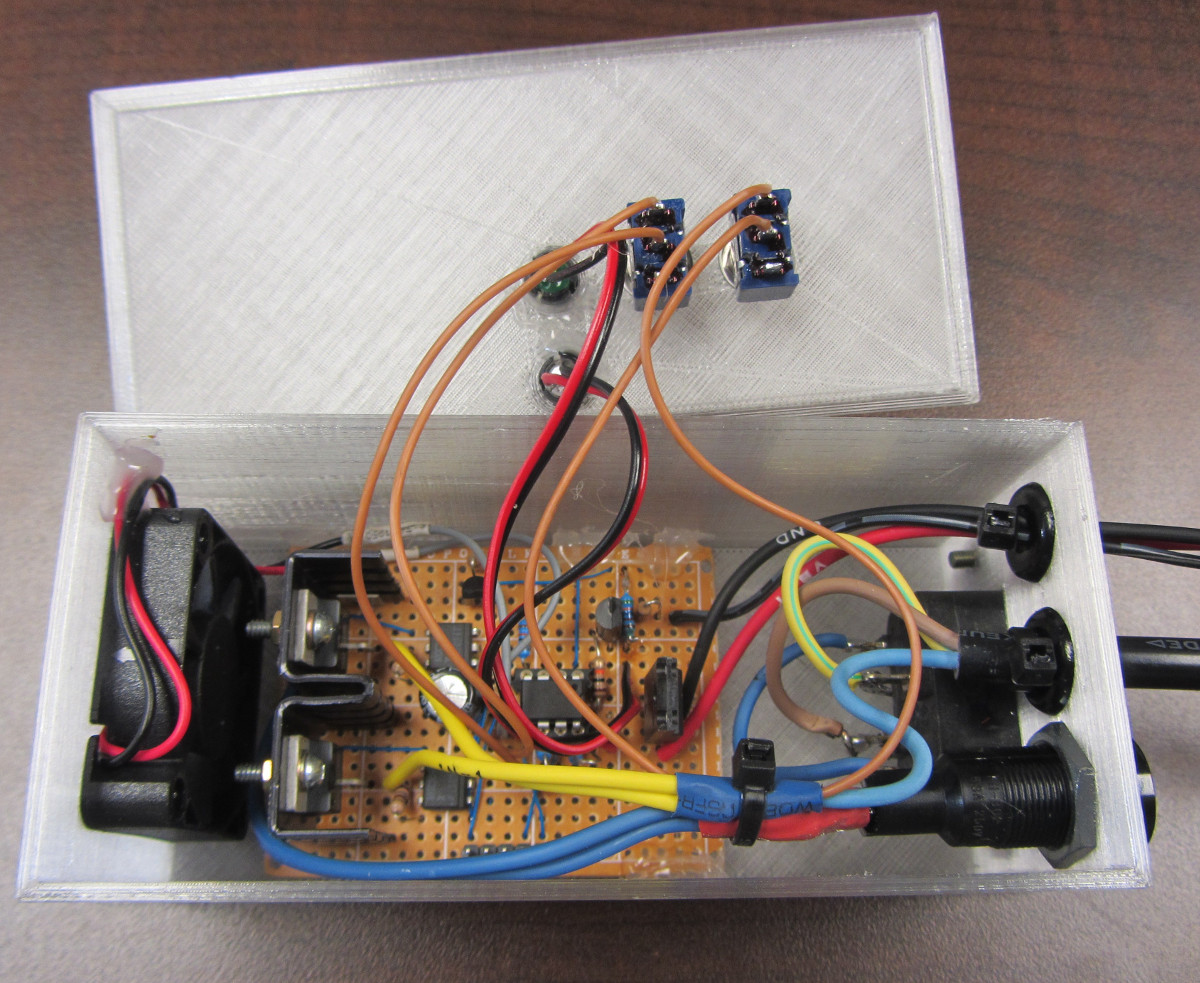
There’s quite a bit of gear packed into the case, but [Lexie] thinks there’s probably still room to make some improvements. He could free up some room by dropping the connectors and soldering everything directly, and says he’d like to come up with a custom PCB to better interface with the 3DS’s hardware to cut down on some of the wiring required. With the extra room he thinks the battery, currently a 3200 mAh pack designed for the LG V20 smartphone, could probably be replaced with something even bigger.
Readers may recall that the Kite is currently in the running for the 2018 Hackaday prize. Seeing Kite already delivering on the promise of making it easier to develop powerful Android devices is very exciting, and we can’t wait to see what else hackers will be able to do with it.
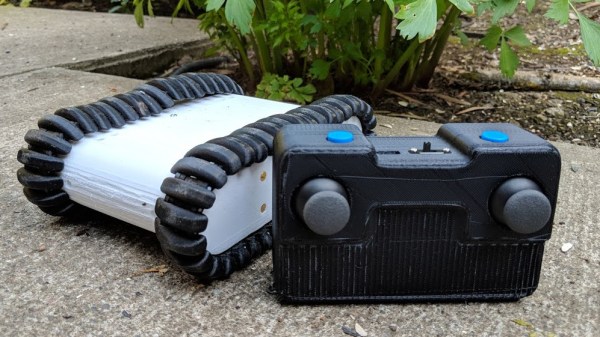
 The tank itself is remotely controlled over Bluetooth with a custom controller that uses the common HC-05 Bluetooth radio units. The treads are driven by four hobby gearmotors with custom designed wheels, and run over an idler wheel in the center of the body. There isn’t any method of taking up slack in the track and a ripple in the top surface of the track is visible as it drives, but the tank is small enough that it doesn’t seem to mind much. STL files and source code is available on GitHub; unfortunately the repository lacks a wiring diagram but between the low component count, photos, and source code that’s not a show-stopper.