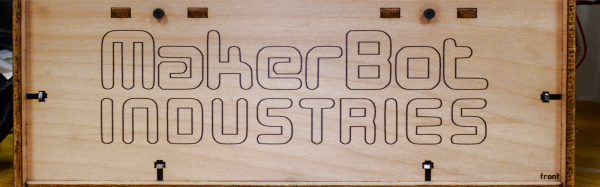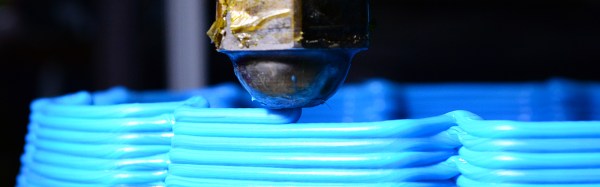
Every year, nestled between a swine auction and beef auction at the fairgrounds in Goshen, Indiana, the world’s greatest 3D-printing meetup happens. The Midwest RepRap Festival draws the greatest minds in 3D printing from around the world, with teams flying in from Prague, Oxford, and Hong Kong. This year was bigger than any other year. Over 1,000 people ventured forth into the sticks to attend this awesome festival dedicated to DIY printers.
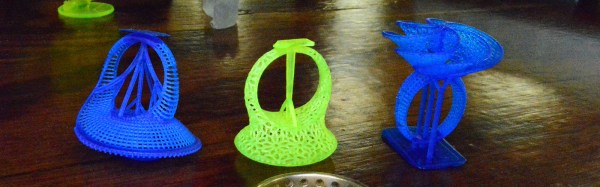
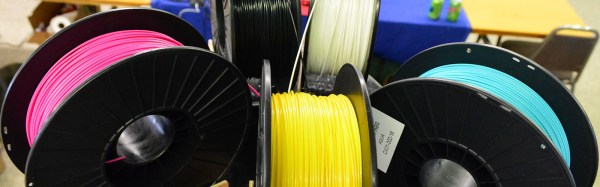
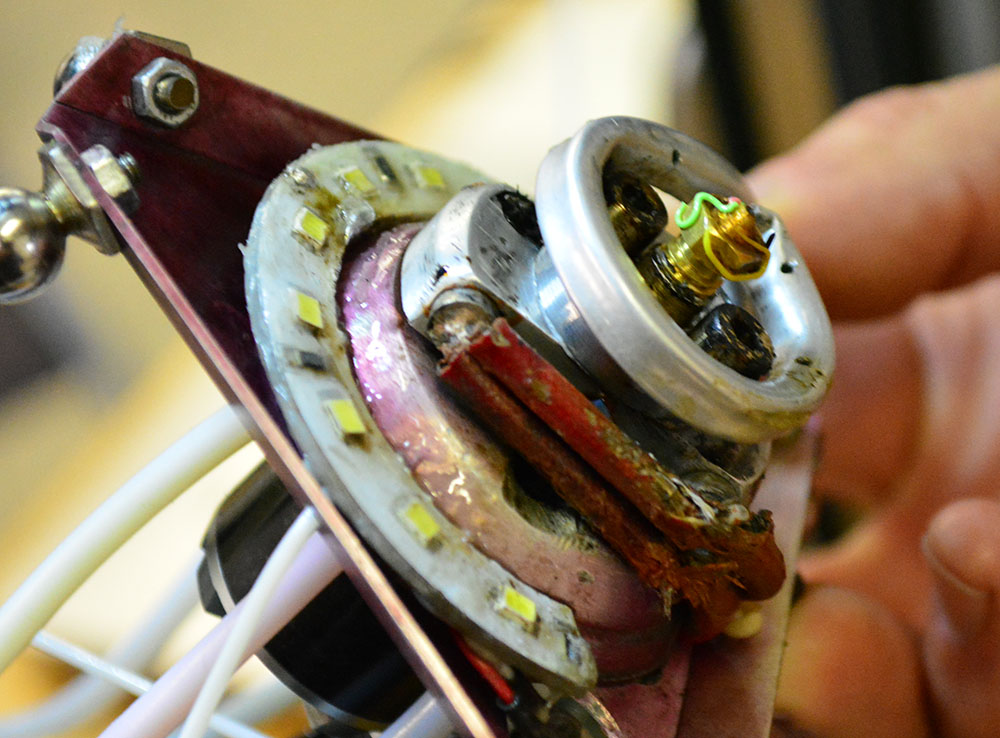
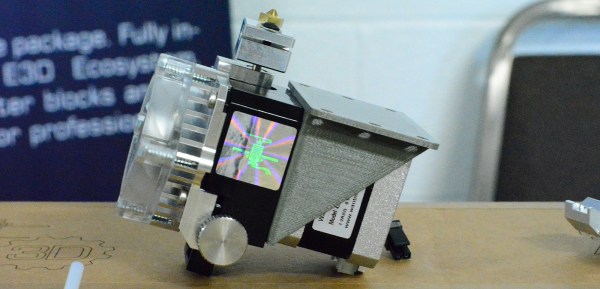
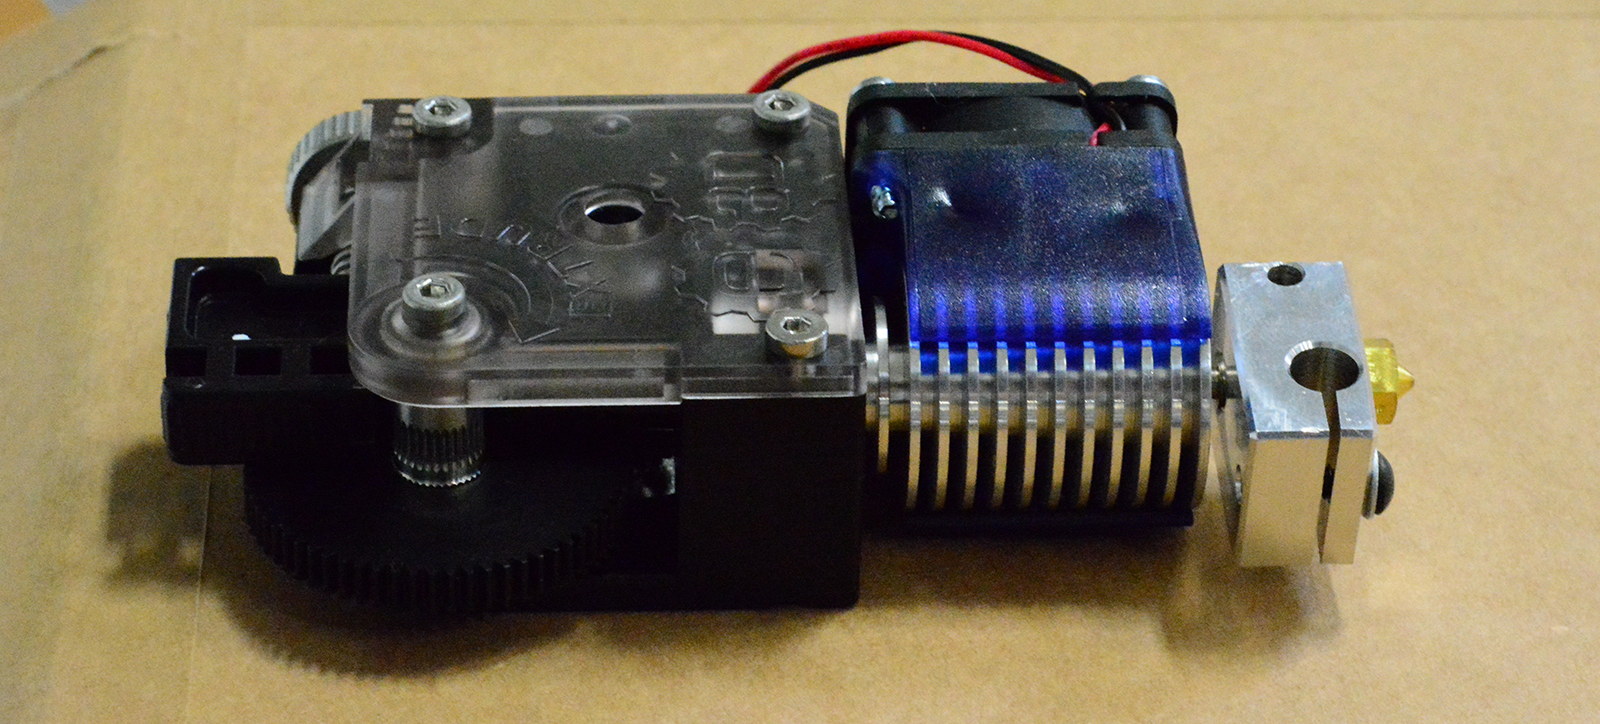
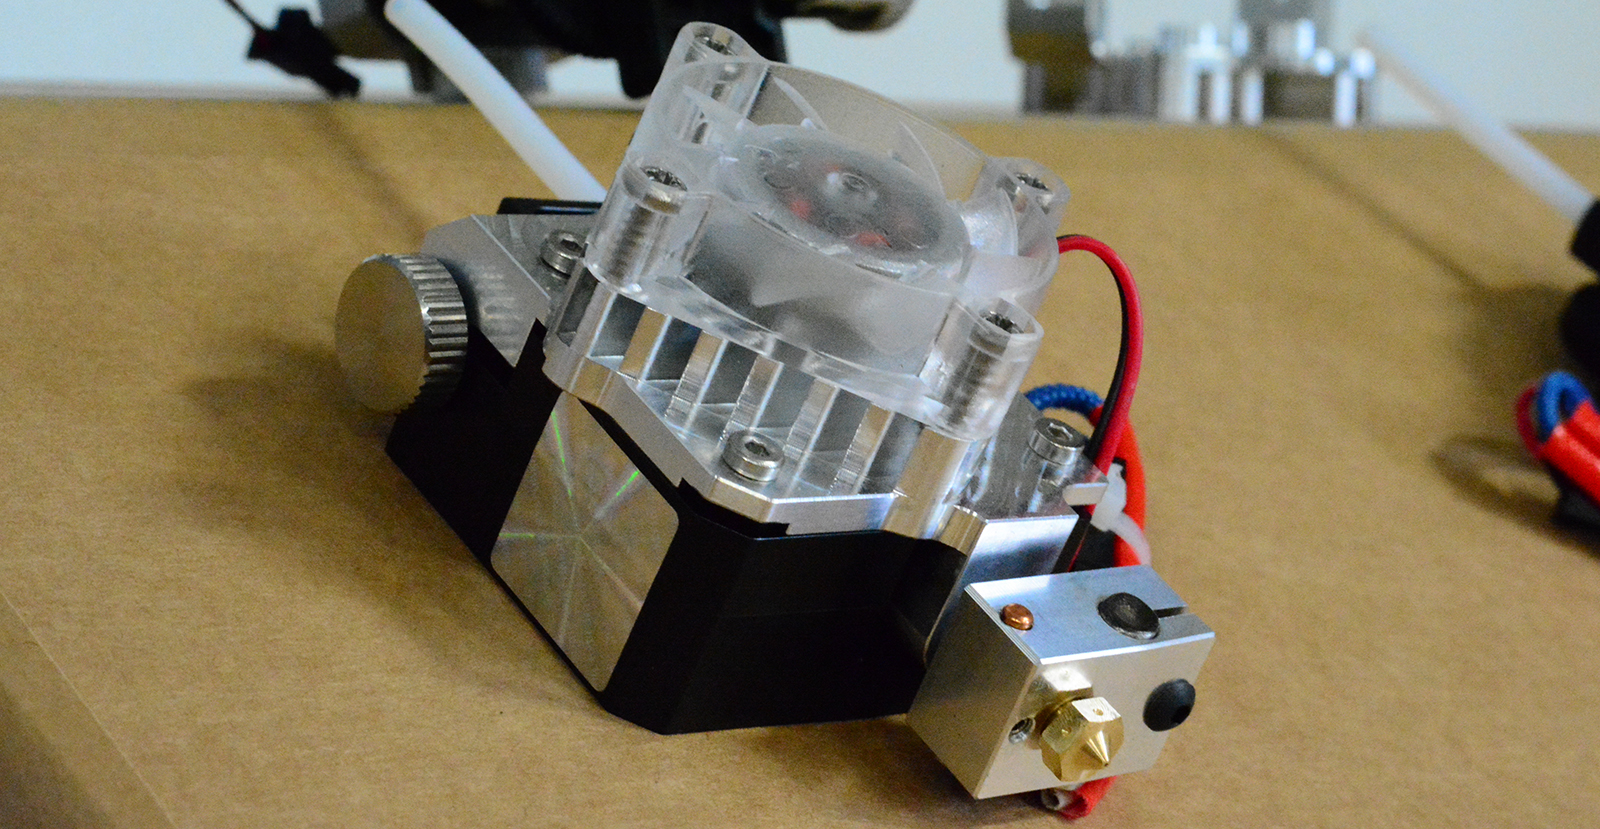
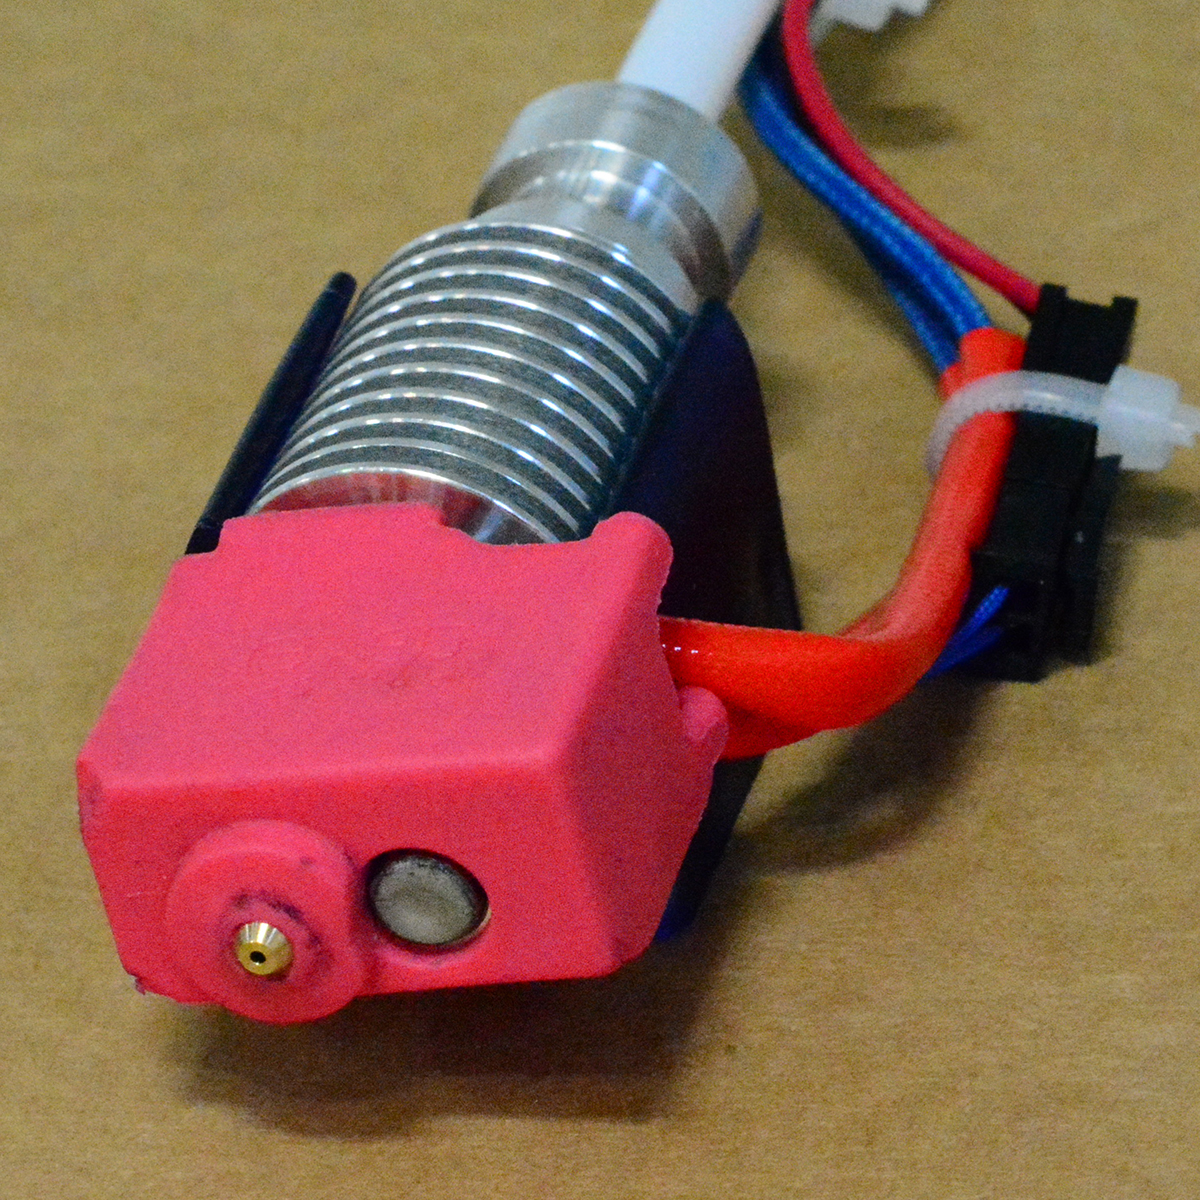
What did we see this year? The PartDaddy, SeeMeCNC’s 18-foot-tall delta printer made an appearance. We saw a new extruder from E3D, and an announcement that Open Source filaments will soon be a reality. True color printing with a five filament CMYKW system is weird and cool. DIY resin printers using laser diodes and galvos are now a thing. An Easy Break Oven isn’t broken. Printers with an infinite build volume now exist, and it skirts around a MakerBot patent, too.
There was more to see at MRRF than a single weekend would allow. [Jason Kridner] from BeagleBone was there talking about the latest in fancy single-chip Linux computers. Hackerspaces were there talking about their coolest builds and doing the calculations necessary to strap model rocket engines to 3D printed rockets. A few local colleges sent teams out to talk about their efforts to bring additive manufacturing to their programs. YouTube personalities were there. Check out the rest of the goodies we saw below.