Recently [Kerry Wong] had one of his Cyclenbatt LiFePO4 batteries die after only a few dozen cycles, with a normal voltage still present on the terminals. One of the symptoms was that as soon as you try to charge it, the voltage goes up very rapidly to above 14 V due to what appears to be high internal resistance, and vice versa for discharging. In addition, the Bluetooth feature of the BMS appeared to have died as well, making non-invasive diagnostics somewhat tricky.
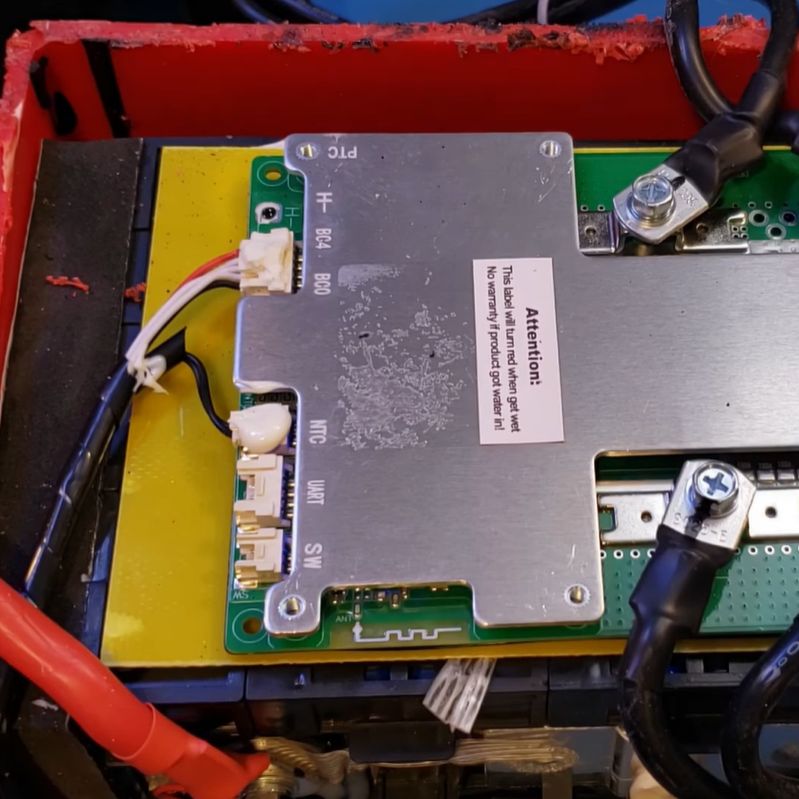
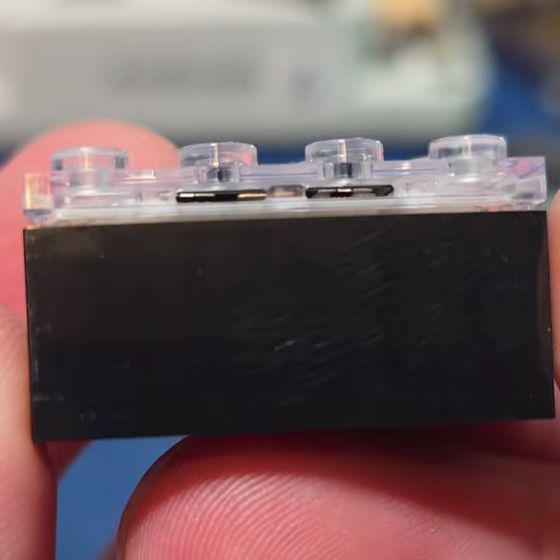
After gently cutting open the plastic case, [Kerry] was greeted by the happily blinking blue LED of the Bluetooth module and deepening the mystery. Overall the build quality looks to be pretty good, with no loose cables as seen with certain other LFP batteries.
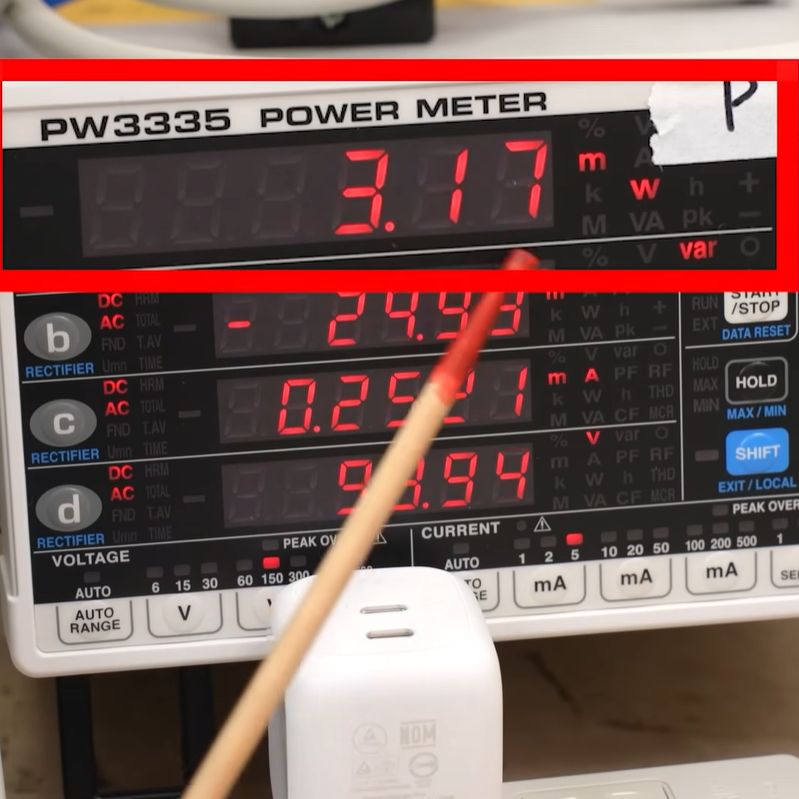
Cell voltages measured normal, with no significant imbalance. Next was measuring the internal resistance, which showed a clear issue. One of the cells was reading over 3 Ohms, whereas the others were in the milli-Ohm range. This would definitely explain the issues with charging and discharging, with a single bad cell causing most of the issues.
Of course, why the Bluetooth feature failed remains a mystery, and there’s still a lingering question on whether the BMS practiced proper balancing between the cells, as this can also cause issues over time.
Continue reading “Post-Failure Autopsy And Analysis Of An LFP Battery”