Motion control is a Holy Grail of input technology. Who doesn’t want an interface that they can control with simple and natural movements? But making this feel intuitive to the user, and making it work robustly are huge hills to climb. Leap Motion has done an excellent job creating just such a sensor, but what about bootstrapping your own? It’s a fun hack, and it will give you much greater appreciation for the currently available hardware.
Let’s get one thing straight: This device isn’t going to perform like a Leap controller. Sure the idea is the same. Wave your hands and control your PC. However, the Leap is a pretty sophisticated device and we are going to use a SONAR (or is it really SODAR?) device that costs a couple of bucks. On the plus side, it is very customizable, requires absolutely no software on the computer side, and is a good example of using SONAR and sending keyboard commands from an Arduino Leonardo to a PC. Along the way, I had to deal with the low quality of the sensor data and figure out how to extend the Arduino to send keys it doesn’t know about by default.
The Plan
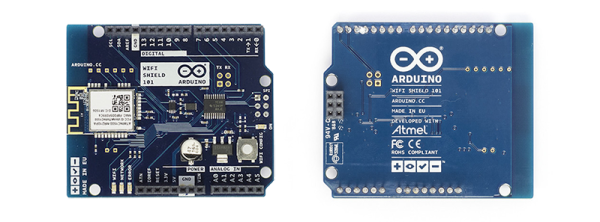
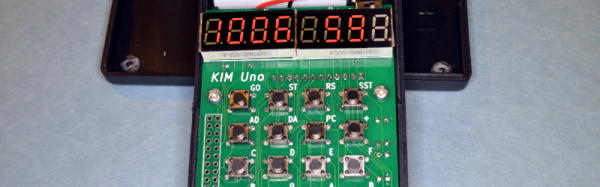
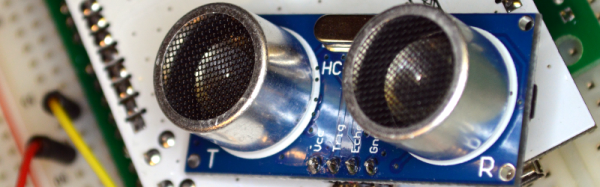
The plan is to take an inexpensive SONAR module (the HC-SR04) and an Arduino Leonardo and use it to perform some simple tasks by mimicking keyboard input from the user. The Leonardo is a key element because it is one of the Arduinos that can impersonate a USB keyboard (or mouse) easily. The Due, Zero, and Micro can also do the trick using the Arduino library.
I wanted to determine how many gestures I could really determine from the HC-SR04 and then do different things depending on the gesture. My first attempt was just to have the Arduino detect a few fingers or a hand over the sensor and adjust the volume based on moving your hand up or down. What I didn’t know is that the default Arduino library doesn’t send multimedia keys! More on that later.
Continue reading “Bootstrapping Motion Input With Cheap Components”