It’s great having fresh vegetables just a few steps away from the kitchen, but it takes work to keep those plants healthy. [Pierre] found this out the hard way after returning from vacation to find his tomato plant withering away. He decided to put an end to this problem by building his own solar-powered plant watering system (page in French, Google translation).
An Arduino serves as the brain of the system. It’s programmed to check a photo resistor every ten minutes. At 8:30PM, the Arduino will decide how much to water the plants based on the amount of sunlight it detected throughout the day. This allows the system to water the plants just the right amount. The watering is performed by triggering a 5V relay, which switches on a swimming pool pump.
[Pierre] obviously wanted a “green” green house, so he is powering the system using sunlight. A 55 watt solar panel recharges a 12V lead acid battery. The power from the battery is stepped down to the appropriate 5V required for the Arduino. Now [Pierre] can power his watering system from the very same energy source that his plants use to grow.

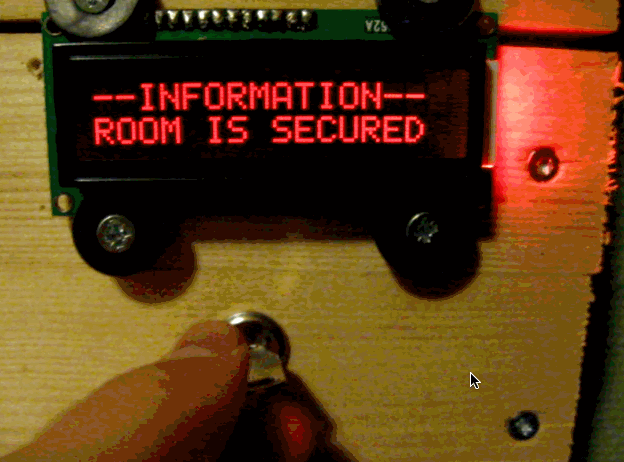
 Before this project, [David]’s office had a fairly terrible system to tell everyone who was in the office, who was out, and who wasn’t coming in today. Velcro and whiteboards will do the job, but arcade buttons and LEDs called to [David], leading him to create this