Sometimes you just know from the photo that this is going to be a really cool project. When most people salvage parts from an old printer, they usually chuck the rest. In this case [Shane] made use of the entire printer to build his CNC machine.
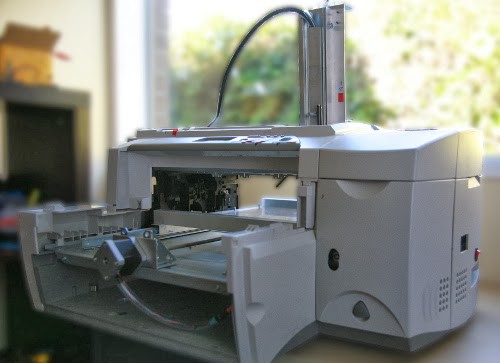
He started with an old HP 2500C A3 printer, which he had planned to salvage for parts only. While he was taking it apart he realized the chassis would make a great frame for his actual CNC machine! With that in mind he quickly changed his game plan to making each axis inside of the printer.
He’s using regular ball bearing drawer runners for both the X and Z axes, covered with a clever design of aluminum angle to keep any possible chips from jamming them. The Y axis on the other hand makes use of the original shaft runners from the print head carriage. Each axis is driven by threaded rod using recycled stepper motors from the printer.
An Arduino UNO sits at the heart of the project with a Protoneer CNC shield to control the stepper drivers. He’s also included an emergency stop, hold, resume, and cancel buttons for manual control.
It’s a great project, and an amazing example of using what is on hand for a project. Stick around after the break to see a demonstration of it printing!
Continue reading “Printer Up-cycled CNC Machine Uses More Than Just The Stepper Motors”
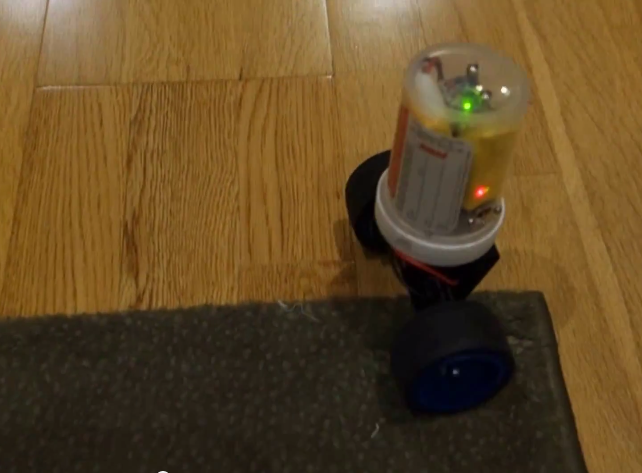 [Trandi] can check ‘build a self-balancing robot’ off of his to-do list. Over a couple of weekends,
  [Jack], a mechanical engineer, loom builder, and avid sailor wanted an autopilot system for his 1983 Robert Perry Nordic 40 sailboat with more modern capabilities than the one it came with. He knew a PC-based solution would work, but it was a bit out of reach. Once his son showed him an Arduino, though, he was on his way. He sallied forth and built


