For young children, music is a wonderful and exciting thing — but do you really want them playing with your phone, or worse yet, an iPod? [Arons] decided to make the MBox, an Arduino powered MP3 player.
He was inspired by hörbert, a very similar wooden MP3 player for children. Apparently it’s a great product, but it also costs 239€. We don’t blame him for wanting to make his own.
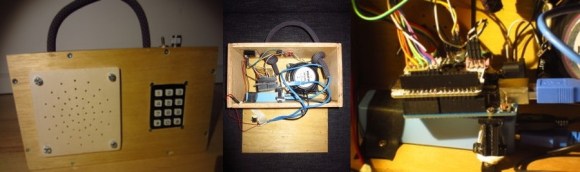
The MBox follows the same exterior design as hörbert — though we must admit, he could have spiced it up a bit! It uses an Arduino Uno at its core with a Freaduino MP3 music shield, capable of playing all the typical formats like MP3, MIDI, WAV, and even Ogg Vorbis. To amplify the sound he’s using a Mono Audio Amp Breakout board from SparkFun which drives an 8Ω loudspeaker. A mini USB power brick provides the juice, and a 12-digit keypad provides the ability to select music — each number plays from a different directory on the SD card.
[Arons’] daughter loves it, and he probably only spent a fifth of what the real hörbert costs!
[Thanks for the tip Renzo!]