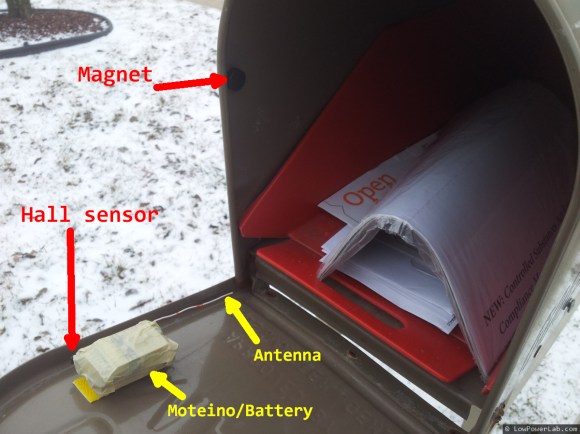
[Felix Rusu’s] mailbox is on the other side of the street and he’s got a pretty big front yard. This means checking for mail is not just a pop your head out of the door type of activity. This becomes especially noticeable during the winter months when he has to bundle up and trudge through the snow to see if his letter carrier has been there yet. But he’s made pointless trips a thing of the past by building a notifier that monitors the mailbox for him.
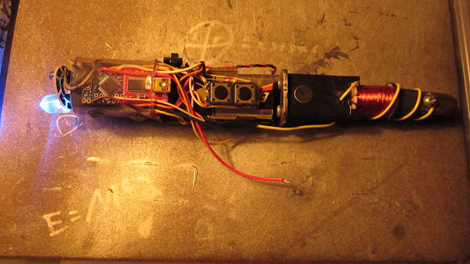
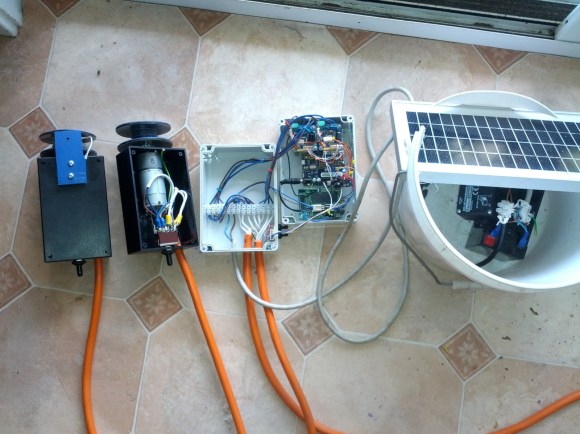
He’s using a Moteino, which is an Arduino clone of his own making. It’s tiny and features an RF module on the underside of the board which takes care of communicating with a base station inside the house. The module seen above rolls the microcontroller board up along with a 9V battery and a hall effect sensor which can tell if the mailbox door is open or closed. When the Arduino detects a change to that sensor it pushes some data back to the base station which then relays the info to a computer or Raspberry Pi in order to send him a text message. All of this is shown off in the video after the break.
Continue reading “Mailbox Notifier Texts When The Letter Carrier Arrives”