Cellular shields for the Arduino have been around for ages, but this is the first one we’ve seen that turns your Arduino into a proper cell phone.
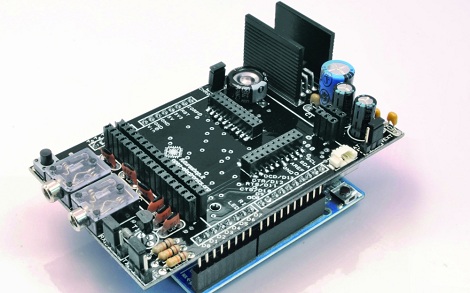
The shield is based around the SIM900 GSM/GPRS radio module, and is compatible with the SIM908 GSM/GPRS module that adds a GPS receiver. Also on board this shield are a pair of 1/8″ audio jacks, perfect for connecting a microphone and headphones. Yes, you can actually make cell phone calls with your Arduino now.
The real star of this build is the new GSM Shield library. This library of code includes the methods necessary for an Arduino to function as a cell phone (answer, hang up, dial a number), but also includes a lot of improvements for TCP/IP communication.
Even though the cost of getting an Arduino communicating through a GSM or GPRS network is fairly high, we’re thinking this would be the perfect starting point for a completely open source, open hardware cell phone. A phone with the same functionality as an old Nokia brick that is also a MiFy would be an amazing piece of hardware, and would surely make for a profitable Kickstarter.