By and large, the standard household mirror is one item that has not made much real progress over the years. They hang on the wall reflecting light, and that’s about it.
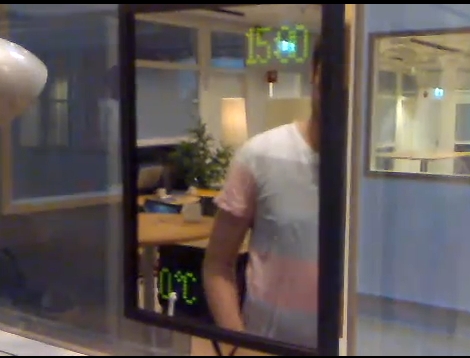
A few years back, some students studying in the Department of Interaction Design at Chalmers University sought to enhance their morning routine with an interactive mirror. Their project was constructed using a two-way mirror with several Arduino-driven LED displays embedded behind the glass. Once a hand is swiped past the pair of embedded light dependent resistors, the display is activated. Subsequent hand swipes trigger the mirror to toggle between the different modes, providing the user with the current time, weather information as well as a toothbrush timer.
The project writeup is quite thorough, including plenty of source code and information on some of the components they used. You can take a look at their work here (PDF).
Check out the interactive mirror we featured that served as inspiration for their project.
[Thanks Emil]
Continue reading “Bathroom Mirror HUD Displays Time And Weather”


