Those who have been around the block, and the sun, a fair few times will know that they certainly don’t make ’em like they used to. It doesn’t particularly matter what “them” is; it’s merely a widely accepted fact that society has trended towards more disposable products over ones that have a long service life. [mcu_nerd] was suffering from this very problem, as their TV remote had its power button begin to fail. Of course, hackers don’t see problems – they merely see opportunities for projects.
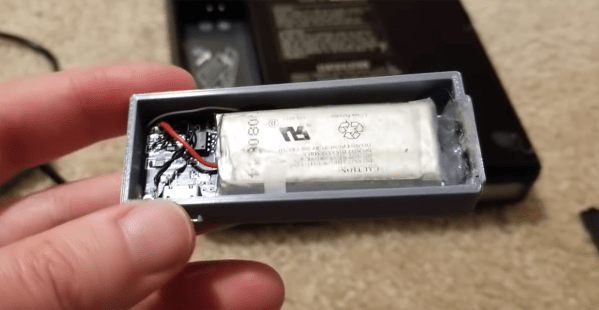
[mcu_nerd] decided to skip repairing the TV remote, under the suspicion that disassembling the device would likely lead to its destruction. Instead, an Atmega328P development board was pressed into service as a replacement remote, with the addition of an IR LED and a push button. Whereas the TV-B-Gone existed as a device to cause havoc by switching televisions off, [mcu_nerd]’s TV-B-On does the opposite job.
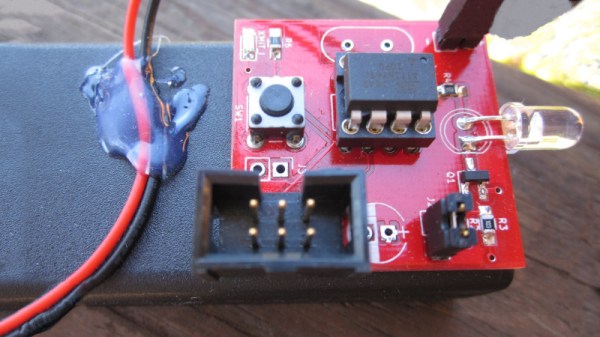
A later revision was spun up with its own PCB, and features an Attiny85, which is more than capable of handling the job. Showing thoughts of the future in the design, there are provisions for extra buttons to be added should the project require a nicer enclosure, and a space for an external crystal if necessary.
These devices have a long and storied history; we reported on a particularly powerful version back in 2009.