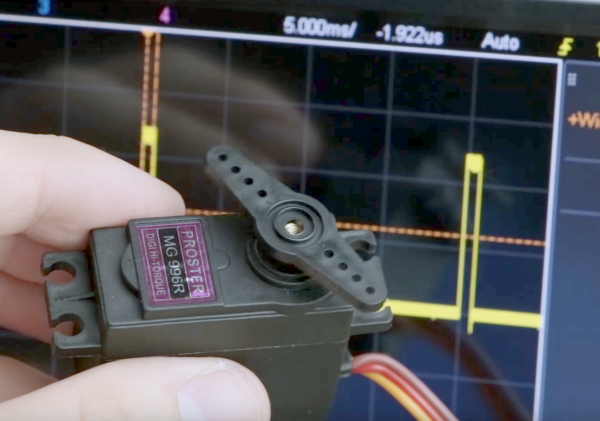
Servos are pretty basic fare for the seasoned hacker. But everyone has to start somewhere, and there’s sure to be someone who’ll benefit from this primer on servo internals. Who knows – maybe even the old hands will pick up something from a fresh perspective.
[GreatScott!] has been building a comprehensive library of basic electronics videos over the last few years that covers everything from using a multimeter to programming an Arduino. The last two installments delve into the electromechanical realm with a treatment of stepper motors along with the servo video below. He covers the essentials of the modern RC-type servo in a clear and engaging style that makes it easy for the newbie to understand how a PWM signal can translate into positional changes over a 180° sweep. He shows how to control a servo directly with an Arduino, with bonus points for including a simple 555-based controller circuit too. A quick look at the mods needed to convert any servo to continuous rotation wraps up the video.
If [GreatScott!]’s video whets your appetite for more, be sure to check out [Richard Baguley]’s deeper dive into servos. And when you’re ready to put your new-found knowledge into practice, maybe a nice project would be to convert a hobby servo into a linear actuator.

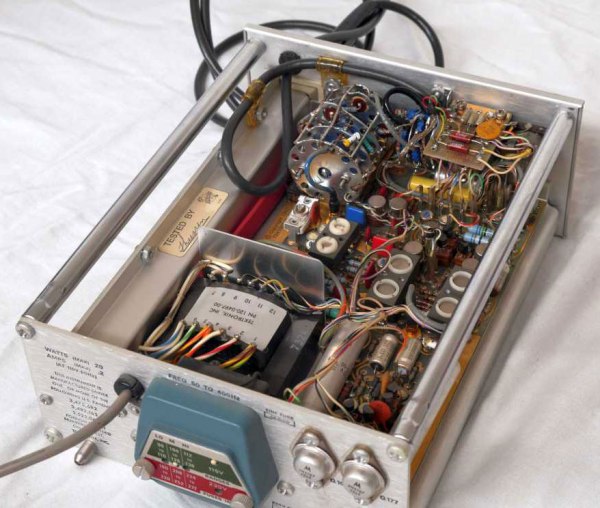
 Clearly a labor of love, [SolomonZaraa]’s two-year effort guts the radio but still manages to pay homage to the original beauty of the 1939 vintage