When [Bunnie] talks, we listen. He is a fount of product engineering knowledge, having seen many of his own products through from concept to market, and frequently helping others do the same. Of course having the knowledge is one thing, but he is also an accomplished speaker who knows what is important and how to share it in a way which is meaningful to others. The latest example of this is a pair of Engineering Talks he gave at Highway 1.
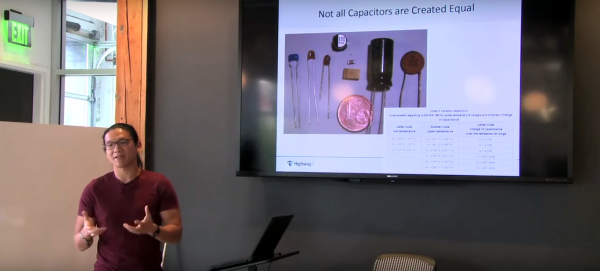
It’ll take you less than twenty minutes to get through the two videos. The first focuses on documentation for manufacturing. What do you need to include on a bill of materials sent to the factory? [Bunnie] has a set of gotchas which illustrate how vital this is. He also discusses how to handle design changes once the manufacturing wheels are already in motion. The second clip covers how Design for Manufacture relates to the actual cost of a production run. We hope there are more of these clips in the publishing pipeline so we’re keeping our eye on this channel.
The two videos are embedded below and at the time of writing had just a couple dozen views each and only one comment between the two of them. It seems sacrilege to say this, but we agree with that YouTube comment; these videos are gold.
Want to check out one of [Bunnie’s] latest projects? It’s a radio-based interactive badge.
Continue reading “[Bunnie Huang’s] Hardware Talks Top Your Watch List”
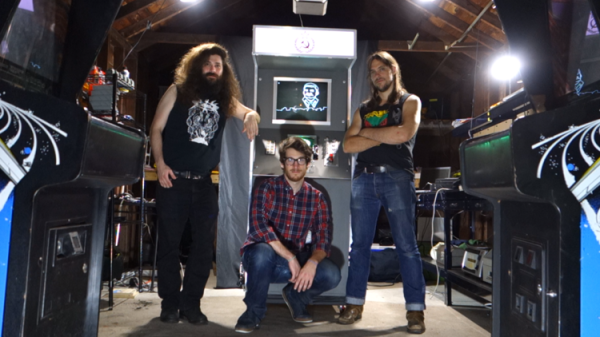
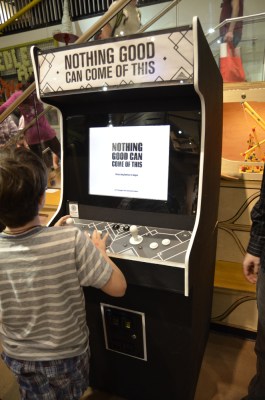 Video arcades may be a thing of the past, but they’re still alive, well and were ready to play at this year’s World Maker Faire. The offerings weren’t old favorites, all were brand new games many being shown for the first time like the long-awaited VEC9. The Hall of Science building was filled with cabinets and no quarters were necessary, all were free-play.