C64 Interface For Your Computer

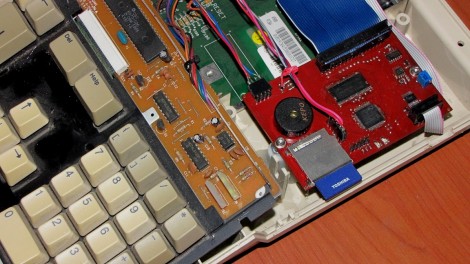
Before we get started, lets just point out that this C64 was broken. He did not take a functional C64 out of operation for this. What he did do, was to build a hardware interface for for his VICE system. For those unfamiliar, VICE is a cross platform C64 emulator. [Simon] points out that the old games just weren’t as much fun without the original hardware. Having a broken C64 lying around, he put it to good use. It now acts as the interface for all the original fun stuff.

If you are a fan of the hardware, but just want to interface it as a normal USB keyboard, that is possible as well.

SheevaPlug PBX

[youtube=http://www.youtube.com/watch?v=RIcTWya7TQA&feature=player_embedded]

[Greg] has been working on a version of Debian/ FreePBX/ Asterisk for people to be able to drop onto a SheevaPlug. If you haven’t seen it, the SheevaPlug is a tiny computer housed in a wall plug. They made some waves when they were announced last year, and we’ve spoken of them several times. [Greg] is offering up the operating system in a pre configured format for SD cards so you can just download it and drop it in your SheevaPlug. Yeah, there’s a little bit of work to do before it will boot, which you can see in the video above.  Thanks for sending this in [Greg], keep up the good work.

Suska Open Source Atari ST

Got a special place in your heart for Atari computing? Now you can quench that need using new hardware. The Suska project has achieved complete hardware emulation of the Atari ST using an FPGA. The project’s progress tracker shows implementation of the major chips at 100%. They are running EmuTOS, an Atari emulator, as the operating system because running the original would violate copyright. The chip used is an Altera Cyclone III. You could load up the code on your own hardware but judging from the number of connections needed it might be less of a headache to buy a board from these guys.

[Thanks Erik]

Zilog In A Matchbox

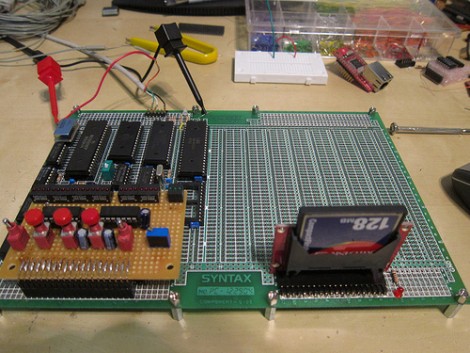
Now you can have a Zilog computer in the form factor of a matchbox. The RamBlade is a tiny PCB that uses a Parallax Propeller IC to implement the CP/M language. The OS is stored on a microSD card, with a four-pin serial interface (3V3, GND, SO, SI) that allows operation via a terminal program.

Smaller and more resilient than building your own from ancient logic chips, we see this a way to get a whole new set of people interested in this old technology.

[Thanks Oldbitcollector]

19th Century All-in-one PC

…well not quite, but Victorian-styled nonetheless.

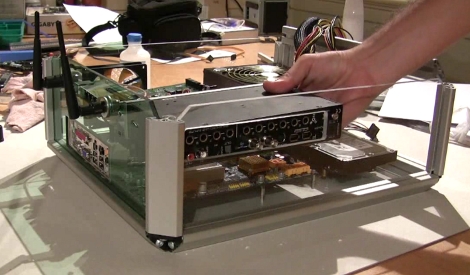
In the same vein as his previous creation, [Jake] decided to steampunk his new monitor. However, this time around, he managed to squeeze a full pc into the retro case. A custom aluminum chassis had to be designed and safely house the disk drives and motherboard behind the monitor.  Since the 350W PSU was a bit too clunky to mount behind the screen, [Jake] rebuilt the base of the unit around it. The P4, 250GB SATA hard drive, and gold painted cooling fan allow the machine to run Kubuntu “Gusty Gibbon” smoothly. Coupled with a typewriter-inspired keyboard, [Jake’s] got a cutting edge antique setup.

The Harlequin Project

This impressive little mod is quite fantastic really. [pakkei] has constructed the Harlequin, a home-made version of the Microsoft courier. This was a stock Dell mini9. Now, coupled with a display link touch screen monitor that happens to be identical in size and resolution to the original, it has become a new device. He has loaded Windows7 and is currently working on a case that can hold all the bits a little more organized than what you see above. We can’t wait to see this finished.

[via engadget]

Creating Wooden Enclosures

[Matthias] built a wooden enclosure for his keyboard. He’s used to using a Commodore 64 keyboard and decided he didn’t need the num pad found on modern keyboards.

It’s not the finished product that interests us, but the methods he used to create such a nice looking enclosure. From the wooden binary adder he produced we know he’s a talented woodworker. He takes us step-by-step through the use of a scroll saw, table saw, and router tabled to turn out this one-of-a-kind. You may not own these tools but someone you know does. Follow his example and turn out your own wooden wonders.

[Thanks Harald]