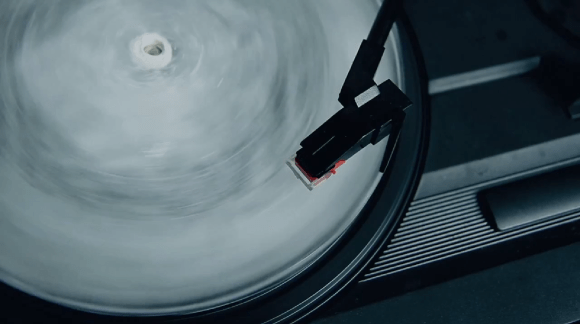
The Raspberry Pi has been very popular as a streaming music player. Sure, the only audio out option on the board is an analog stereo jack, but you can use a USB audio device to improve upon that if you wish. [Wouter van Wijk] wanted to use his RPi as a Spotify server. It’s a bit tricky to get everything configured for this, so he decided to give back by publishing a ready to use Spotify server image for the Raspberry Pi.
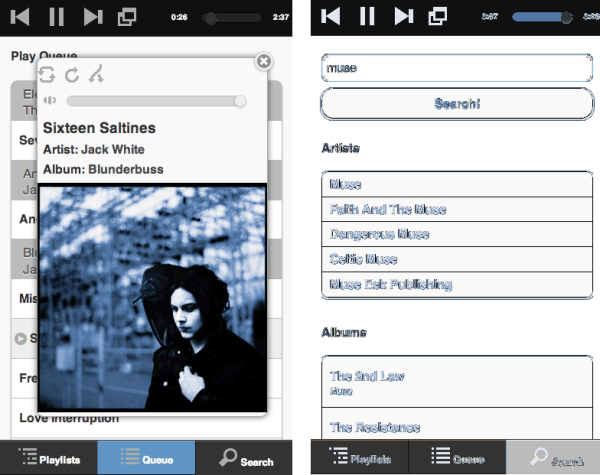
The project is call the Pi MusicBox. Like some of the RPi Pandora setups we’ve seen he included the ability to use the hardware as an AirPlay device too. To connect to the Spotify service he uses the Mopidy package. It can also play tracks from local storage (including the home network). It’s even capable of mixing the two sources in the same queue. Possibly the best part is that it can be controlled with any Music Player Daemon (MPD) client like the smart phone screenshots seen above.
If you’re interested, check out his GitHub repo for the project.