Full-featured AVR Time-lapse

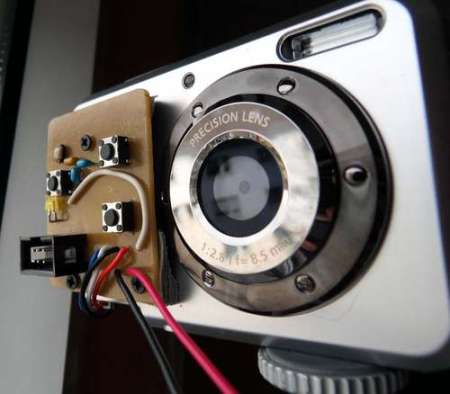
This time-lapse photo trigger was built [Lukasz Goralczyk]. It is controlled by an ATmega168 and we were surprised to read that it uses about 12k of code. Curious about what takes up that much space, we were impressed to see all the features demonstrated in the video after the break. The small device, running on two AA batteries, has a well-designed user interface displayed on a 3V character LCD that is navigated with a clickable rotary encoder.

It isn’t the smallest intervalometer we’ve ever seen, but it deserves respect for the features packed into a diminutive form-factor.

Continue reading “Full-featured AVR Time-lapse”

3D Digital Light Art Using IPad And Camera Trickery

This light art is created by a moving display playing an animated image through several camera exposures. In this case the display they’re using is an iPad, but that really doesn’t matter as it’s just a high-quality screen and it’s portable. 3D animations are generated in software and then sliced into cross sections. As the camera rolls, the cross sections are displayed in order and the location of the screen is moved. Very much like light painting with an LED or a Roomba, the bright image remains and can be strung together for the 3D effect seen in the video after the break.

Using the cross sections of the video reminds us of what a three-dimensional object looks like to a two-dimensional being. If you have no idea what that means you should take a look at this video on imagining the tenth dimension.

Continue reading “3D Digital Light Art Using IPad And Camera Trickery”

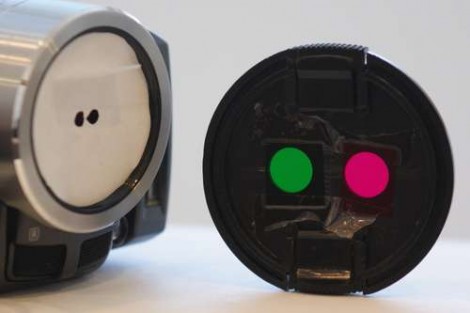
Steroscopic Rig Requires Only One Camera

[courtervideo] shares an instructible with us on how to build a mirror rig to take stereoscopic pictures with one camera. We’ve had the thought “couldn’t you just do that with some mirrors?” when looking at a dual camera rig. Well, as we all suspected, you can. There are some advantages here, a single click gives you your 3d image or video without any post processing, and unless you just happen to have an extra camera lying around you can save money there. You do however lose some resolution compared to two separate cameras. This setup could actually add some steps if you were wanting to interlace your images for viewing on a 3d tv.

Controlling The Power Of A Flash With A Tv Remote

For those who do fancy photography, setting up the lighting ends up being one of the larger tasks of each session. There are flashes out there that can be controlled via a remote control to help ease the process, but they can cost a considerable amount more. [Dsvilko] shares with us a fairly simple circuit that allows you to use a tv remote to control your flash. He’s using a picaxe 08m and he states that before this project, he had never messed with microcontrollers. We say great job on your first microcontroller project. You can catch a video of it in action after the break.

Continue reading “Controlling The Power Of A Flash With A Tv Remote”

Using Quality Optics With A Webcam

[Devon Croy] built a case to join a webcam sensor with a camera lens. The box is a PVC conduit box you’d find at a home center. He used JB Weld to attach four bolts to the back of the box. These are used to fine-tune the mounting plate for the webcam sensor to ensure it’s at the focal point of the lens. The lens connects through a couple of extension tubes to an adapter mounted in the center of the box’s cover plate. The setup above shows a macro lens that takes pretty good pictures.

If you need images of really tiny things you should look into a microscope adapter for your camera.

Take Better Pictures Of Your Projects

[PT] let us know about a fantastic guide to taking better photographs of your projects. It’s a hefty read but well worth the effort. Author [Johngineer] helps us understand how to use simple (and possibly inexpensive) tools like lights, mirrors, and a background material. He also gives some tips on how to recognize what your image processing software is telling your about your photography skills (get the correct camera setup and you won’t need correct your levels in The GIMP). There’s even some tips on photographing LEDs, a topic we’ve seen before, which you’re bound to find useful when trying to make that blinky thing you built into an Internet sensation.

Microscope Camera Adapter

[Ben Krasnow] is capturing some great snapshots using a microscope adapter and some tricks. The camera attachment is just a lens adapter ring with a tube added. Unlike other microscope imaging hacks we’ve seen he used a real microscope but found that the pictures had a bit of light distortion to them. The camera sensor was picking up a glare reflected on the inside of the black tube. By adding a washer and repositioning the apparatus he got over that hurdle. The final part of the puzzle is image processing. By taking several pictures at different focal lengths and compositing them he gets killer photos like the compound eyes of that house fly seen above.