Cool New Hardware Spectacular

press release

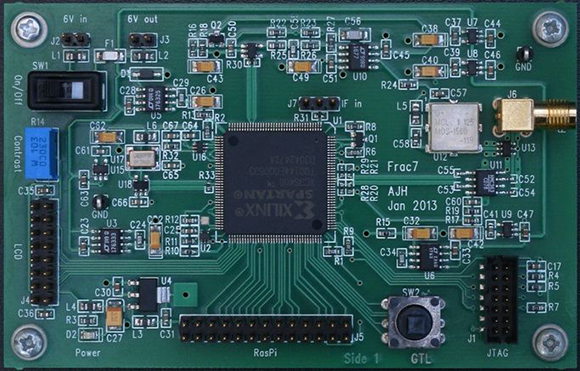
It should come as no surprise the Hackaday tip line is regularly flooded with press releases. Everything from an infographic comparing Call of Duty 3 to Battlefield 3 (yes, totally serious), announcements that a company we’ve never heard of is getting a new CFO, to the business proposals from hat box manufacturers that wind up in our inbox on a nearly weekly basis.

With the Hackaday crew sifting though hundreds of these emails a month, you’d figure the PR people would hit gold once in a while, right? Apparently not. The coolest stuff we get in our email is usually from an engineer working on a project and doing a PR rep’s job for them. We thank them for that, so here’s two really cool pieces of hardware that showed up in the tip line recently.

Continue reading “Cool New Hardware Spectacular”

Massively Parallel CPU Processes 256 Shades Of Gray

256

The 1980s were a heyday for strange computer architectures; instead of the von Neumann architecture you’d find in one of today’s desktop computers or the Harvard architecture of a microcontroller, a lot of companies experimented with strange parallel designs. While not used much today, at the time these were some of the most powerful computers of their day and were used as the main research tools of the AI renaissance of the 1980s.

Over at the Norwegian University of Science and Technology a huge group of students (13 members!) designed a modern take on the massively parallel computer. It’s called 256 Shades of Gray, and it processes 320×240 pixel 8-bit grayscale graphics like no microcontroller could.

The idea for the project was to create an array-based parallel image processor with an architecture similar to the Goodyear MPP formerly used by NASA or the Connection Machine found in the control room of Jurassic Park. Unlike these earlier computers, the team implemented their array processor in an FPGA, giving rise to their Lena processor this processor is in turn controlled by a 32-bit AVR microcontroller with a custom-build VGA output.

The entire machine can process 10 frames per second of 320×240 resolution grayscale video. There’s a presentation video available (in Norwegian), but the highlight might be their demo of The Game of Life rendered in real-time on their computer. An awesome build, and a very cool experience for all the members of the class.

Build Your Own Dumb USB Power Strip

diy-usb-power-strip

Here’s a USB charging center which [Kenneth Finnegan] built using parts from his junk bin. We’d like to reiterate our claim that he must have the most magical of junk bins (the last thing we saw him pull out of it was a 24-port managed Ethernet switch).

The jack on the side accepts the barrel connector from a 12V wall wart. [Kenneth] mentions that the 2.1mm jack is a standard he uses in all of his projects. Inside there’s a switch mode power supply that provides the regulated 5V to each USB port. We really like the fact that he added some protection; diy is no fun if you end up frying your beloved multi-hundred dollar devices. The yellow components are polyfuses which will cut the power if 600 mA of current is exceeded. This works great for almost all of his devices, but his iPod 4G doesn’t like the system. It sees the voltage dip just a bit and stops charging entirely.

Making A QR Clock Bigger, Cheaper, And Better

With the massive response and blog cred from his QR Code clock, [ch00f] felt it was time to step up his game and update his design to a proper commercial product. His new QR clock is bigger, brighter, cheaper, and in every way better than the old version, but these improvements came at a cost.

The LED matrices [ch00f] used in his earlier, smaller version weren’t very aesthetically pleasing. He wanted the lights to shine a brilliant white, and also be somewhat attractive when not illuminated. The 8×8 LED arrays [ch00f] picked up from Futurlec had a disgusting yellow coating on each LED that turned light emitted by the blue LEDs inside to a brilliant white. This simply wouldn’t do for a commercial product with [ch00f]’s name on it, so he turned to the one place in the universe where everything was for sale: alibaba.com.

After some trials and tribulations with component manufacturers in China, [ch00f] had the perfect LED matrix; not too expensive, very good quality control, and something that looked really good when both unpowered and illuminated.

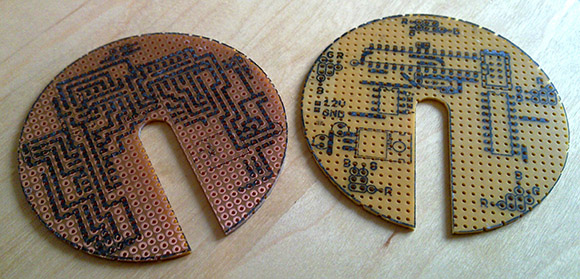
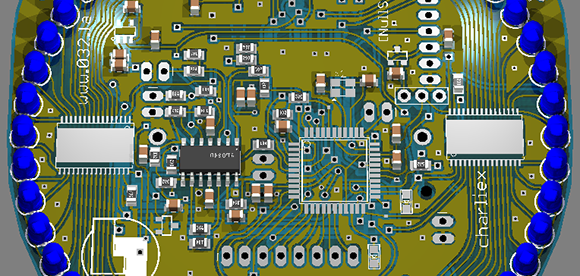
Now that his boards are being spun up, [ch00f] hopes to sell his QR clock on Tindie. Each 24×24 LED matrix should cost less than $100, a pretty good deal if you ask us. He’d like to know if anyone out there has any feature requests, to which we can only say he should get rid of the PCB border. Tiling a few of these displays and controlling them via serial would be much cooler than a QR Code clock.

Heating, Bending, And Gluing To Make Acrylic Enclosures

acrylic-enclosures-heating-bending-gluing

You can do a lot with acrylic and few tools. If you’re just starting out we’d suggest taking a look at [Michael Colombo’s] guide to heating, bending, and gluing to create custom acrylic enclosures. Chances are you already have most of what you need. The one tool you might be lacking is a heat gun.

The process starts with math. Before cutting the acrylic down to size you need to calculate how much you need. Next [Michael] demonstrates his cutting technique using a Dremel and a cut-off wheel. We prefer to clamp along the cut line, score many times with a razor knife, and snap the stuff. But you can also send it through a table saw if you have the right blade.

The bending technique he uses starts by clamping boards on either side of the bend. The acrylic left sticking out is pushed with a scrap board while the bend is heated with the heat gun. Once all of the corners were made in one piece the sides were glued in place. This last step can be tricky. The acrylic glue is made to work with perfect seams, so make sure your cuts are clean and the bent pieces line up.

The process was documented in the clip found after the jump. If you’re looking for a more targeted heat source check out this dedicated acrylic bender.

Continue reading “Heating, Bending, And Gluing To Make Acrylic Enclosures”

Finding The Cheapest Board House

The prices for custom made circuit boards has never been cheaper, but surprisingly we’ve never seen a comparison of prices between the major board houses. [Brad] took the time to dig in to the price of 10 boards manufactured by Seeed Studios, OHS Park, and BatchPCB. He made some pretty graphs and also answered the question of where you can get your circuits made cheaply.

[Brad] got the prices for boards up to 20 cm x 20 cm from Seeed Studio’s Fusion PCB service, OSH Park, and BatchPCB. These results were graphed with Octave and showed some rather surprising results.

For boards over 20 cm2, the cheapest option is Seeed Studios. In fact, the price difference between Seeed and the other board houses for the maximum sized board is impressive; a 400 cm2 board from Seeed costs $150, while the same board from OSH Park is close to $1000.

Of course most boards are much smaller, so the bottom line is  for boards less than 20 cm2, your best bet is to go with OHS Park. If you don’t care when your boards arrive, or you need more than 10 or so, Seeed is the way to go. As far as the quality of the boards go, OSH Park is up there at the top as well.

A Breakout Board For A Tiny WiFi Chip

A few weeks ago, we caught wind of a very tiny, very inexpensive WiFi chip  TI is producing. Everything required of an Internet connection – TCP/IP stack, configuration utilities, and your WEP, WPA, and WPA2 security tools is included in a single tiny chip, making this a very cool device for an Internet-connected microcontroller project. There’s only one problem: TI put this chip in a really, really weird package, and there aren’t any breakout boards for it.

That is, until now. [Vince] was convinced to spend some time in Altium to design a breakout board for this tiny WiFi chip. Now, if you can get your hands on a sample of the CC3000 from TI, you can breadboard out a circuit with the help of [Vince]’s design.

Included in [Vince]’s git are the board files for this breakout board, schematics, and the necessary parts if anyone has the inclination to make an Eagle library. If anyone wants to spin a few of these boards and put them up on a Tindie Fundraiser, that’d be fine by us, and [Vince] would probably appreciate that as well.