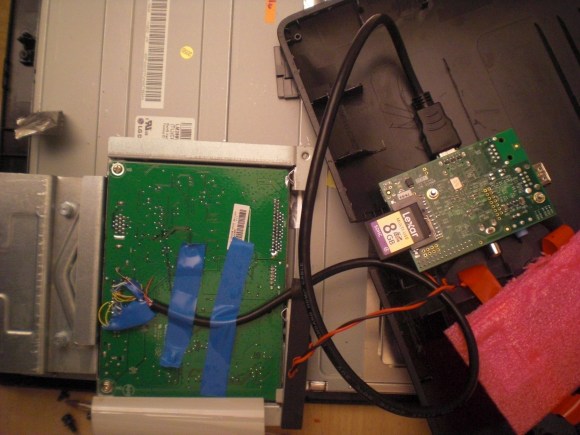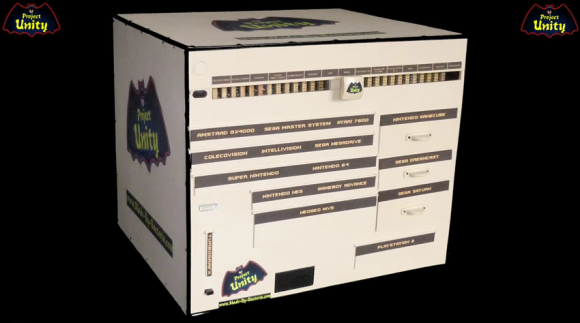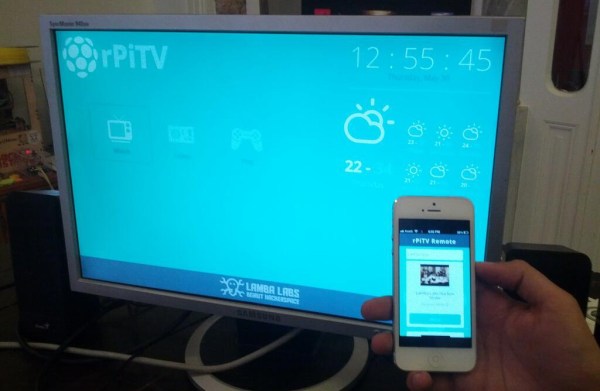
In the title of his post [Donald Derek] calls this a Google TV you can build yourself. That’s certainly an over-reach. But the project is still a very impressive smart television built using a Raspberry Pi.
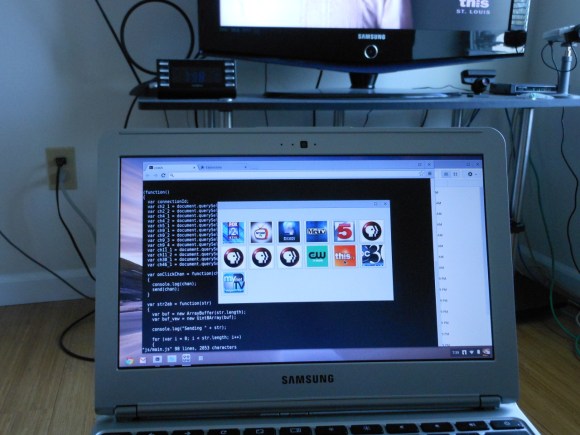
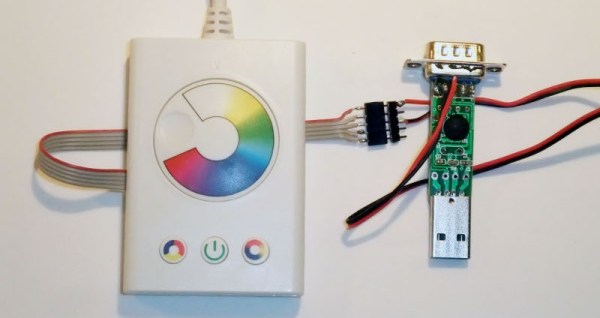
The open source project starts with the Rasbian OS, an RPi version of Debian Linux. Functionality is built up by installing Chromium to display webpages, a script to download YouTube videos, and OMXPlayer to play videos including 1080P HD content. The image above shows the smart phone controller for the system. This is provided by a Node.js configuration that manages communication between the remote and the RPi board.
On the one hand we love that this is open source. On the other, it’s not going to be able to tap into a lot of the content which makes a Google TV so valuable. For instance, you won’t be able to watch Netflix because that service doesn’t work on Linux systems. But you should be able to watch browser-based content like Hulu.