[Tim] noticed recently that a large number of projects recreating discrete logic tend to do so with technology around 70 years old like resistor-transistor logic (RTL) or diode-transistor logic (DTL). To build something with these logic families nowadays requires an intense treasure hunt of antique components bordering on impossible and/or expensive. Rather than going down this rabbit hole he decided to invent a somewhat new logic system using analog components in this entry in our Component Abuse Challenge.
The component in question here is an analog multiplexer, which is normally used to select one of two (or several) signal lines and pass them through to an output. Unlike digital multiplexers which only pass 1s and 0s, analog multiplexers can pass analog signals since the transistors aren’t driven to saturation. He has come up with an entire system of logic gates using these components, with trickier devices like latches eventually implemented with help from a capacitor.
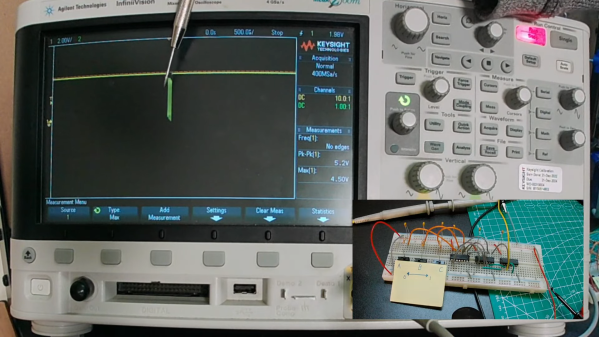
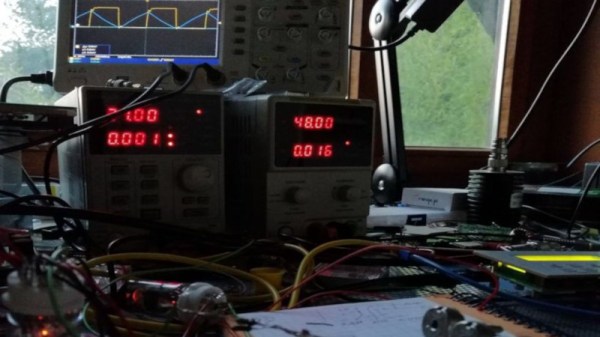
The first attempt at using this logic system had a small mistake in it which caused these latches to behave as oscillators instead, due to a polarity mistake. But a second attempt with simplified design and reduced component count ended up working, proving out [Tim]’s concept. Not only that but his second prototype is functioning at an impressive 15 MHz, with a possibility of an even higher clock speed in future designs. Not bad!