One of the hardest things in life is watching your parents grow old. As their senses fail, the simplest things become difficult or even impossible for them to do.
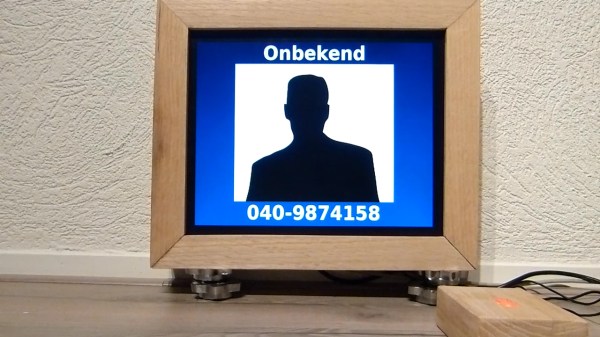
[kjepper]’s mom is slowly losing her sight. As a result, it’s hard for her to see things like the readout on the caller ID. Sure, there are plenty of units and phones she could get that have text-to-speech capabilities, but the audio on those things is usually pretty garbled. And yes, a smartphone can natively display a picture of the person calling, but [kjepper]’s mom isn’t technologically savvy and doesn’t need everything else that comes with a smartphone. What she needs is a really simple interface which makes it clear who’s calling.
Initially, [kjepper] tried to capture the caller ID data using only a USB modem. But for whatever reason, it didn’t work until he added an FSK–DTMF converter between the modem and the Pi. He wrote some Node.js in order to communicate with the Pi and send the information to the screen, which can display up to four calls at once. To make a mom-friendly interface, he stripped an old optical mouse down to the scroll wheel and encased it in wood. Mom can spin the wheel to wake the system up from standby, and click it to mark the calls as read. Now whenever Aunt Judy calls the landline, it’s immediately obvious that it’s her and not some telemarketer.
[via r/DIY]
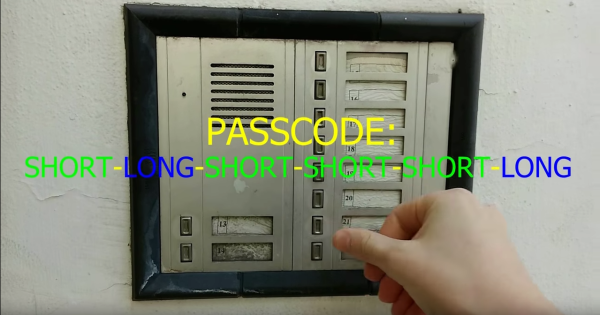
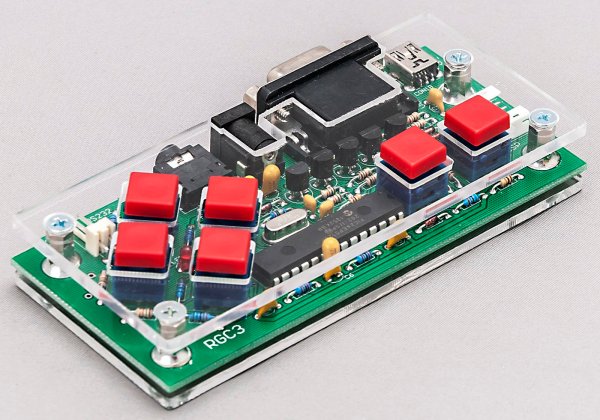
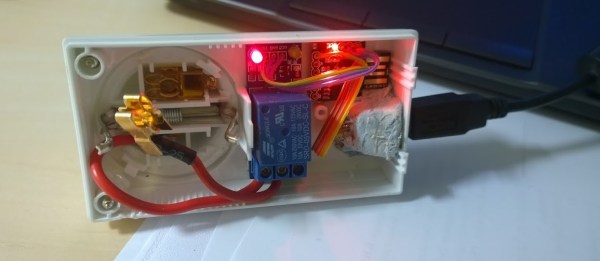
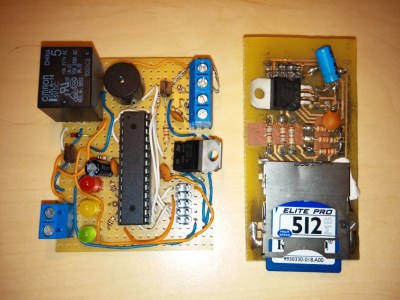 The design is pretty simple – an ATMega328P to snoop on the analog phone ringer in the apartment when the intercom call button is pushed, and a relay wired in parallel with the door switch to buzz him in. For added security, the microcontroller detects the pattern of button presses and prevents unwanted guests from accessing the lobby. Things got really fun when [Paweł] added a PCM audio module to play random audio clips through the intercom. As you can see in the video below, an incorrect code might result in a barking dog or a verbal put-down. But [Paweł] earns extra points for including the Super Mario Bros sound clip and for the mashup of the “Imperial March” with “The Girl from Ipanema”.