[Roy Bean] thought it was pretty silly for the Milwaukee Makerspace to keep buying bottles of water for their water cooler. He rigged up a system that automatically fills the refrigerated reservoir in their water cooler. It’s a functional hack that also provided an excuse for him to learn about a couple of different sensors.
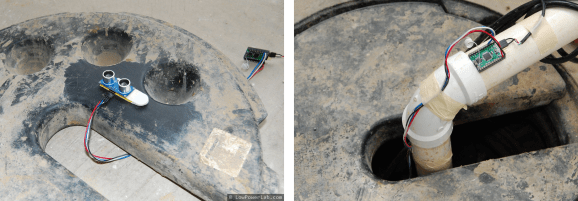
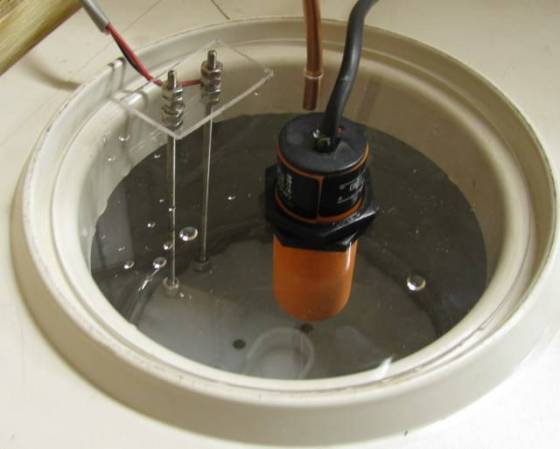
What you see above is the meat and potatoes of the hack. The well is where water from a bottle drains into the cooler. This has been covered with a sheet of acrylic to keep the drinking water clean. There is a copper pipe which has been plumbed into the tap water supply. The other two bits are redundant level sensors to make sure the water valve shuts off without overflowing. One of them is a capacitive proximity sensor, the other is a conductivity sensor hacked together using stainless steel hardware submerged in the pool.
If you’re worried about the taste or odor of your tap water just add in a single or multiple stage under-counter filter system when plumbing in the water line. The filters are easy to find and we’d bet they cost less than a contract with a bottled water company.
[Thanks Pete]