Cloning A Water-based Light Wall Project

A few weeks ago, we featured this water-based LED graffiti art installation that allows anyone to paint in light using only a bottle of water. When one of [Chris]’ friends saw the video of this build, he immediately asked him how it worked. One thing led to another, and now [Chris] and a few other members at the BUILDS hackerspace at Boston University are building their own water LED installation.

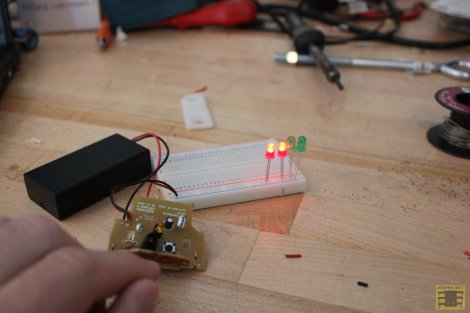
The basic premise of this build is allowing water to serve as a conductor between the anode and cathode of a LED. Without spraying or painting water on the circuit [Chris] whipped up, there is an infinite resistance between the two pins of the LED and current cannot flow. After applying water to the anode and cathode pads, a small amount of current is conducted through the water and the LED lights up.

Right now, [Chris] is working on a test board with different sizes of pads and spacing to get the best water graffiti LED effect for his future build. The plan is to build a single one-meter panel out of one hundred 10 cm x 10 cm boards connected together with jumpers.

All of [Chris]’ work is up on GitHub, and even though [Chris] hasn’t begun designing the production boards, it’s more than enough to get you started if you’d like your own water LED painting panel.

One Dimensional PONG Is A Great Use For LED Strips

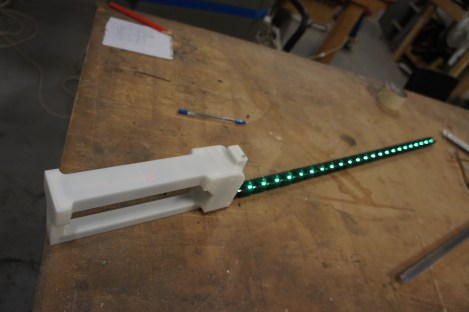
[Jason] has had a five meter addressable RGB LED strip lying around for a while, and only recently came up with a good idea of what to use it for. He came up with One Dimensional PONG, and it looks like it’s a blast to play. Instead of moving a paddle up and down, [Jason]’s 1D PONG game requires the players to stomp on a switch to send the ball back to the other player.

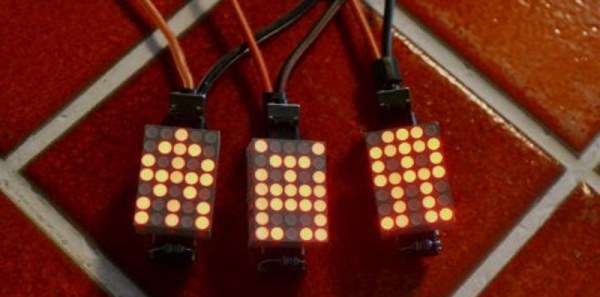
The LED strip [Jason] used has an SPI interface, but needed to be PWM clocked to a microcontroller to operate. After whipping up an Arduino library for his LED strip, [Jason] built an ATMega328-based controller board and a pair of seven segment display boards to keep track of the score. There’s a technical overview in another one of [Jason]’s videos.

[Jason] will be taking his 1D PONG game to the Brighton Mini Maker Faire on September 8th. We’re sure his game will be very popular there, so if you see him, tell him Hackaday sent you.

Continue reading “One Dimensional PONG Is A Great Use For LED Strips”

Lite Brites Fade, But LED Clocks Are Forever

litebrite-clock

Ahh, the Lite Brite.

What could be more fun than pushing dozens of little plastic pegs through a piece of black paper in order to create a pixelated, though colorful image? Well, I can think of quite a few things more engaging than that, and luckily so can [Lonnie Honeycutt] over at MeanPC.

While contemplating what to build with a pile of LEDs, his daughter came into the room with her portable Lite Brite. He thought that the pegs she was using looked awfully similar to the LEDs on his desk, so he did some test fitting and was surprised to see that they fit almost perfectly.

[Lonnie] thought that the toy would make an excellent clock, and his daughter happily agreed to let Dad do some tinkering. A few hours, an Arduino, and some Charlieplexing later, he had a nice looking clock that his kids were sure to enjoy.

If you’re interested in seeing more about how constructed, be sure to check out his YouTube channel and Instructable, where he happily provides all of the build details.

Turn Signals On Your Head

Several weeks ago, I was in Culver City L.A., and happened to find a hackerspace nearby. It was a pleasant coincidence that the night I chose to randomly show up, was their public meeting which focused more on projects people were doing. The place was packed, I was barely able to squeeze in the door and actually stood outside for part of the meeting, just listening to people talk about what they’re making.

One of the projects I did get to see was this bike helmet built by [Naim]. At first I was amused at the idea, but the idea of putting lights and an accelerometer on a helmet wasn’t that groundbreaking. But as [Naim] kept talking, he caught my attention. For one thing, the one he was showing at the hackerspace seemed to have some built in correction for natural head movement. In this video he does look around a bit without false positives. At the hackerspace he explained the way he monitors the motion to avoid natural movements causing the lights to initialize.

The part I was really interested in was his power. He spent tons of time reducing the power consumption on the base arduino. I believe the number he used was 10 years of standby without causing the battery to vent or die. If you pick up the helmet at any point during that time period, it automatically turns itself on based on the accelerometer’s motion. While the bike helmet itself was a fairly cute idea, I was really trying to get him to send me the information on how he’s saving power. I believe he had to cut the traces to the arduino’s native power management. Hopefully we’ll still hear from him on the details.

Building An LED Suit

[Rob] has been hard at work designing and building this LED suit which he can wear to parties. He’s got it working, although right now it’s just a pair of pants. It reacts to sound, and has the potential to be controlled from a smartphone via Bluetooth. You’ll find a video description of the build embedded after the break.

The planning started off by selecting driver hardware for the LEDs. [Rob] wanted the suit to pulse to the music in the room so he grabbed an MSGEQ7 chip. When connected to a microphone and opamp this chip will output a signal which can be used as a VU meter. He built the hardware into an Arduino shield, then got to work on the LED driver board. He’s using LED strips, but they’re not individually addressable. Instead he cut loops which wrap around the wearer’s legs. Each loop connects the pins of a TLC5947 LED driver chip which sinks a constant current and offers PWM abilities. He’s using PNP transistors on the high side.

For anyone that’s ever worked in a Tyvek suit before you’ll know they don’t breathe. Sweat will literally be pouring off of you. And we’d bet that’s what cause the short that burned the back of [Rob’s] leg at a recent party. Then again, your light-up pimp coats are going to be hot to wear too.

Continue reading “Building An LED Suit”

Light Painting With The Raspi

The art of taking long exposure photographs with blinking RGB LEDs has improved greatly over the years, mostly due to the extremely easy to use Arduino and hundreds of tutorials on the web. If there’s one problem with light painting with a ‘duino, it’s that large, full color images take up a ton of storage space, much more than the flash memory on an Arduino can provide. Wanting fancier and more colorful light painted images, [Phil] over at Adafruit used a Raspberry Pi to make some very awesome light painted images.

Like any Adafruit tutorial that uses LEDs, the build begins with a digital RGB LED strip wired to the GPIO pins on the Raspi. After loading up the Adafruit educational Raspi Linux distro for hardware SPI support, the only thing left to do was writing a Python script to display images in the air.

[Phil] says vertical, hand-held LED bars are old hat, so he took a hula hoop and a few bits of PVC pipe, attached the LED strip, and put it on his bike. The results are really impressive – we’re loving the flames in the title pic – and considering the Raspi is a full-fledged computer, light paintings larger than what [Phil] made are very possible.

Back Up The Band With Some RGB Stage Lights

Fresh off the 72-hour madness of the Red Bull Creation contest some of the folks a North Street Labs took on a stage lighting project. It’s for a local performing venue that just opened up, and despite the time crunch the team pulled off another great build.

Sixteen meters of LED strip make the electronics for the project a whole lot easier. The strips run up the center of a cabinets built as stand-alone columns which will end up at the back of the stage. Each cabinet has its own 5V 4A power supply (note the burnout issues they mention when using cheap eBay PSUs). Each column has its own Arduino Uno driving the LEDs, with an RS485 shield to connect back to a main Arduino Mega 2560 controller. It uses a PSX controller to switch between different lighting modes.

The seven towers boasting 688 LEDs isn’t all that’s shedding light on the show. There’s also about 300 feet of EL wire at work.

Continue reading “Back Up The Band With Some RGB Stage Lights”