In the Early 1980s, the BBC launched a project to teach computer literacy to a generation of British schoolchildren. This project resulted in the BBC Micro, a very capable home computer that showed a generation exactly what a computer could do. These children then went home, turned on their ZX Spectrums, and became a generation of software engineers. Still, the BBC Micro is remembered fondly.
The computer revolution is long over, but today we suffer a sea change of embedded processors and microcontrollers. With Arduinos and Raspberry Pis, the BBC has decided it’s time to put the power of an ARM microcontroller into the hands of a million 11- and 12-year olds. The result is the Micro:bit. It’s a small microcontroller board with an ARM processor, an IMU, buttons, Bluetooth and a 5×5 LED array – exactly what you need if you’re teaching a million kids how to blink an LED.
Although the BBC has finalized the design for the Micro:bit, there are no specs at all. However, a few educated guesses can be made. The USB controller is provided by Freescale, who also provide the digital compass and magnetometer. Programming is done through a web-based, Arduino-like IDE with what appears to be a decent Micro:bit specific library. The board is also mbed compatible. Bluetooth, and apparently the ARM Cortex M0 core, is provided by a Nordic nRF51822. There are only three alligator clip-compatible I/Os, and its doubtful any student will be building anything that would be too complex for an entry level ARM. It’s also 3V logic; finally, the tyranny of 5V has fallen.
The Micro:bit is best seen as a tool that enables the relatively recent addition of a computer science curriculum in UK schools. There is now a requirement for seven-year-olds to understand algorithms and create simple programs. Previously computer education in the UK has consisted of PowerPoint. Now, secondary school students will be learning Boolean logic.
While the Micro:bit is utterly useless as a tool for doing real work, education is not real work. For blinking a few LEDs, having a device react to movement, playing with Bluetooth, and other lesser evils of electronics, the Micro:bit is great. Not everyone will become the digital technologists this initiative is trying to create, but for those who have an inclination towards semicolons and electrons, this is a great introduction to technology.
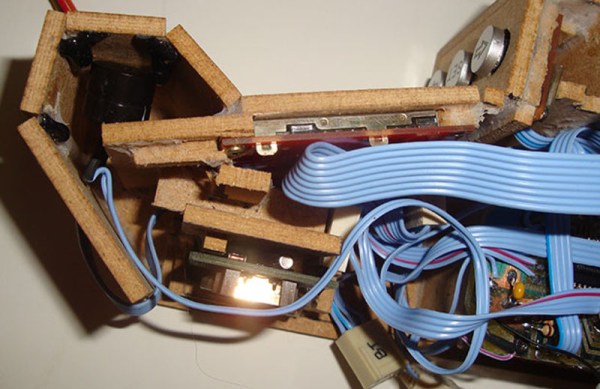
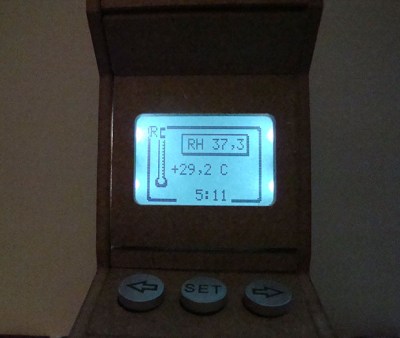 Standing only about 16 cm tall, the cabinet is quite detailed and resembles the familiar arcade form factor that has consumed countless quarters. It even appears to be made of particle board like the big boys. The screen cutout is filled by a 84×48 monochrome Nokia display, and the rest of the cabinet’s interior is stuffed with a CNC-milled PCB, temperature and humidity sensors, an RTC, and a Bluetooth module for uploading data to a phone. [Rui] even manages to work in an homage to the grand-daddy of all arcade games with a Pong splash screen.
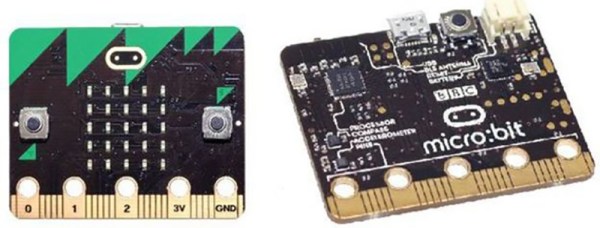
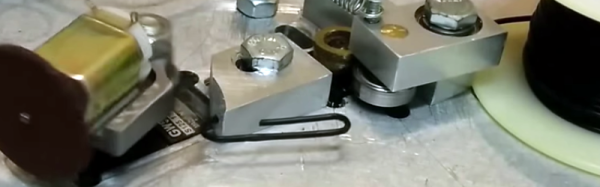


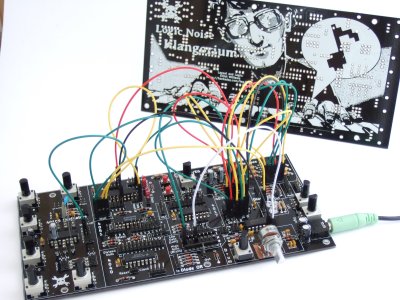 If you’re wondering why the delay in putting out this issue of Logic Noise, it’s partly because I’ve built up a PCB that incorporates essentially everything we’ve done so far into a powerhouse of a quasi-modular Logic Noise demo —


