Circuit bending doesn’t get a lot of respect around some parts of the Internet we frequent, but there is certainly an artistry to it. Case in point is the most incredible circuit bending we’ve ever seen. Yes, it’s soldering wires to seemingly random points on a PCB, but these bend points are digitally controlled, allowing a drum machine to transform between bent crunchiness and a classic 1980s drum machine with just a few presses of a touch screen controller.
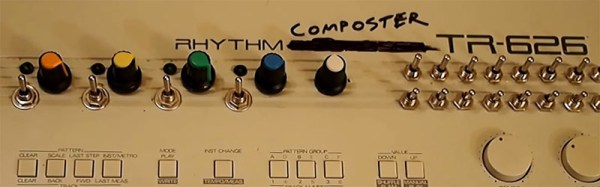
All circuit bending must begin with an interesting piece of equipment and for this project, [Charles], the creator of this masterpiece of circuit bending, is using a Roland TR-626, a slightly more modern version of the TR-606, the percussive counterpart of the infamous TB-303. The circuit is bent in the classical fashion – tying signals on the PCB to ground, VCC, or other signals on the board. [Charles] then out does everyone else by connecting these wires to 384 analog switches controlled by an Arduino Mega. Also on the Arduino is a touch screen, and with a slick UI, this old drum machine can be bent digitally, no vast array of toggle switches required.
[Charles] has put up a few videos going over the construction, capabilities, and sound of this touch screen, circuit bent drum machine. It’s an amazing piece of work, and something that raises the bar for every circuit bending mod from this point on.
Thanks [oxygen_addiction] and [Kroaton] for sending this one in.