Modern hospitals use a lot of computers. Architecturally speaking, they’re pretty typical machines—running the same CPUs and operating systems as any other PCs out there. However, they do tend to have some quirks when it comes to accessories and peripherals, as [tzukima] explores in a recent video.
The video starts by looking at typical power cables used with hospital computers and related equipment. In particular, [tzukima] talks about the common NEMA 5-15P to IEC-320-C13 style cable, which less sophisticated users might refer to as a kettle cord. In hospital-grade form, these cables are often constructed with translucent plug housings, with large cylindrical grips that make them easier to grip.
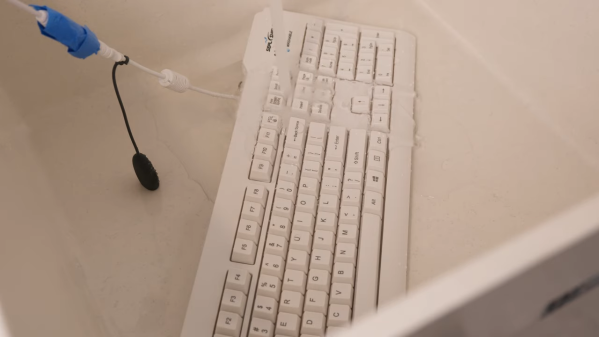
Digging further through business supply catalogs lead [tzukima] to discover further products aimed at hospital and medical users. In particular, there are a wide range of keyboards and mice that are designed for use in these environments. The most typical examples are regular peripherals that have simply been encased in silicone to make them easier to wash and disinfect where hygiene is paramount. Others, like the SealShield keyboard and mouse, use more advanced internally-sealed electronics to achieve their washable nature and IP68 ratings. These are peripherals that you can just throw in a dishwasher if you’re so inclined.
It’s a great look at weird hardware that most of us would never interact with.
Continue reading “The Quirky Peripherals In Medical PC Setups”