Personally, I love a monoblock or uni-body split. You’ll pry this Kinesis Advantage from under my cold, dead hands. But on the go, I really like the Glove 80, a true split that can be completely wireless in case you want to put the halves really far apart.
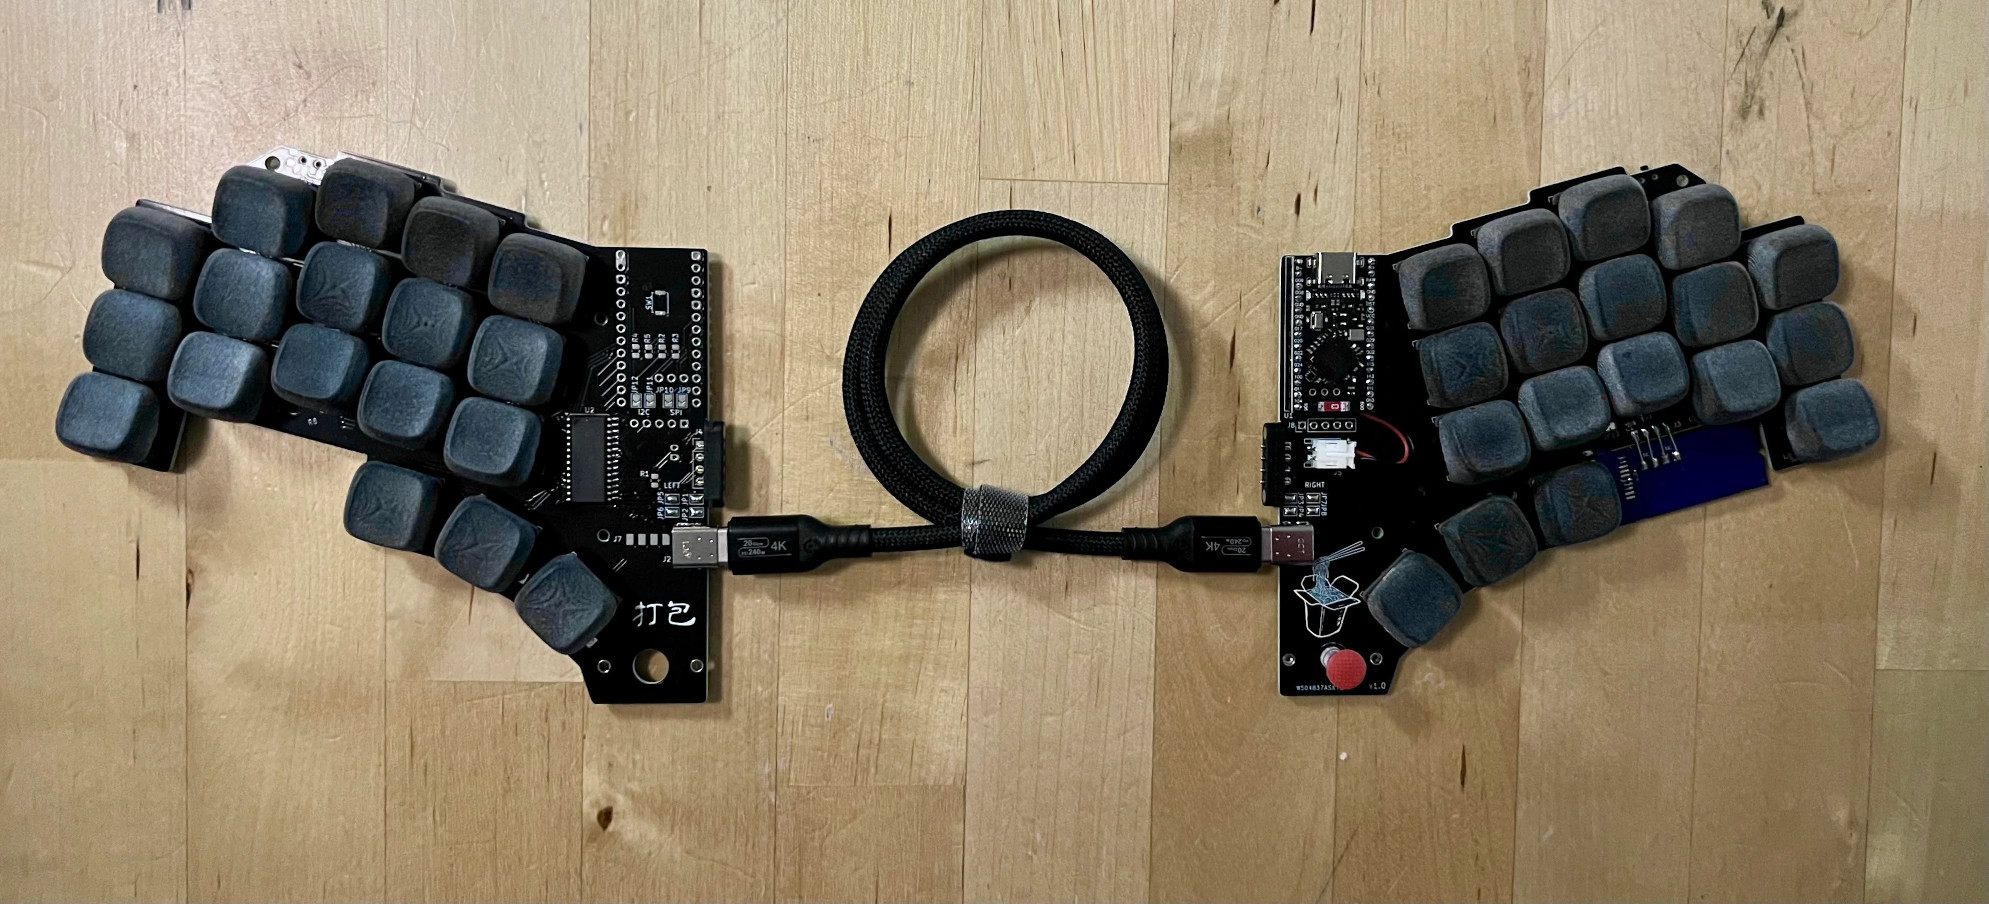
Image by [thehaikuza] via reddit[thehaikuza] is the opposite, preferring a full split at the desk, but finding it troublesome when using it on the couch or at a cafe or co-working space, and so created dǎ bāo (打包) — a uni-body split that can also be a distant split. And this best-of-both worlds creation is remarkably [thehaikuza]’s first keyboard.
The name means to take out food, and if you click the picture you can see a cute little take-out container on the silkscreen of the right half. Directly below it, there’s a track point nubbin to be used with the thumb.
It does its split-in-half trick via a magnetic four-pin connector for when you want the halves stuck together. When the halves are separated, they can instead talk over a USB-C cable. One half has the microcontroller, and the other has a GPIO expander.
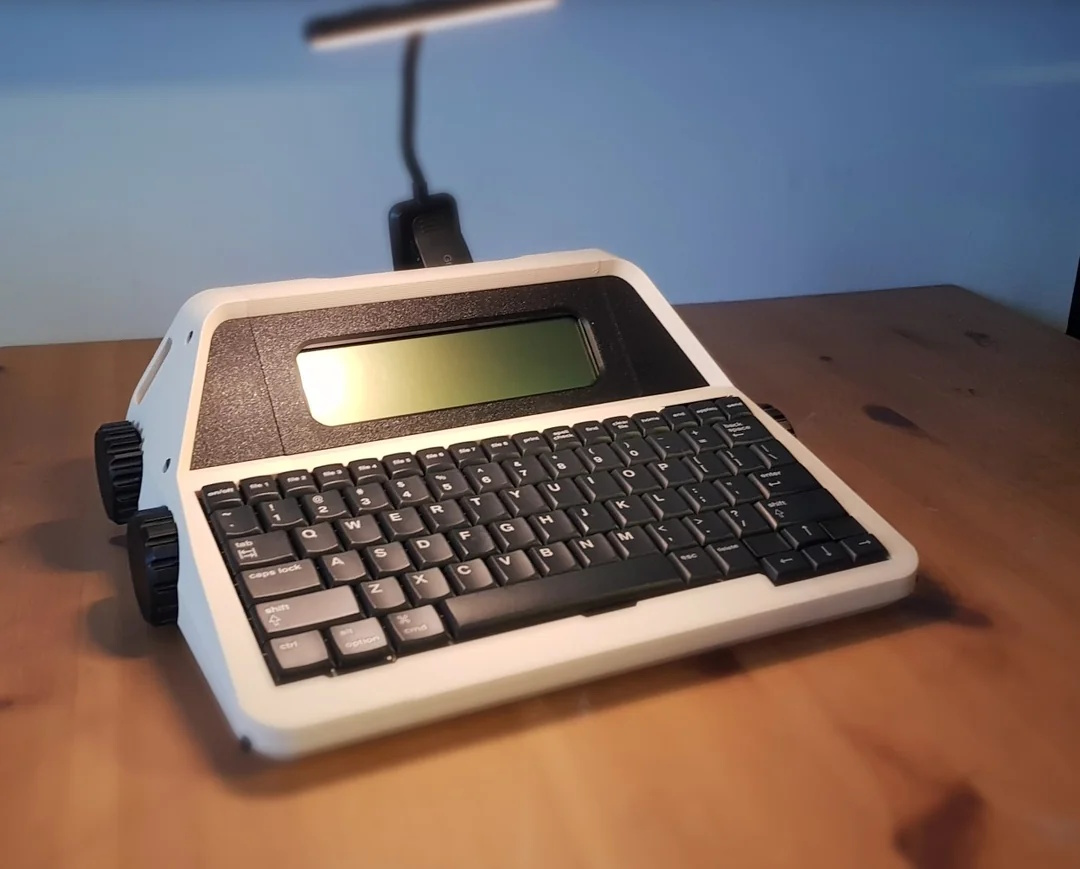
Isn’t this glorious? If you don’t recognize what this is right away (or from the post title), it’s an AlphaSmart NEO word processor, repackaged in a 3D-printed typewriter-esque shell, meticulously designed by the renowned [Un Kyu Lee] of Micro Journal fame.
Assembly looks easy enough; there’s no soldering, but you do have to disconnect and reconnect the fiddly ribbon cables. After that, it’s just screws.
This design happened by accident. A friend named [Hook] who happens to manage the AlphaSmart Flickr community had given [Un Kyu Lee] a NEO2 to try out, but before he could, it fell from a shelf and the enclosure suffered a nasty hole near the screen. But the internals seemed fine, so he got the idea to design a new enclosure.
I don’t believe the knobs do anything, but they sure do look nice. There’s an area along the top where you can clip a light, since the NEO has no backlight. There are also two smaller slots on the sides if your light won’t clip to the top.
I’d really like to do this to one of my NEOs. I have two NEO regulars, but reviewers on Tindie report that it works just as well with those as the NEO2.
With the convenience of digital cameras and editing software, shooting video today is so easy. But fifty years ago it wasn’t electronics that stored the picture but film, and for many that meant Super 8. Editing Super 8 involved a razor blade and glue, and an editing station, like a small projector and screen, was an essential accessory. Today these are a relatively useless curio, so [Endpoint101] picked one up for not a lot and converted it into an HDMI monitor.
Inside these devices there’s a film transport mechanism and a projection path usually folded with a couple of mirrors. In this case the glass screen and much of the internals have been removed, and an appropriate LCD screen fitted. It’s USB powered, and incorporates a plug-in USB power supply mounted in a UK trailing socket for which there’s plenty of space.
There’s always some discussion whenever a vintage device like this is torn apart as to whether that’s appropriate. These film editors really are ten a penny though, so even those of us who are 8 mm enthusiasts can see beyond this one. The result is a pleasingly retro monitor, which if we’re honest we could find space for ourselves. The full video is below the break. Meanwhile it’s not the first conversion we’ve seen, here’s another Hanimex packing a Raspberry Pi.
There are many adapters, dongles, and cables designed for interfacing display standards, and no doubt some of you have them in the glue of your entertainment system or work space. They’re great for standards, but what about something that’s not quite standard? [Stephen] has an arcade cabinet with a CRT that runs at an unusual 336 by 262 pixel resolution. It can be driven as 320 by 240 but doesn’t look great, and even that “standard” resolution isn’t supported by many dongles. He’s shared the story of his path to a unique USB to VGA converter which may have application far beyond this arcade machine.
We follow him on a path of discovery, through RP2040 PIOs, simple resistor ladder DACs, and home-made kernel modules, before he arrives at GUD, a USB display protocol with its own upstreamed Linux kernel driver. It’s designed to be used with a Raspberry PI deriving an LCD or HDMI display, but for his task he implemented the protocol on one of the more expensive STM32 series microcontrollers. The result after several false starts and some fiendish PCB routing is a standalone GUD-based USB-to-VGA converter that delivers perfect 34-bit colour at this unusual resolution, and also presumably others if required. It’s a worthwhile read for the many hints it gives on the subject of driving displays, even if you’re not driving an odd cabinet monitor.
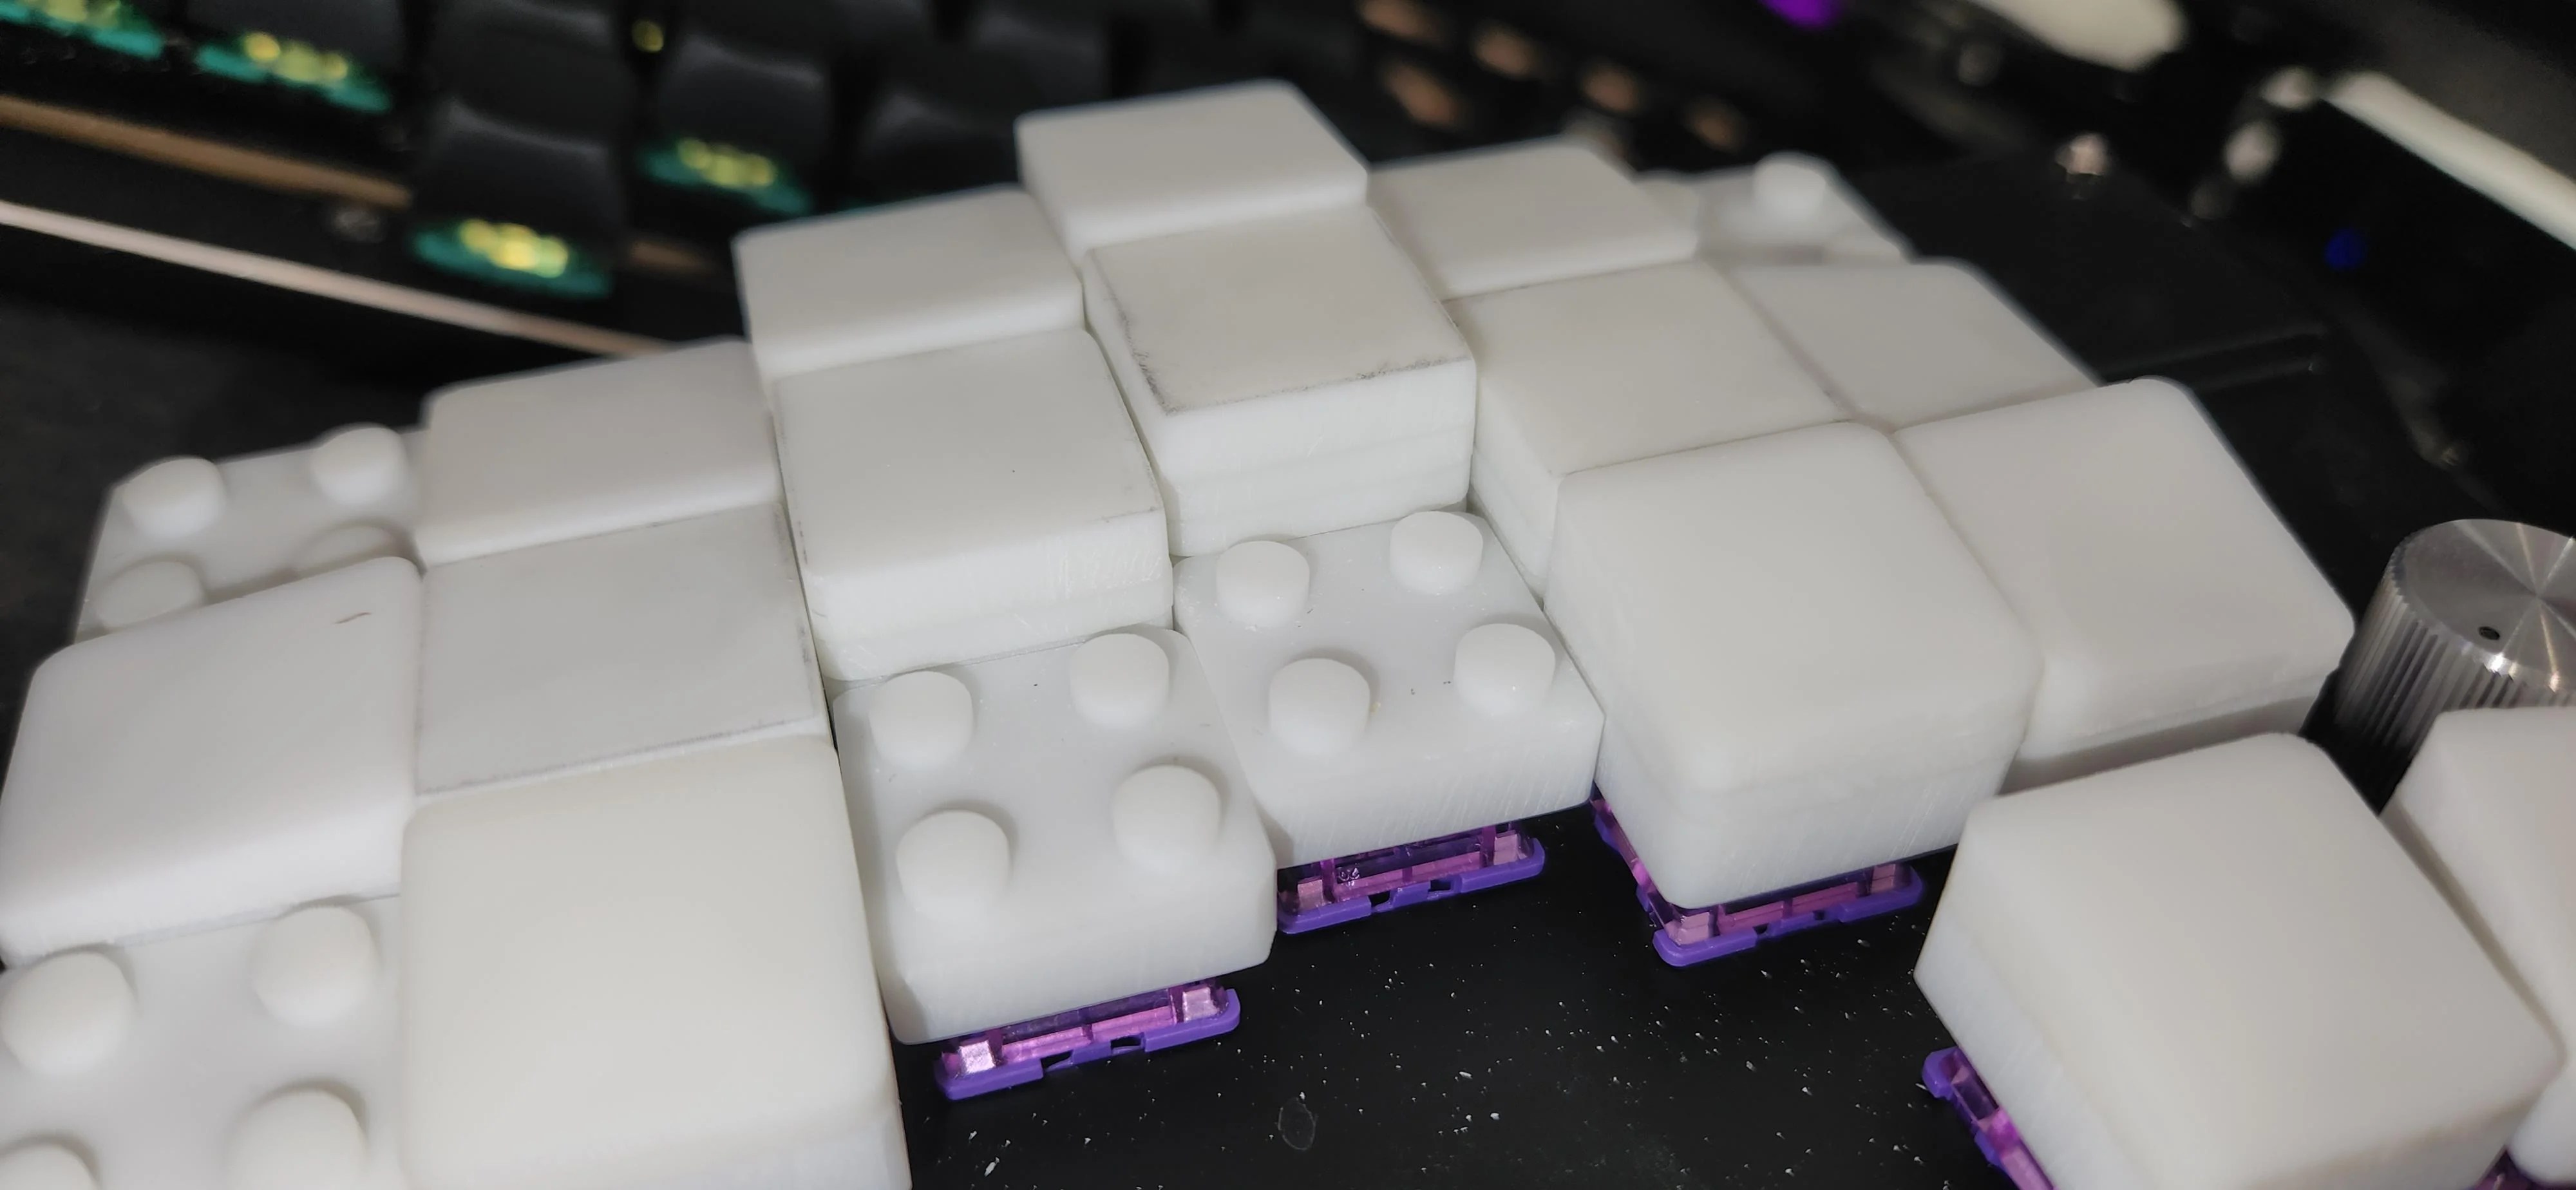
Now, we can’t call these LEGO key caps for obvious reasons, but also because they don’t actually work with standard LEGO. But that’s just fine and dandy, because they’re height-adjustable key caps that use the building block principle.
Image by [paper5963] via redditNow you could just as easily build wells as the dome shape pictured here, and I’d really like to see that one of these days.
In the caption of the gallery, [paper5963] mentions foam. As far as I’ve studied the pictures, it seems to be all 3D-printed material. If they were foam, they would likely be porous and would attract and hold all kinds of nastiness. Right?
[paper5963] says that there are various parts that add on to these, not just flat tops. There are slopes and curves, too. They are also designing these for narrow pitch, and say they are planning to release the files. Exciting!
Sometimes you have this project idea in your mind that seems so simple and straightforward, and which feels just so right that you have to roll with it. Then, years later you stumble across the sad remnants of the tearful saga and the dismal failure that it portrays. Do you put it away again, like an unpleasant memory, or write it up in an article, as a tearful confession of past sins? After some coaxing by a friend, [Alessandro] worked up the courage to detail how he set about making a hardware-only password keeper, and why it failed.
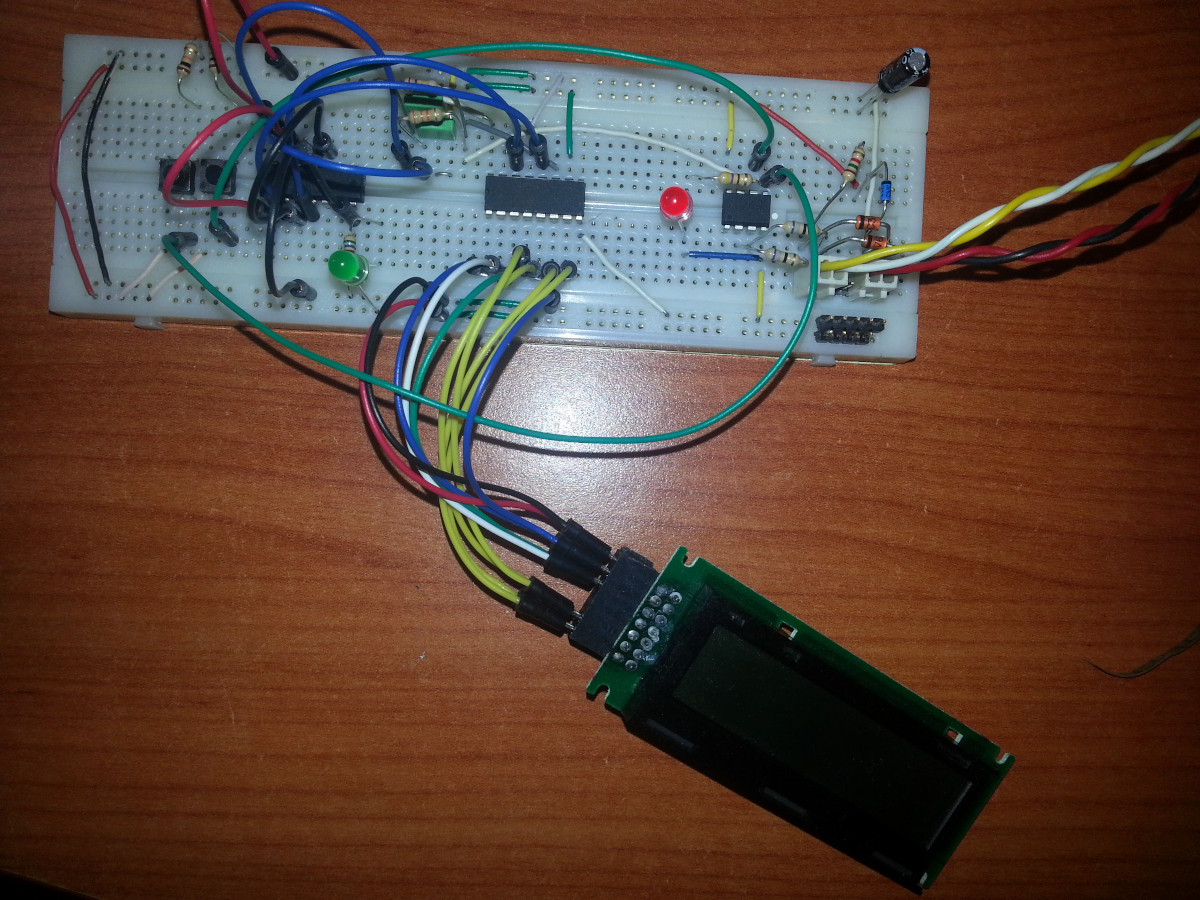
The idea was so simple: the device would pretend to be a keyboard and type the passwords for you. This is not that unusual, as hardware devices like the Mooltipass do something similar. Even better, it’d be constructed only out of parts lying around, including an ATtiny85 and an HD44780 display, with bit-banged USB connectivity.
Prototyping the hardware on a breadboard.
Overcoming the challenge of driving the LC display with one pin on the MCU required adding a 74HC595 demultiplexer and careful timing, which sort of worked when the stars aligned just right. Good enough, but what about adding new passwords?
This is where things quickly skidded off the tracks in the most slapstick way possible, as [Alessandro] solved the problem of USB keyboard HID devices being technically ‘output-only’, by abusing the indicator statuses for Caps Lock, Num Lock, and Scroll Lock. By driving these from the host PC in just the right way you can use them as a sort of serial protocol. This incidentally turned out to be the most reliable part of the project.
Where the project finally tripped and fell down the proverbial flight of stairs was when it came to making the bit-banged USB work reliably. As it turns out, USB is very unforgiving with its timing unlike PS/2, making for an infuriating user experience. After tossing the prototype hardware into a box, this is where the project gathered dust for the past years.
If you want to give it a try yourself, maybe using an MCU that has more GPIO and perhaps even a USB hardware peripheral like the STM32F103, ESP32-S3 or something fruit-flavored, you can take a gander at the project files in the GitHub repository.
Macropads can be as simple as a few buttons hooked up to a microcontroller to do the USB HID dance and talk to a PC. However, you can go a lot further, too. [CNCDan] demonstrates this well with his sleek macropad build, which throws haptic feedback into the mix.
The build features six programmable macro buttons, which are situated either on side of a 128×64 OLED display. This setup allows the OLED screen to show icons that explain the functionality of each button. There’s also a nice large rotary knob, surrounded by 20 addressable WS2811 LEDs for visual feedback. Underneath the knob lives an an encoder, as well as a brushless motor typically used in gimbal builds, which is driven by a TMC6300 motor driver board. Everything is laced up to a Waveshare RP2040 Plus devboard which runs the show. It’s responsible for controlling the motors, reading the knob and switches, and speaking USB to the PC that it’s plugged into.
It’s a compact device that nonetheless should prove to be a good productivity booster on the bench. We’ve featured [CNCDan’s] work before, too, such as this nifty DIY VR headset.