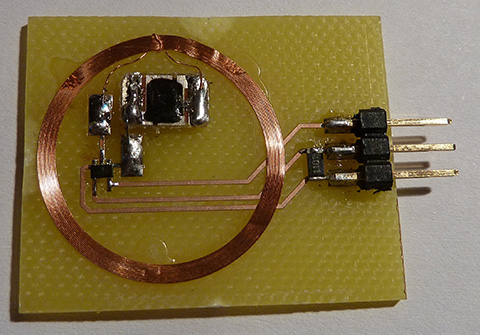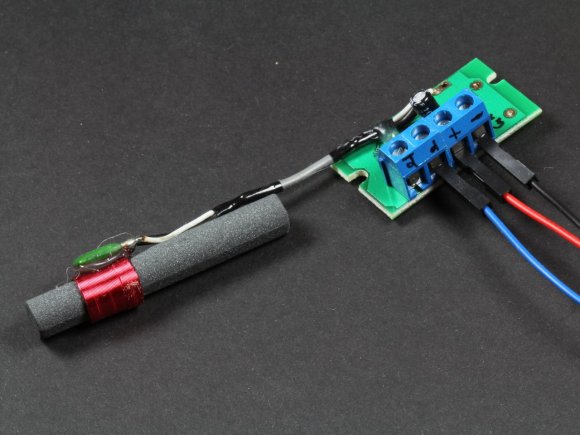
A few profs from MIT’s Lincoln Lab are giving those poor MIT undergrads something to do over winter break: they’re teaching a three-week course on building a laptop-powered radar system capable of radar ranging, doppler, and synthetic aperture imaging. Interestingly, the radar system that teams will build for the class has a BOM totaling $360, and they’re also putting the entire class online if you’d like to follow along and build your own.
From the lecture notes from the course, the radio system is made out of an off-the-shelf LNA, oscillator, and splitter. By connecting two coffee can ‘cantennas’, it’s possible to record a .WAV file from the signal coming from the radar and use MATLAB to turn that audio signal into a doppler radar.
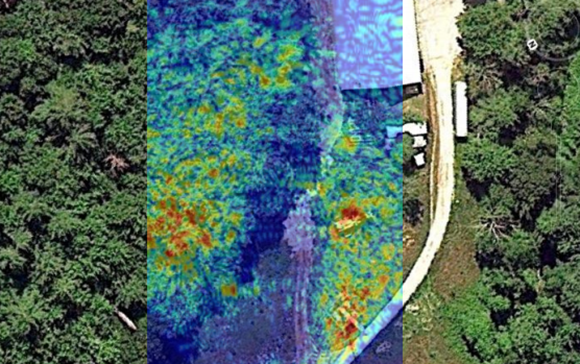
It’s a very ambitious project that goes deep down the rabbit hole of RF and analog design. One of the lecturers made a YouTube demo of the radar in ranging mode; you can check that out after the break.
Continue reading “Build A $360 Synthetic Aperture Radar With MIT’s OpenCourseware”